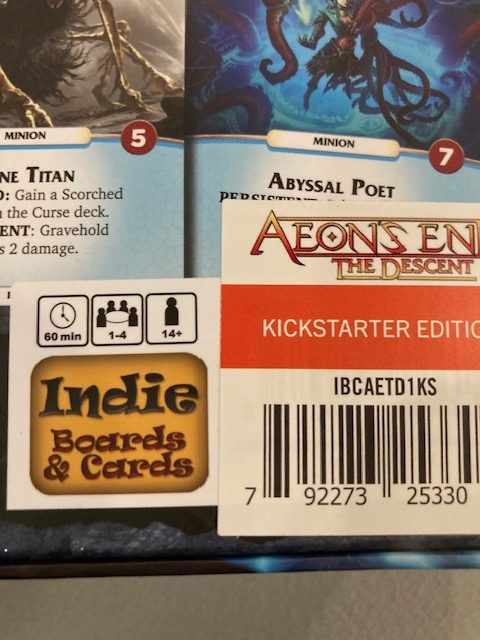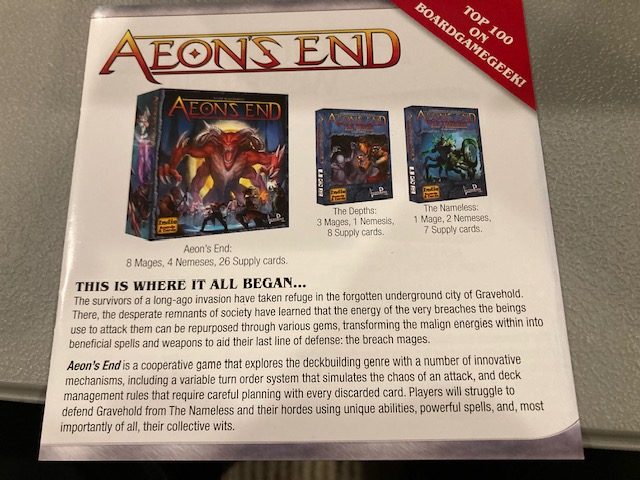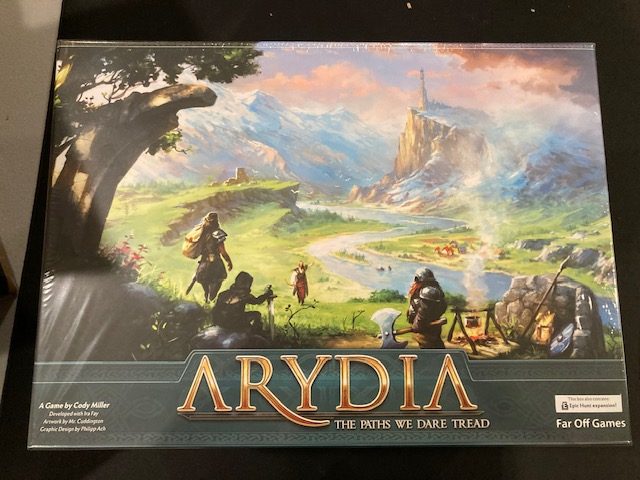
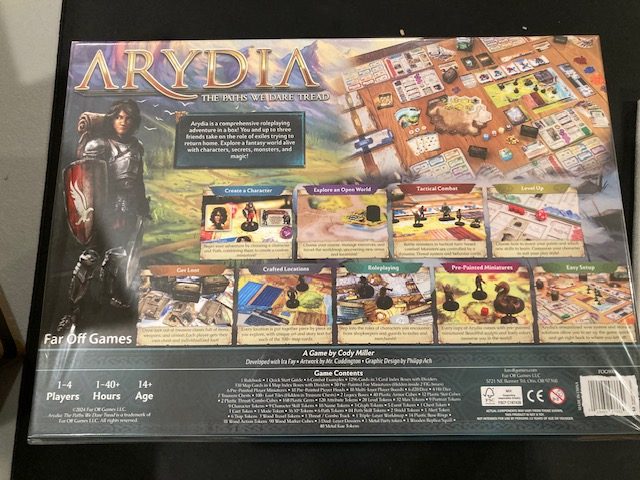
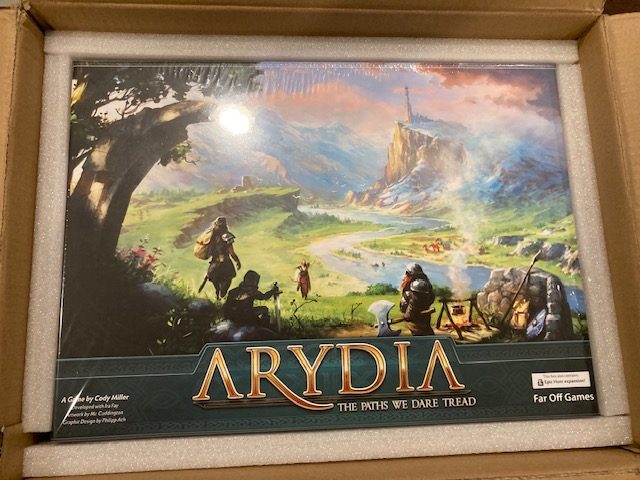
Arydia: The Paths We Dare Tread is a cooperative adventure campaign set in a fantasy universe. This was on Kickstarter back in August 2021, and promised delivery in December 2022.
It arrived at my house Dec 30th, 2024! So, it’s about 2 years late! I mean, I have been looking forward to this for some time: it was #6 on my Top 10 Anticipated Cooperative Games of 2022!
Has this been worth the wait? Let’s take a look!
Unboxing: Day 0 (December 30th, 2024)
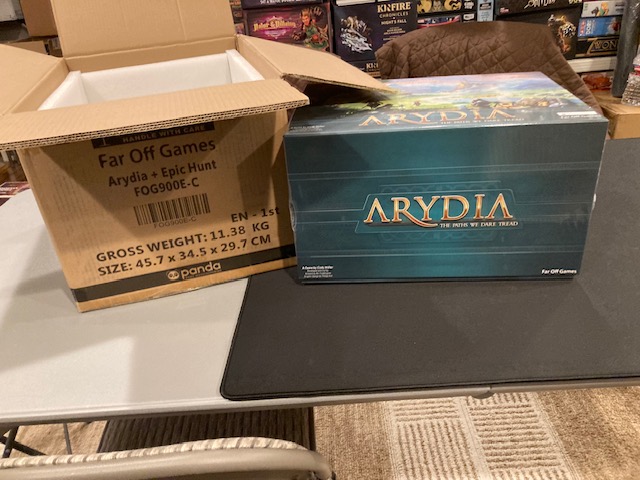
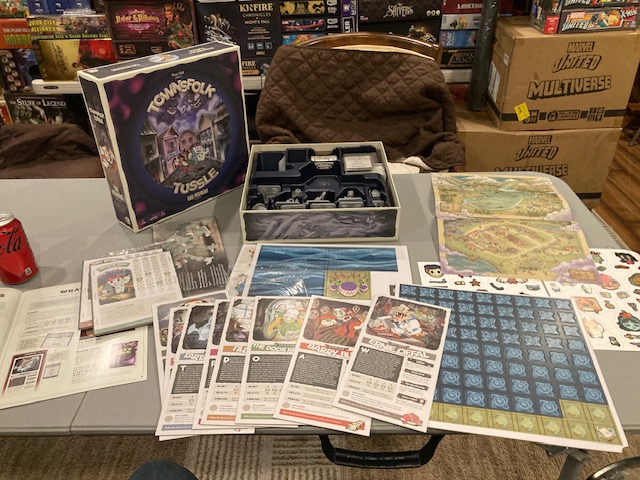
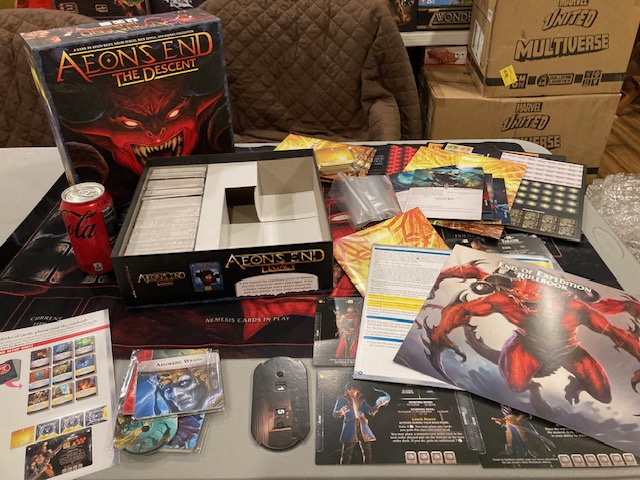
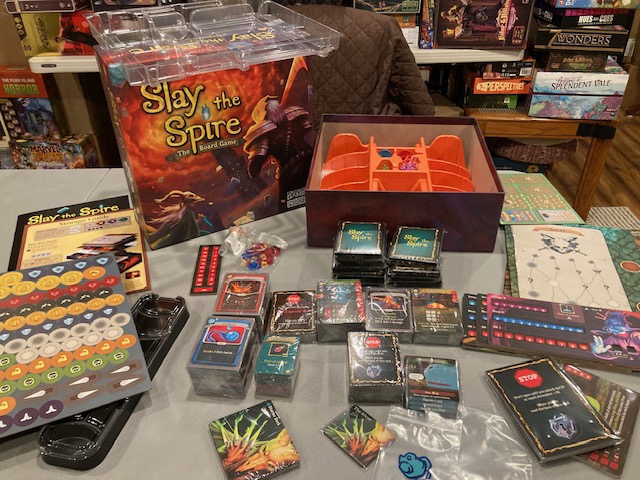
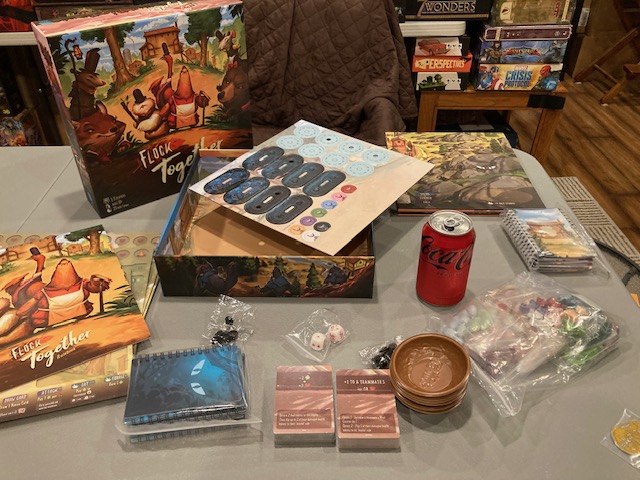
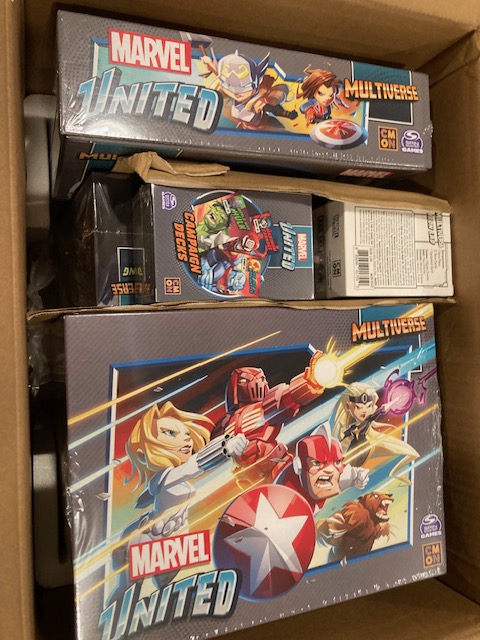
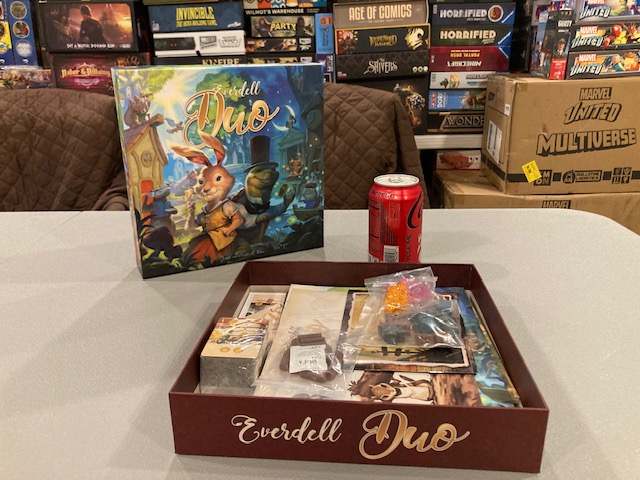
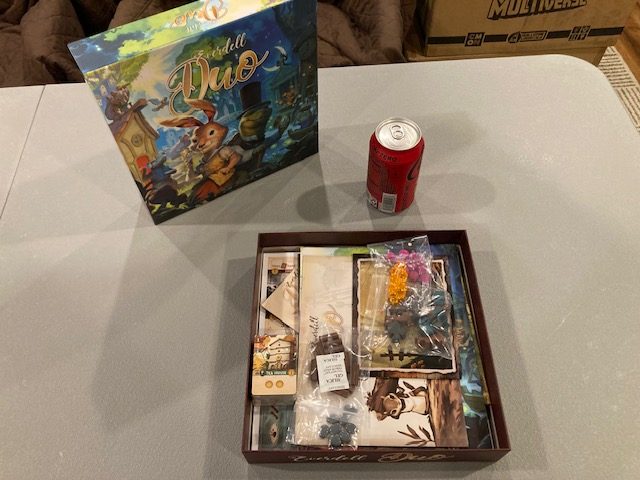
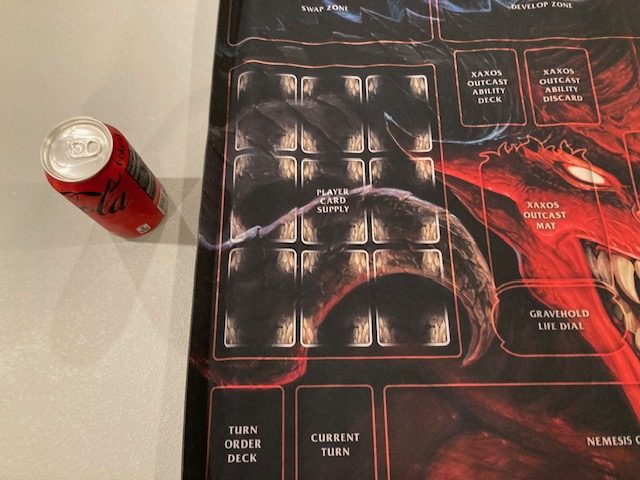
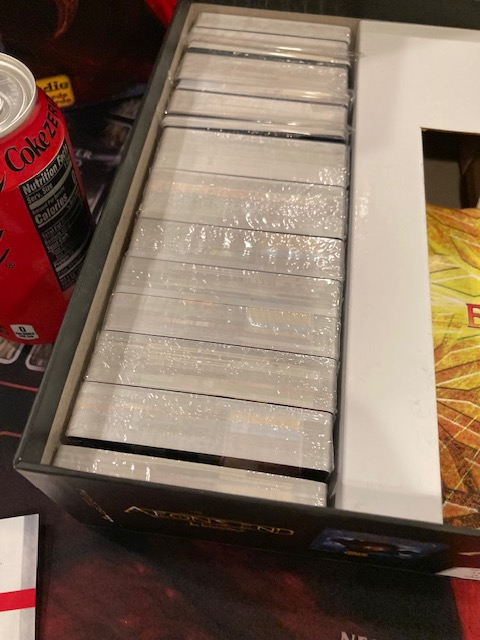
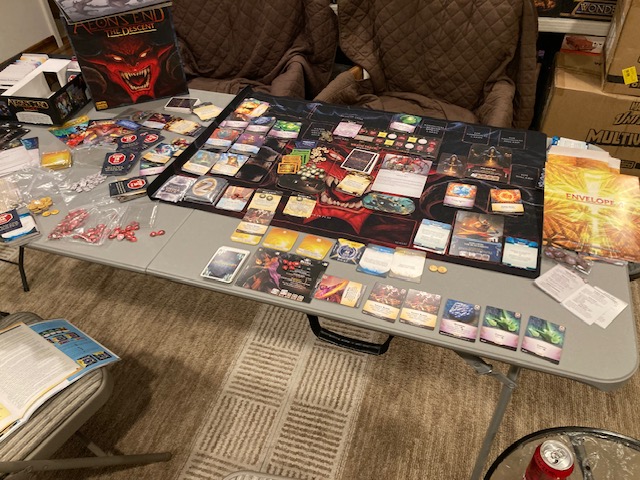
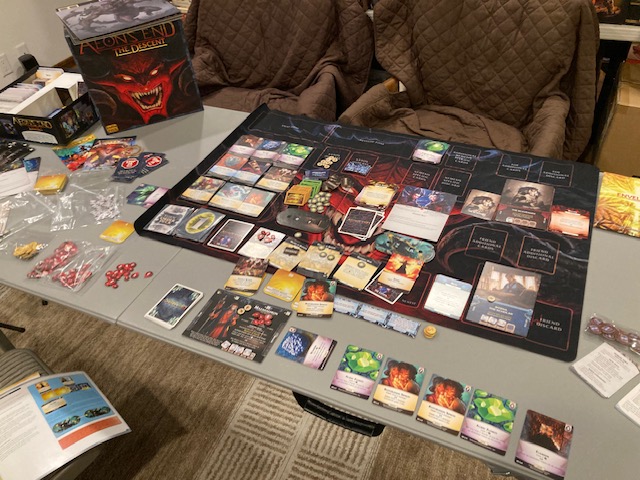
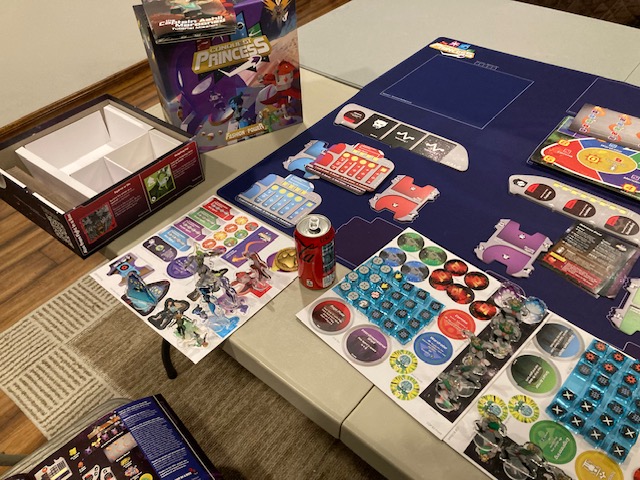
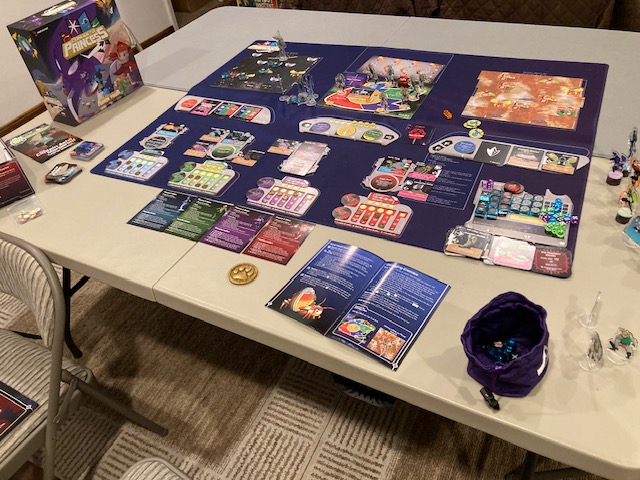
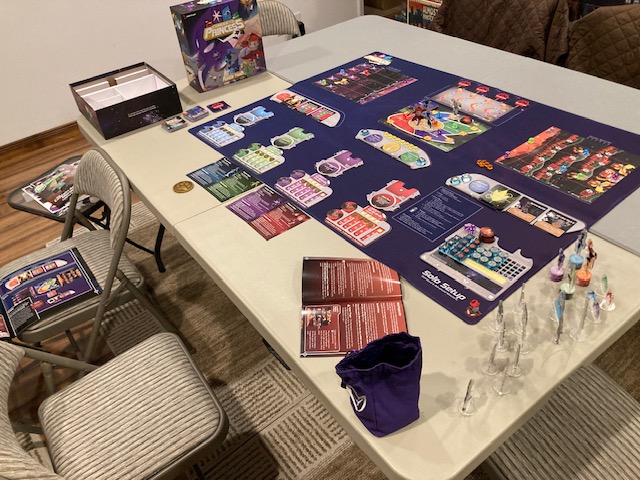
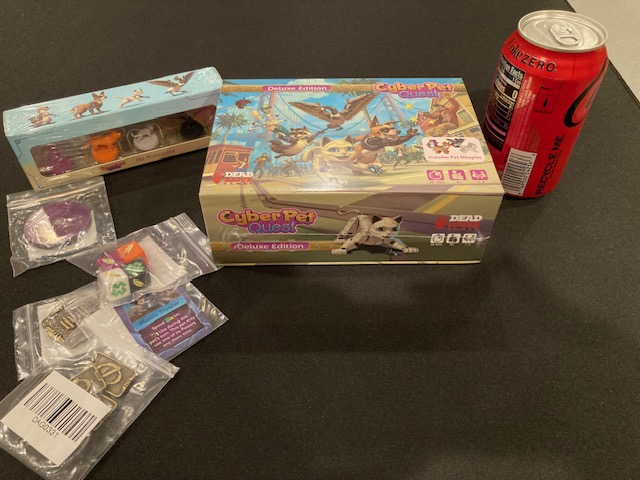
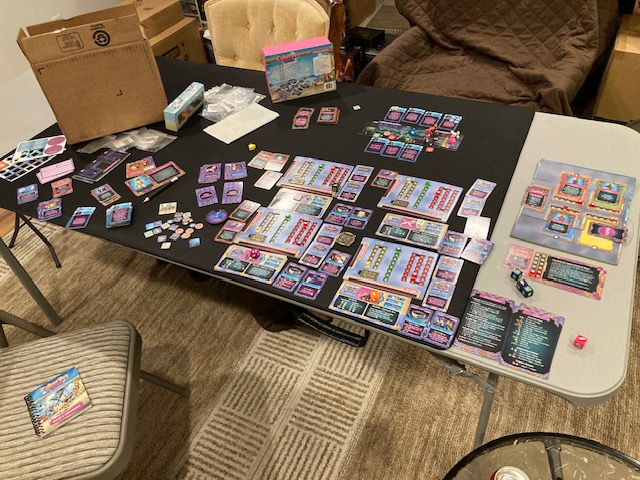
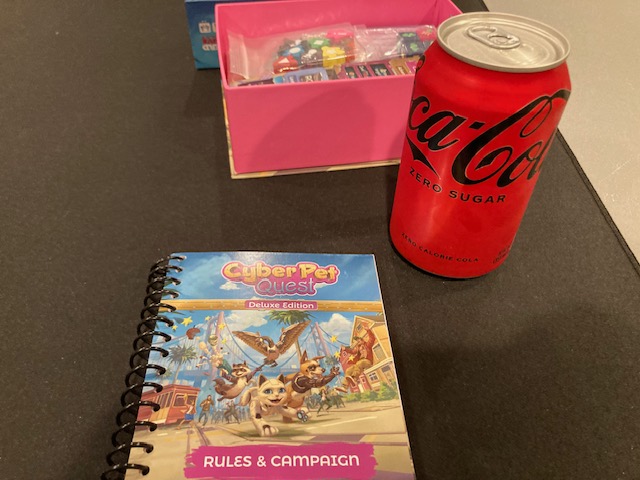
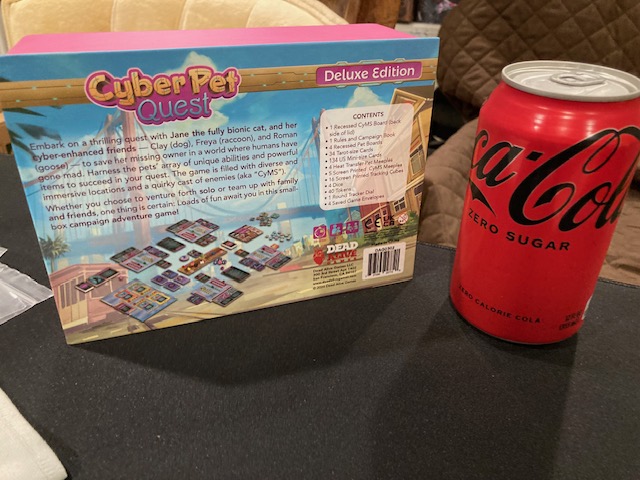
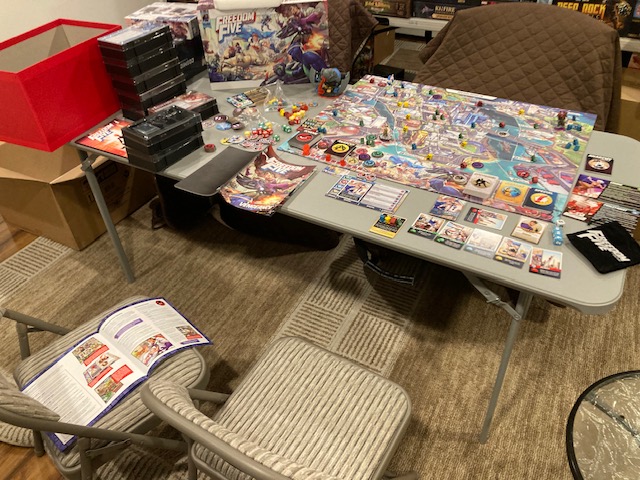
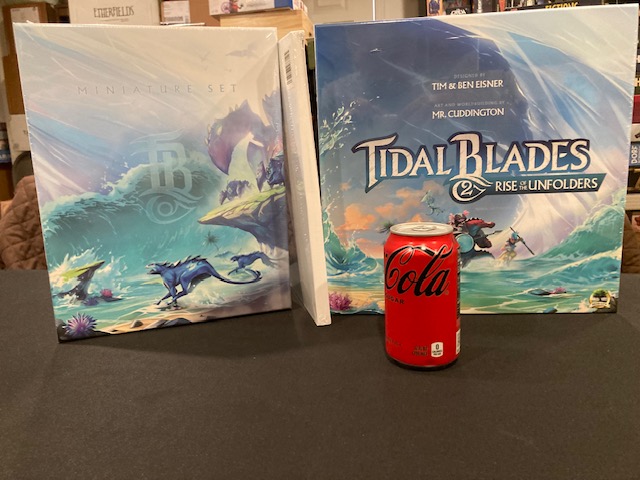
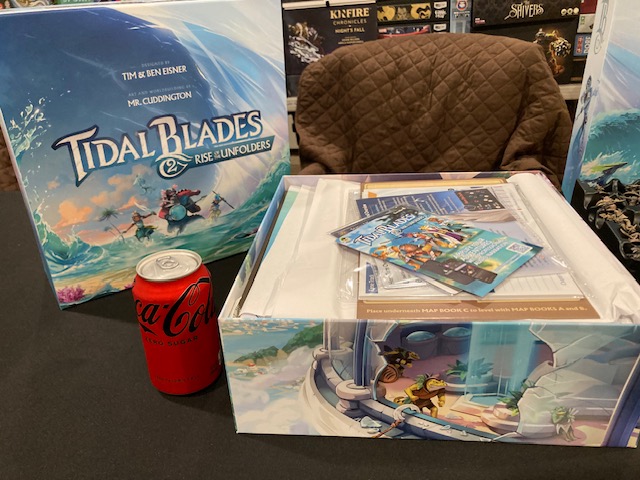
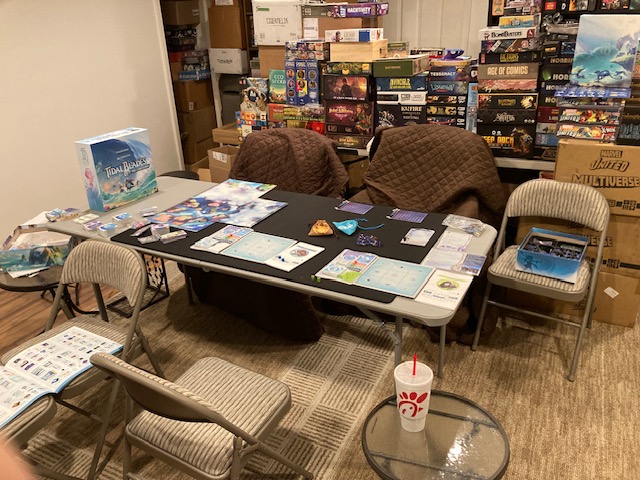
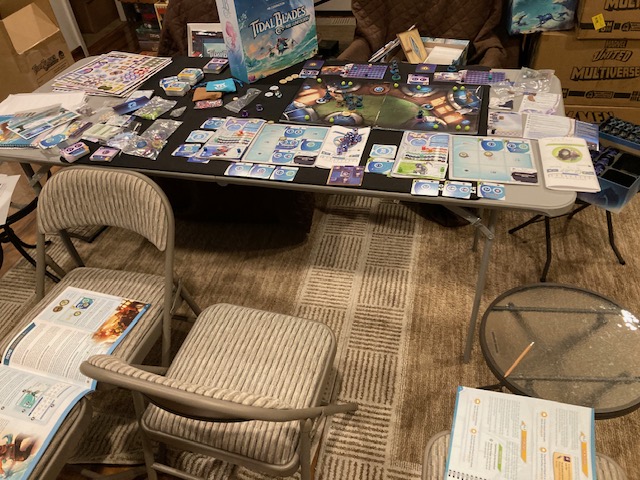
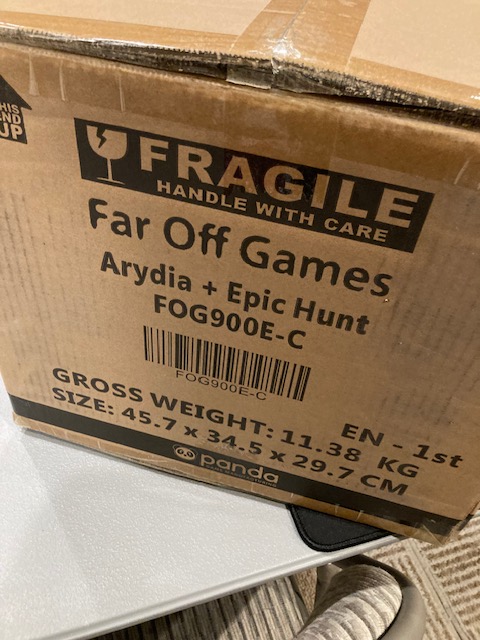
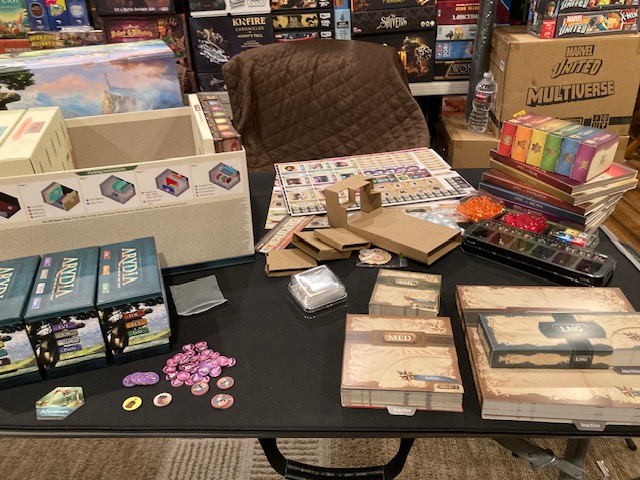
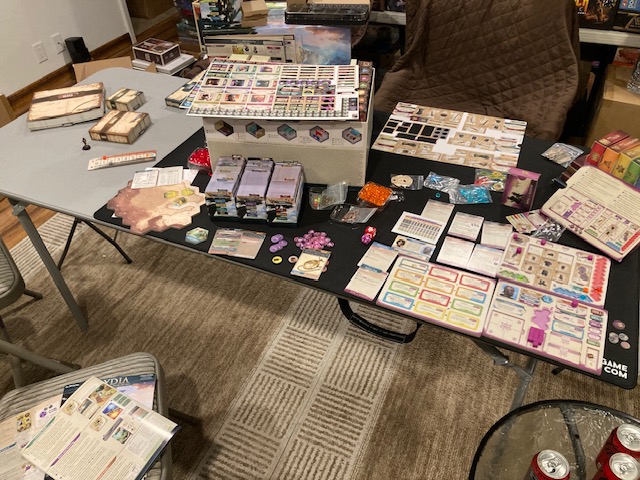
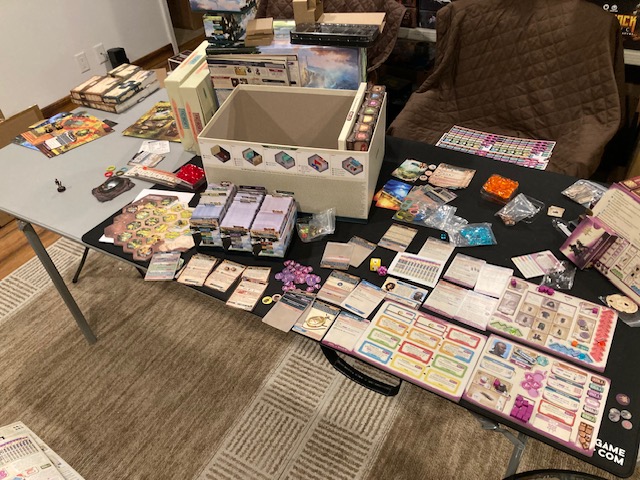
This is a big mama-jama of a game! It took up the entire delivery box with no extra room! As soon as this game came in, I went to the game room and immediately opened it up!
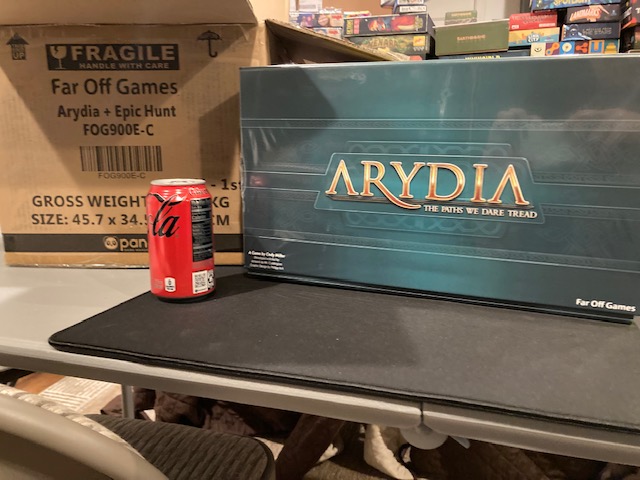
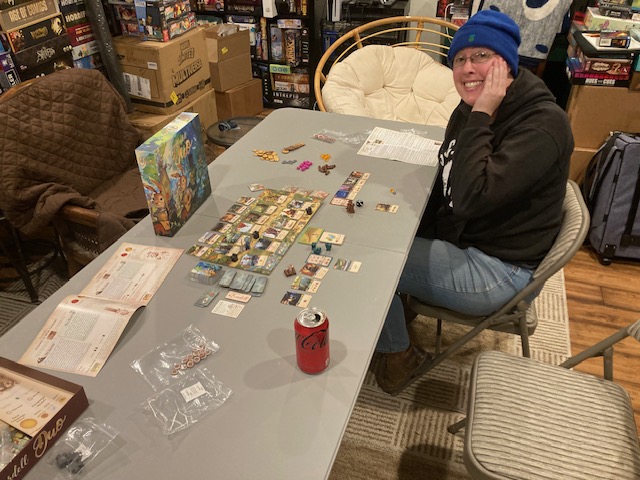
See the Coke Can above for scale! It’s HUUUGE!

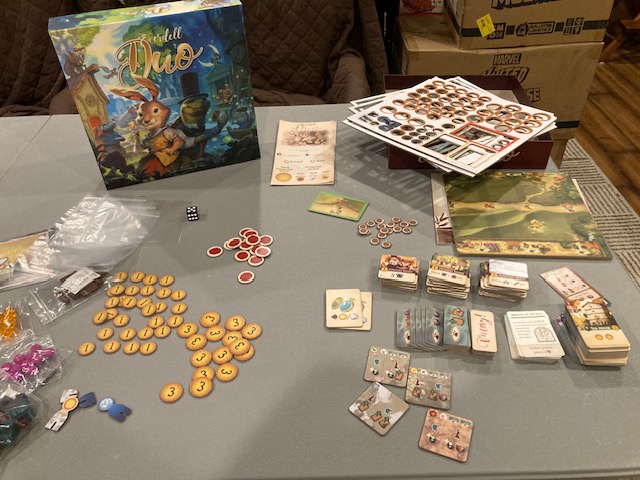
It’s is just chock full o’ stuff.
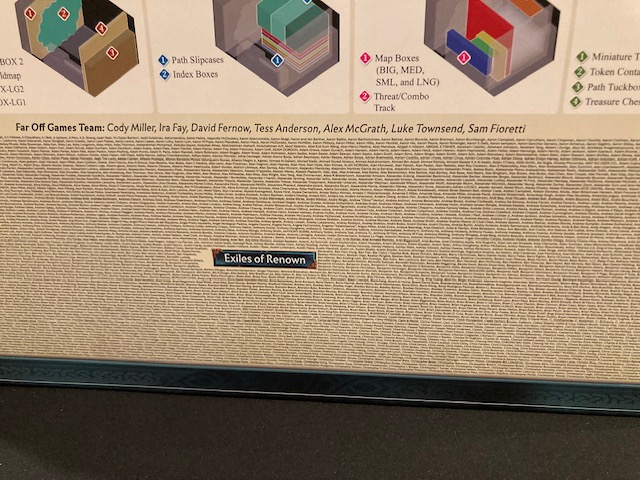
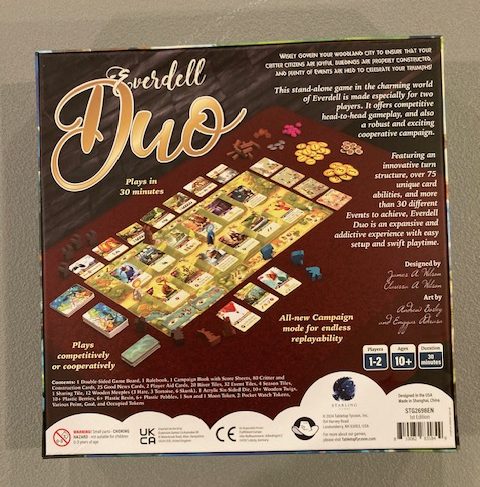
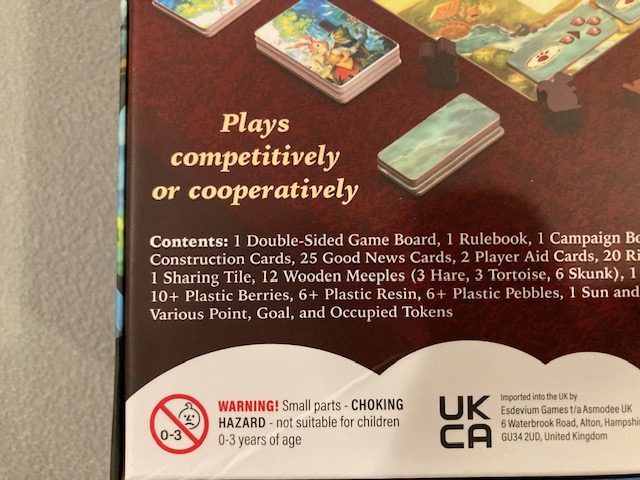
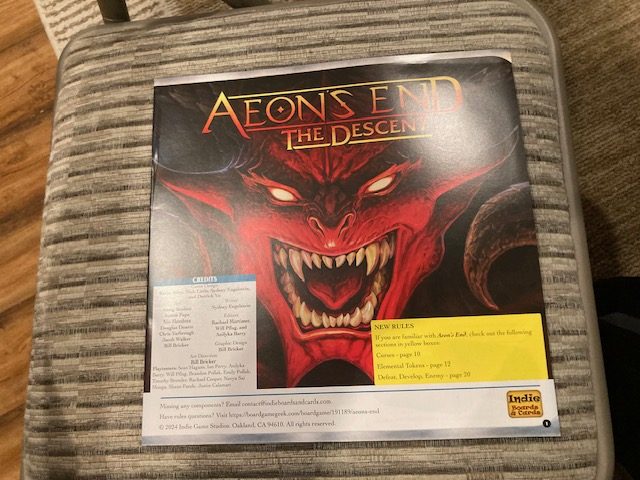
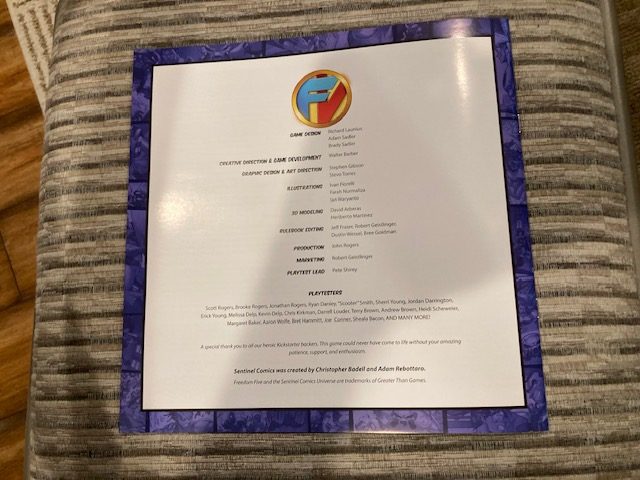
There’s even a list on the side how to put this back together (I still recommend taking pictures as you unbox) because it’s so big. Oh yes, there’s also a list of everyone who backed the game on Kickstarter. Do you see my name there? (No, I don’t either … that is a tiny font!)
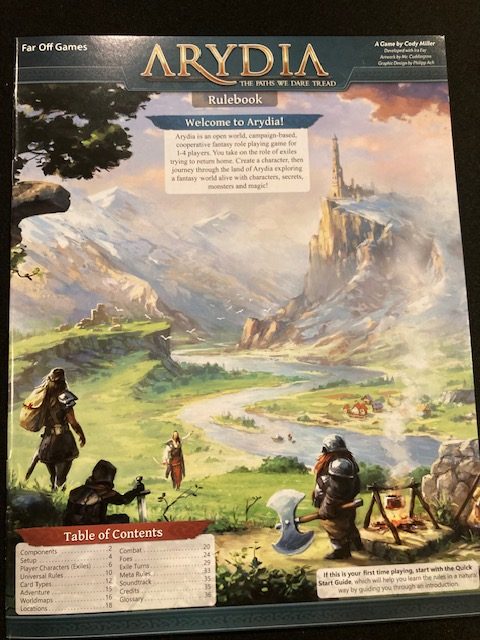
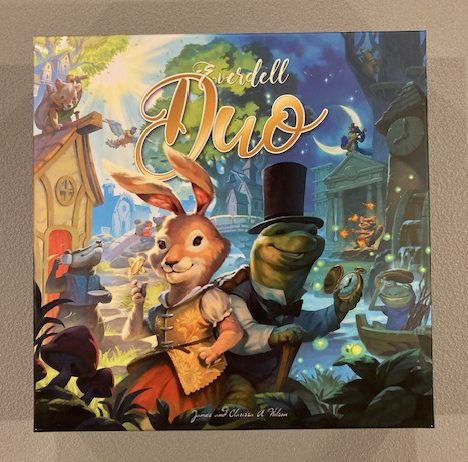
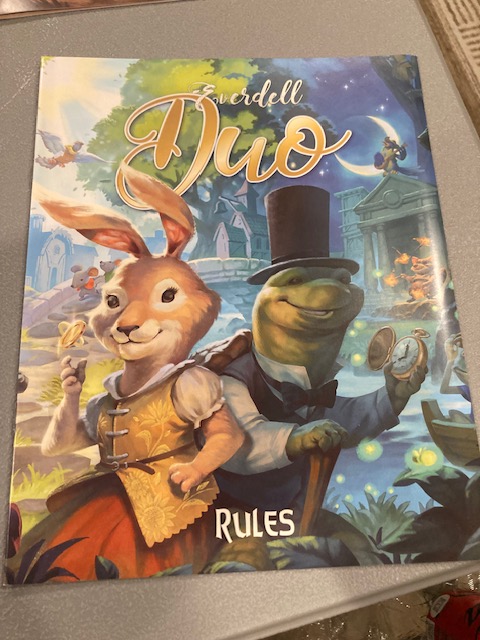
The rulebook is a reasonable size and has great art: it’s right on top.
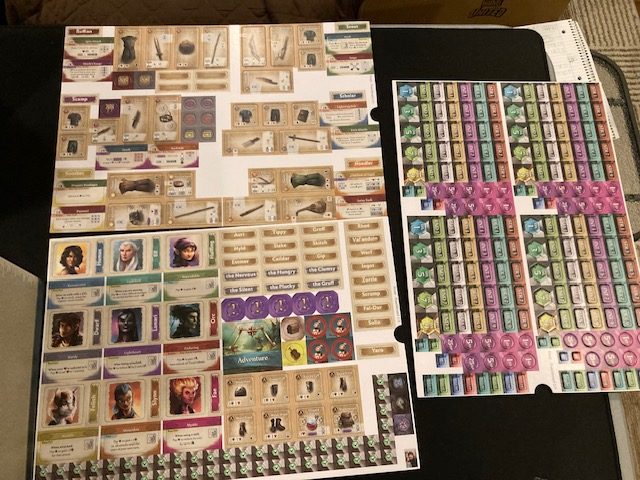
There’s some punchouts below the rulebook: these are REALLY nice punchouts: they are thick cardboard and very well notated (and readable). These are all tokens that come out slowly as you play: you don’t have to punch things out until you need them (which is kind of nice).
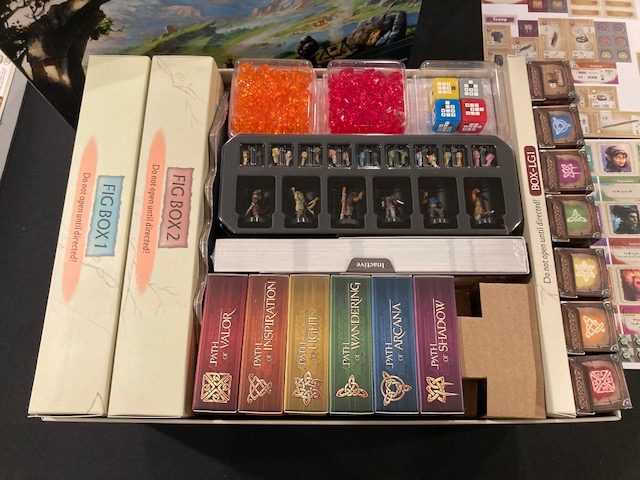
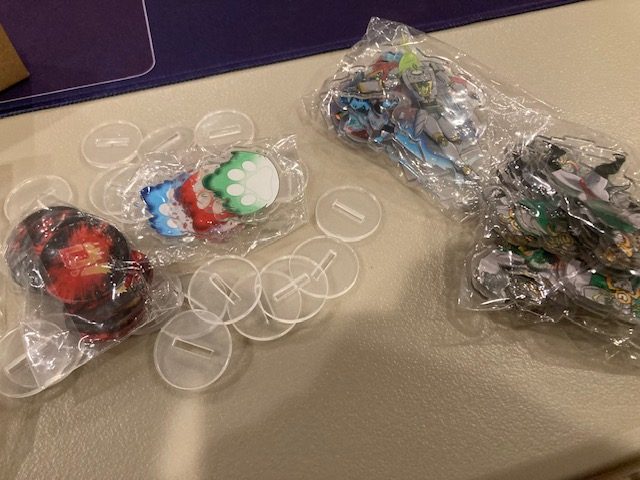
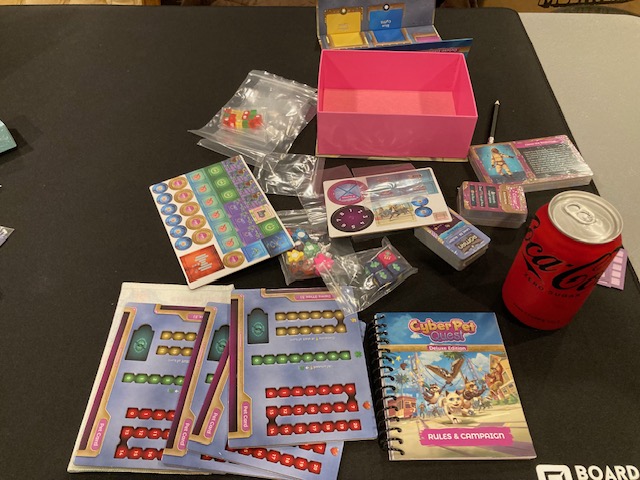
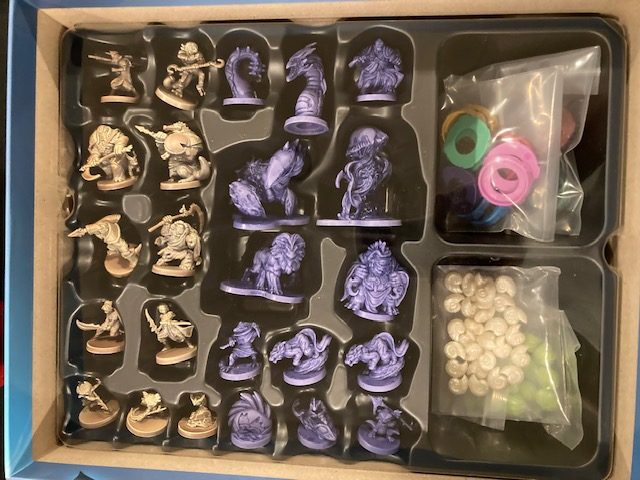
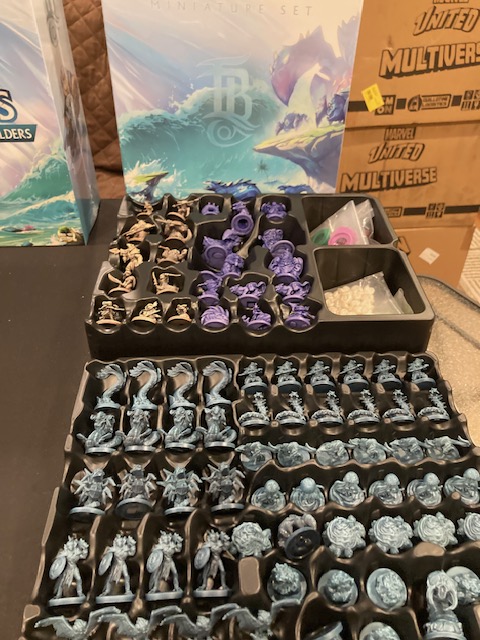
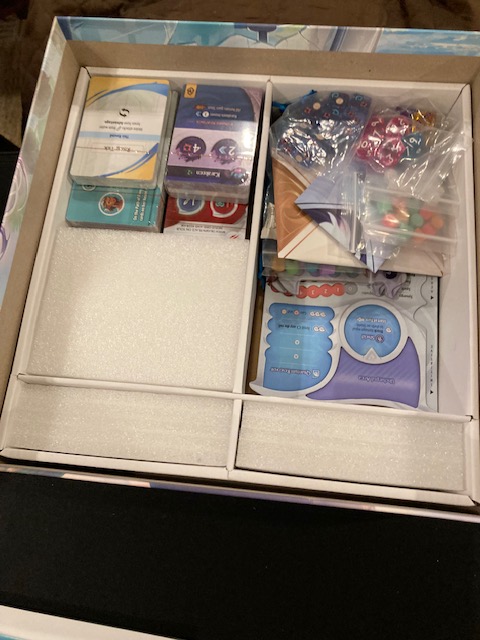
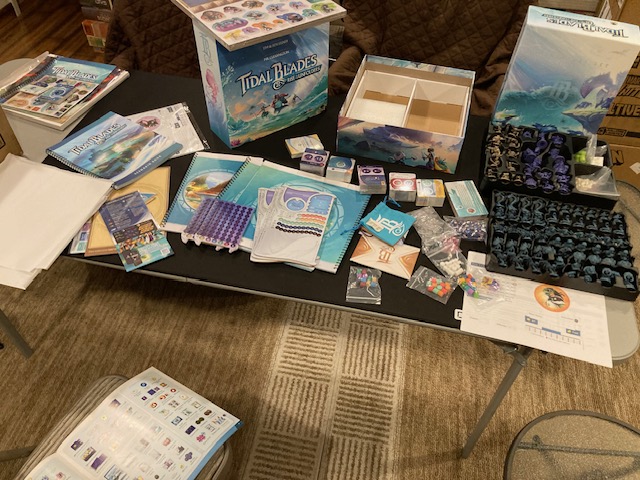
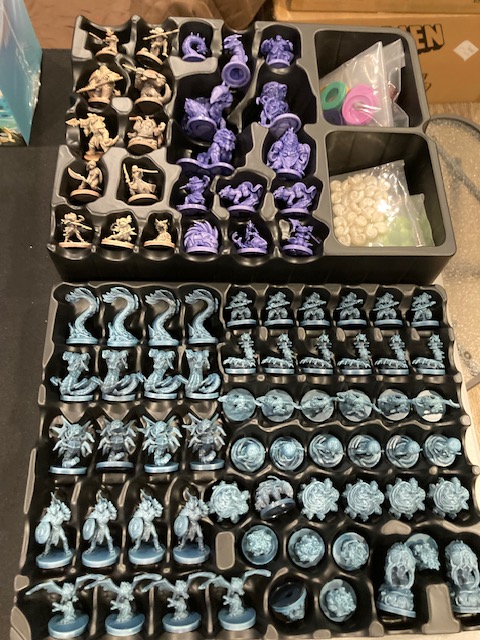
And what’s all this? So much cool stuff!
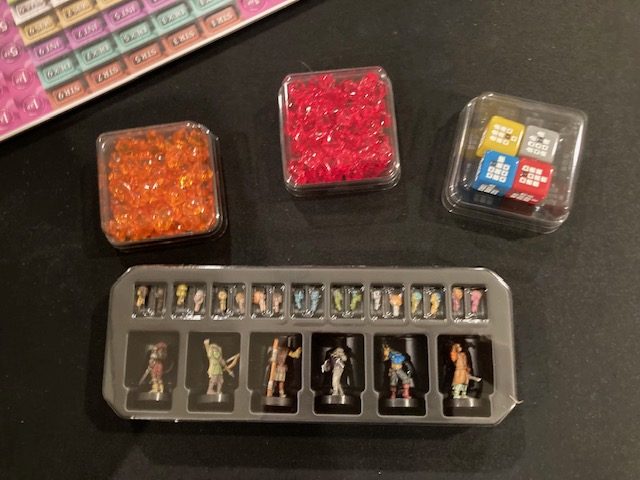
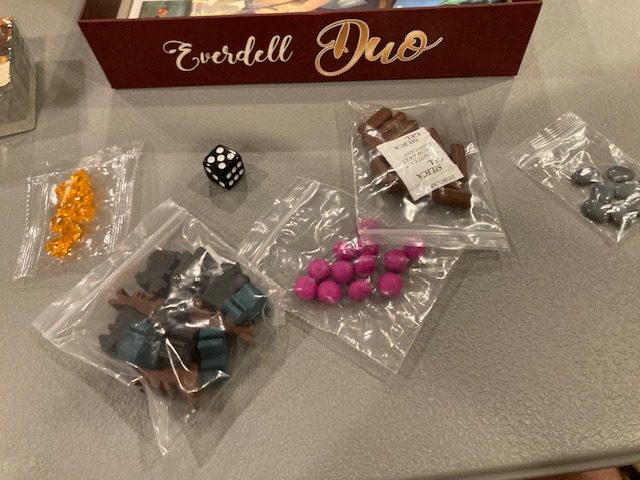
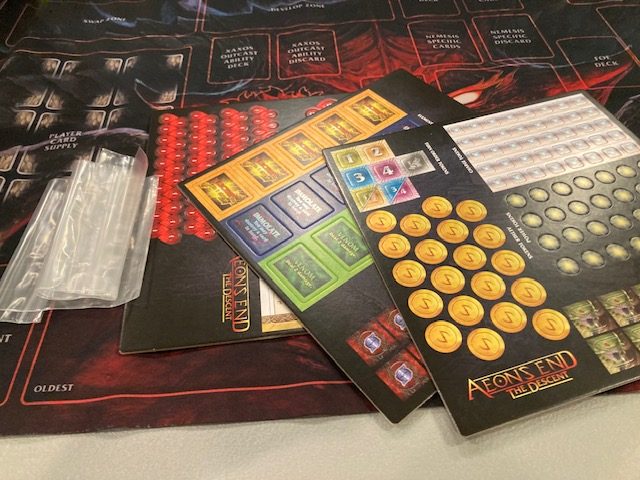
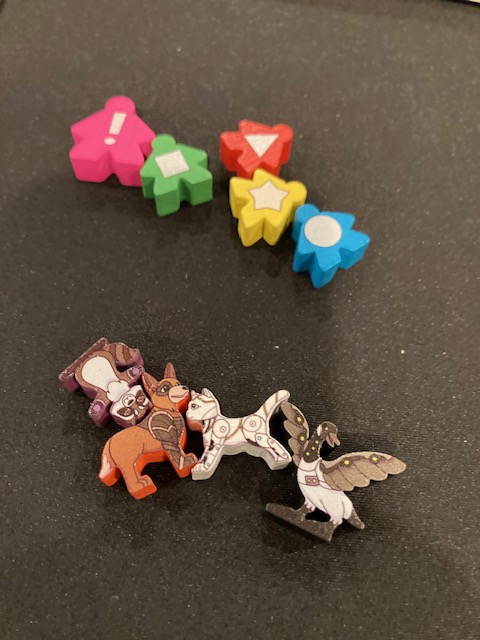
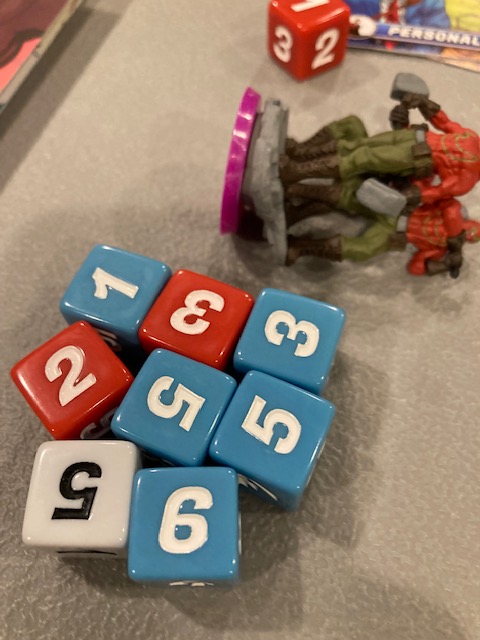
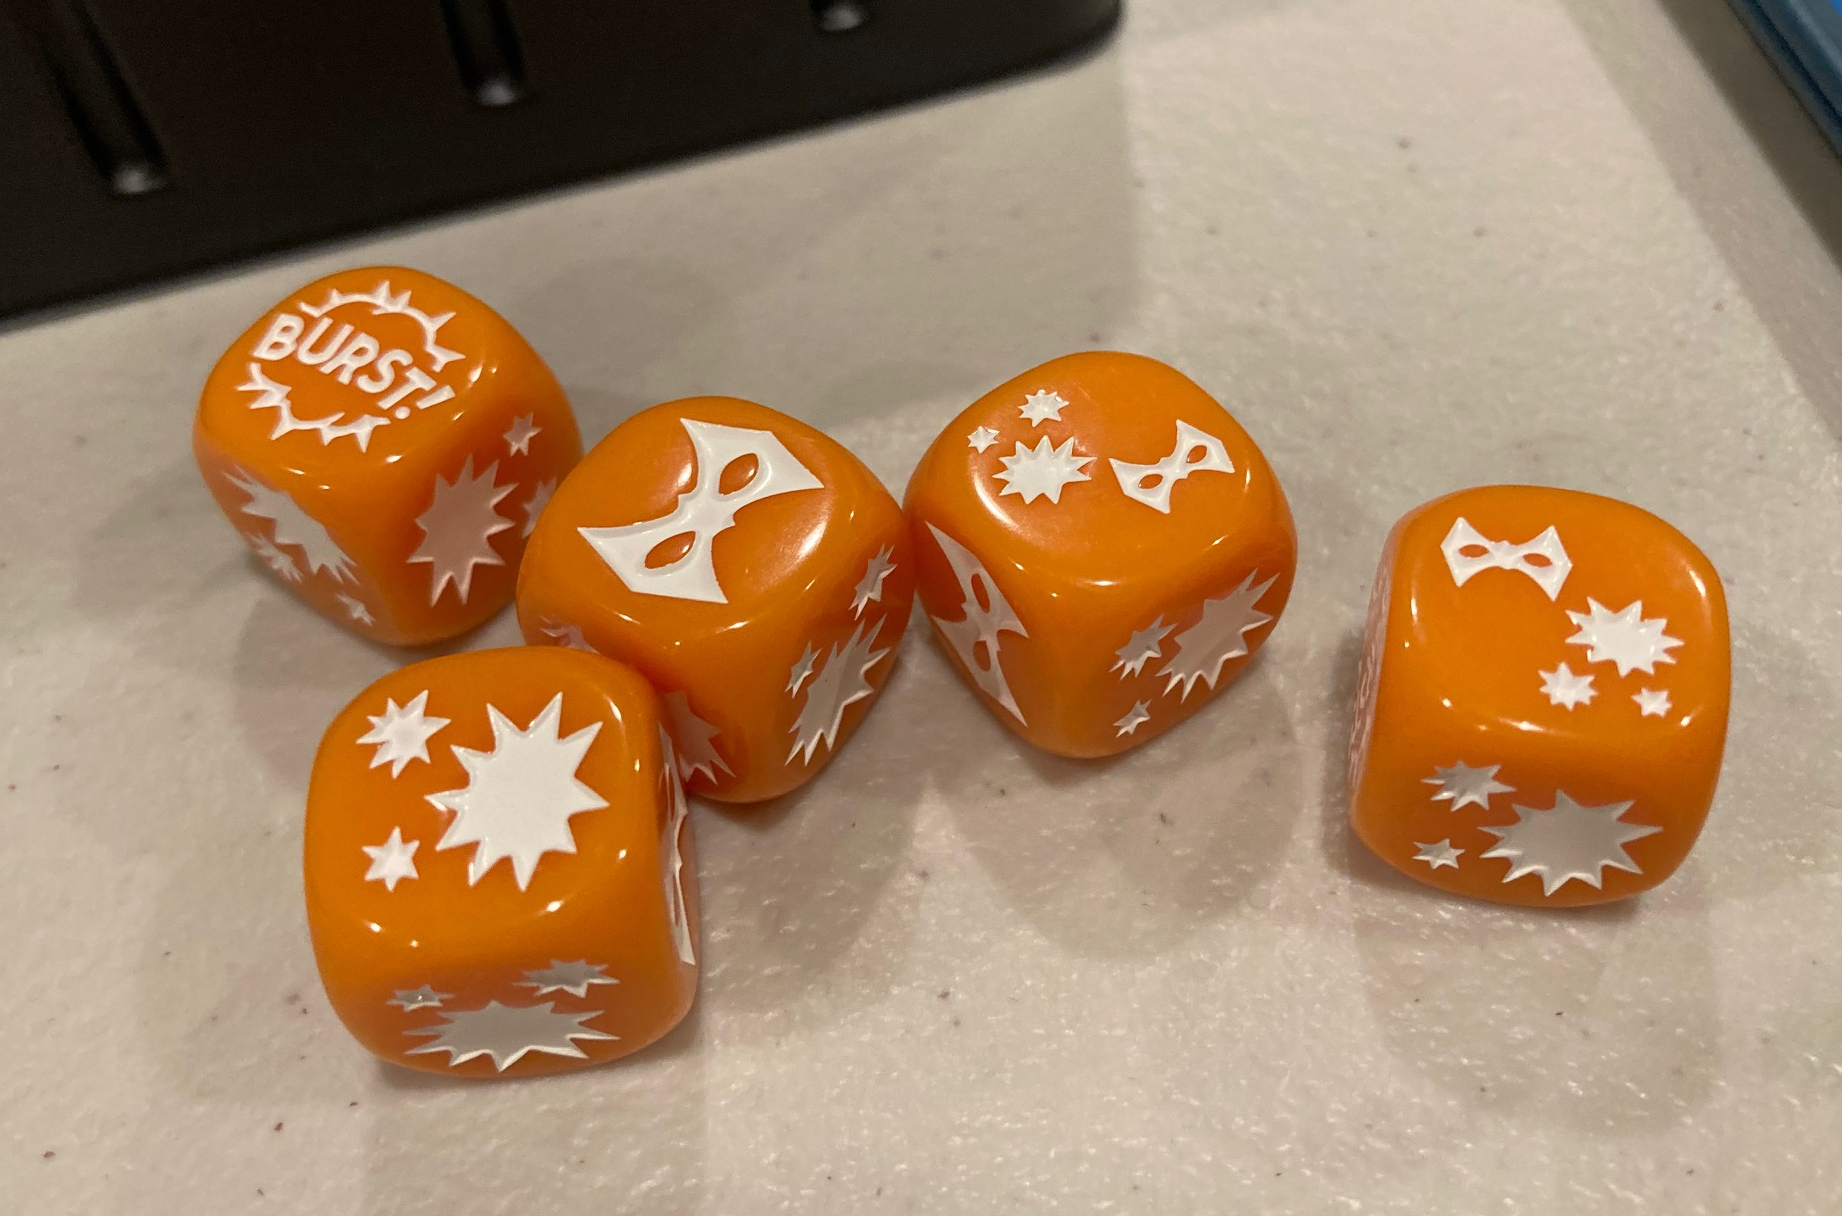
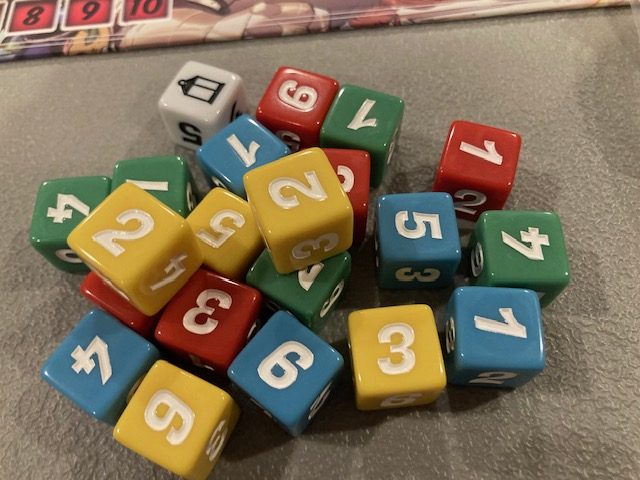
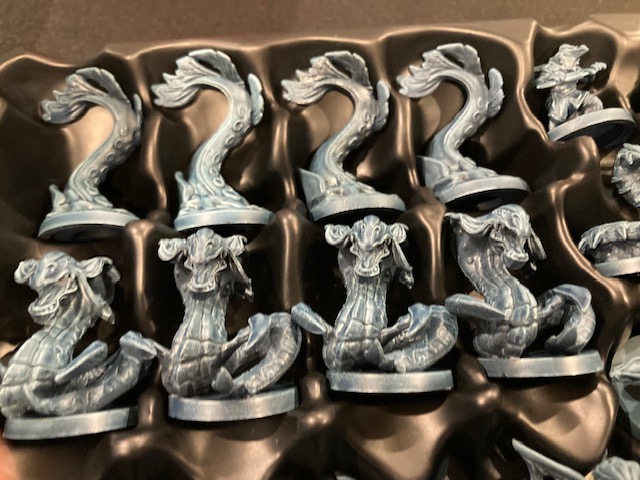
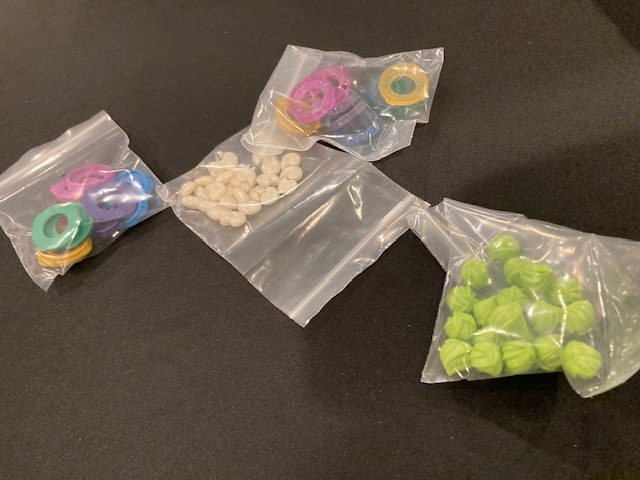
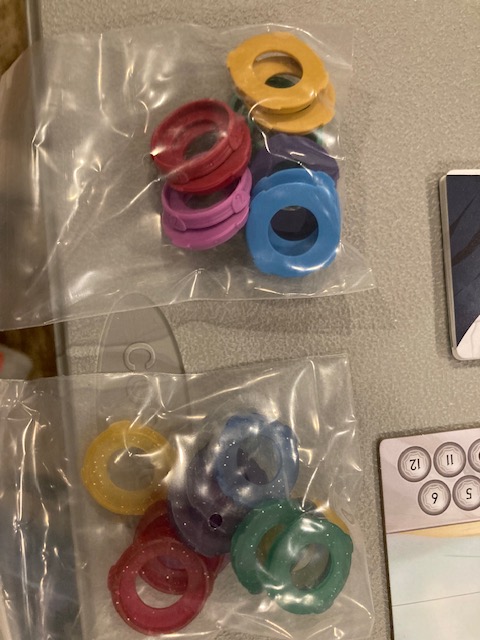
There are some tokens (red for damage, orange for “wear-and-tear”, and combat dice) as well as some minis.
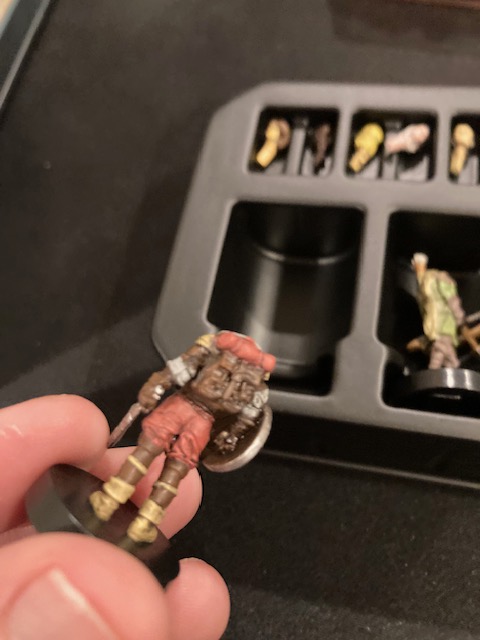
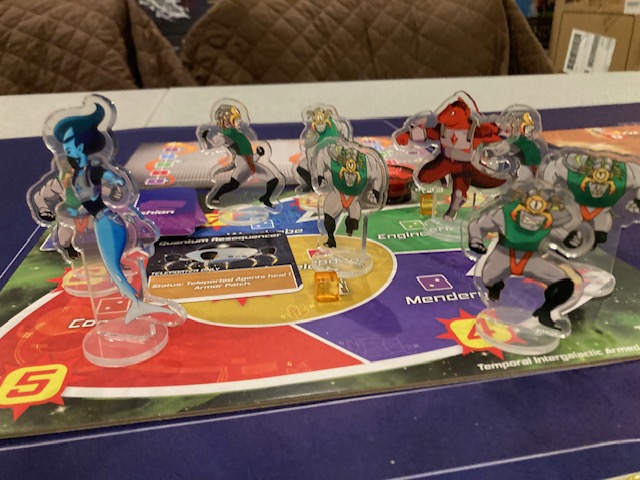
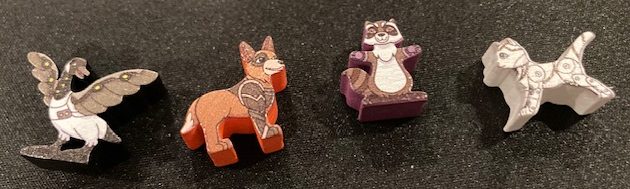
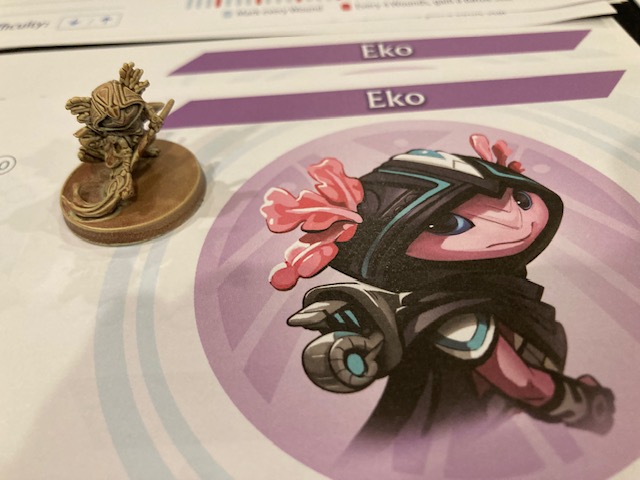
The minis are HEADLESS! You heard me! No head! See above!
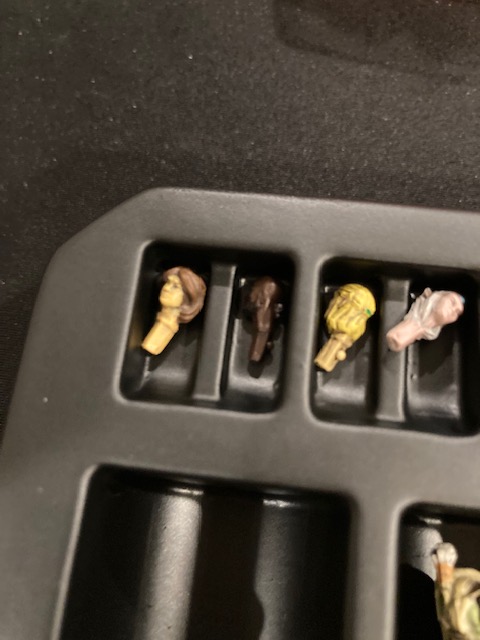
You choose a head that matches the character you choose!
So, if you choose this guy with this body, you can make the mini! This is a cool idea, but I felt like I had to be very careful as a I put the head in … I was kind of afraid I’d break something! They did work, but … just be careful.
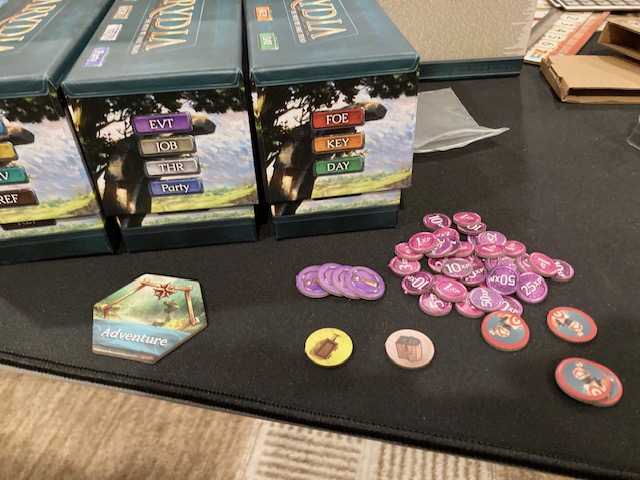
There are a lot of boxes in different colors; each color is correlated to a “Path”, or a type of character (Class) you take.
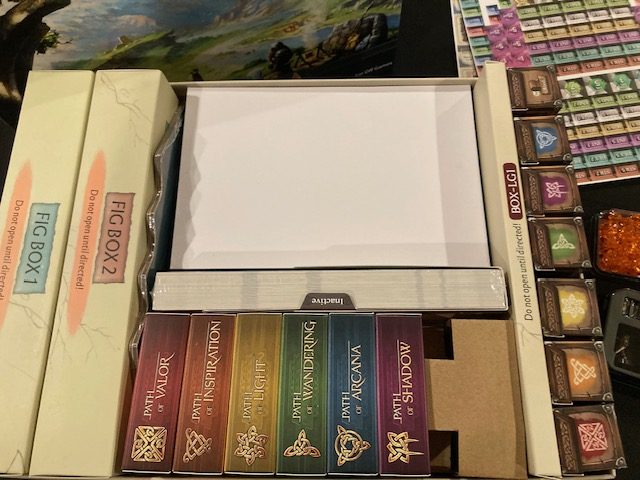
There’s essentially 3 boxes for your Path: the card boxes (below), the Treasure Chests (far right) …
And the long thin boxes (above). These are all for your character!
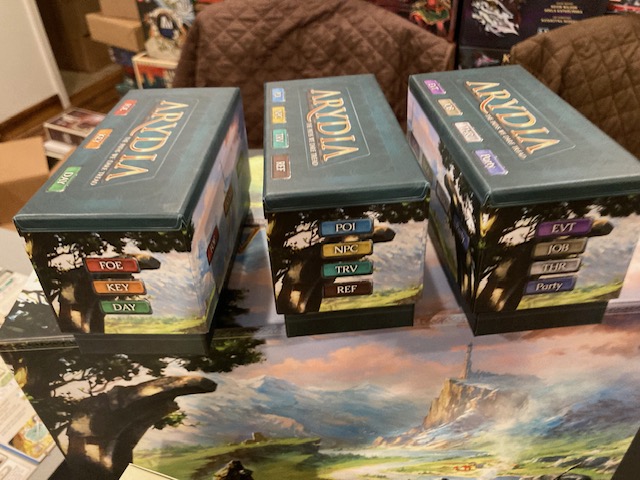
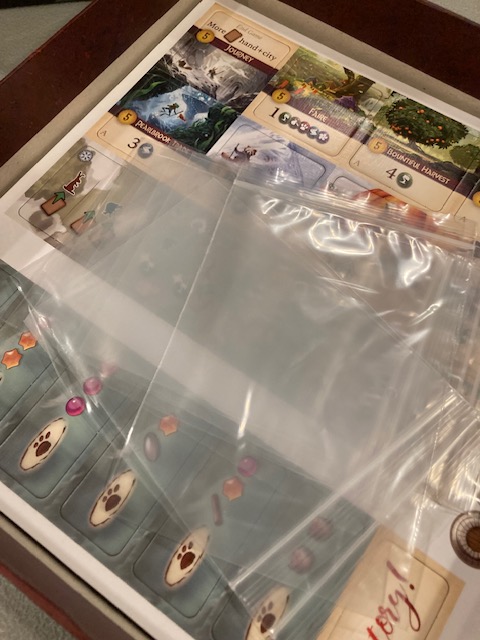
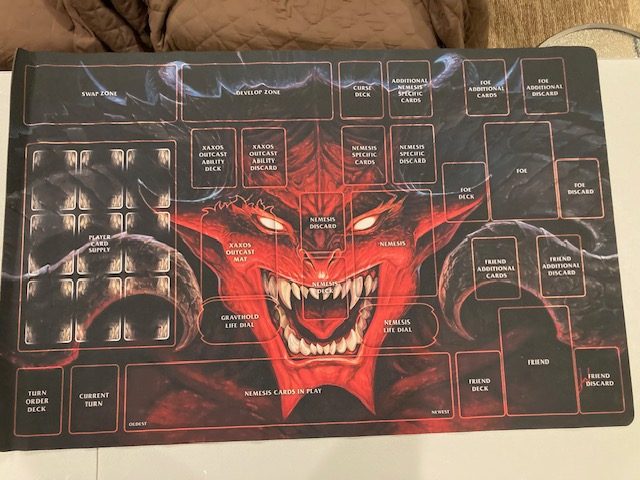
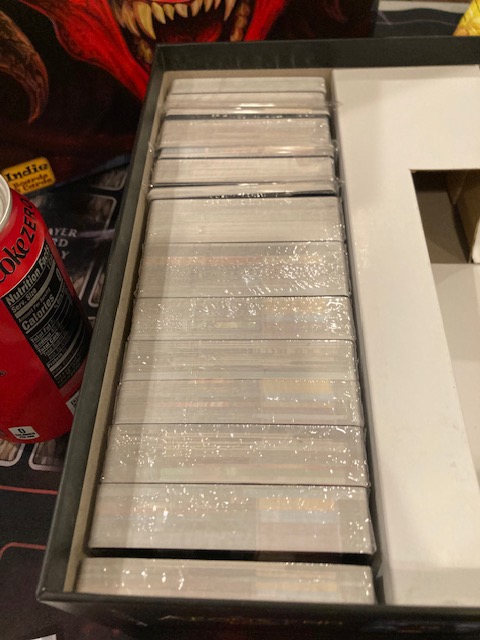
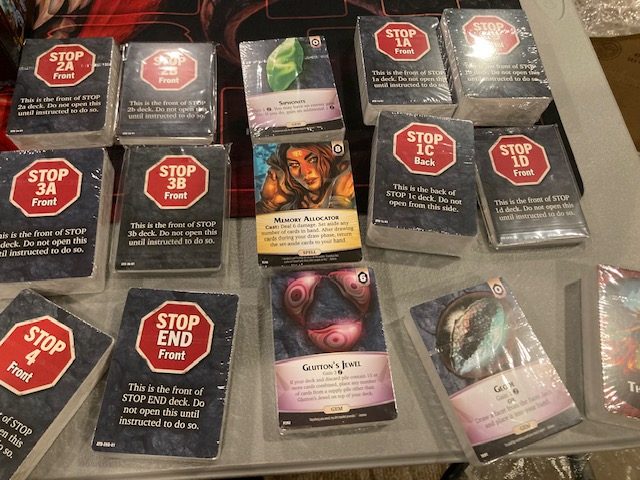
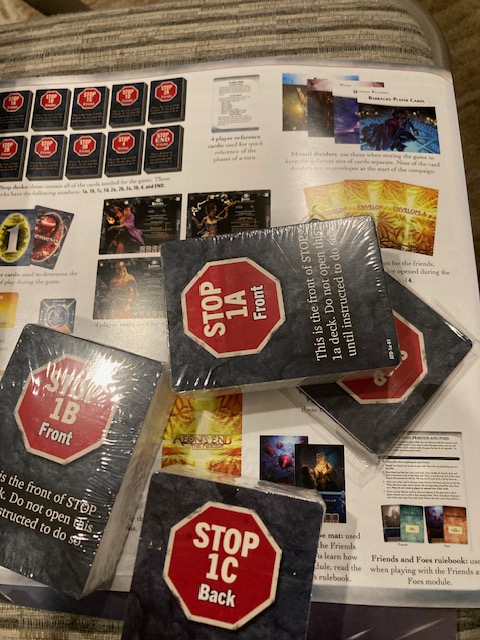
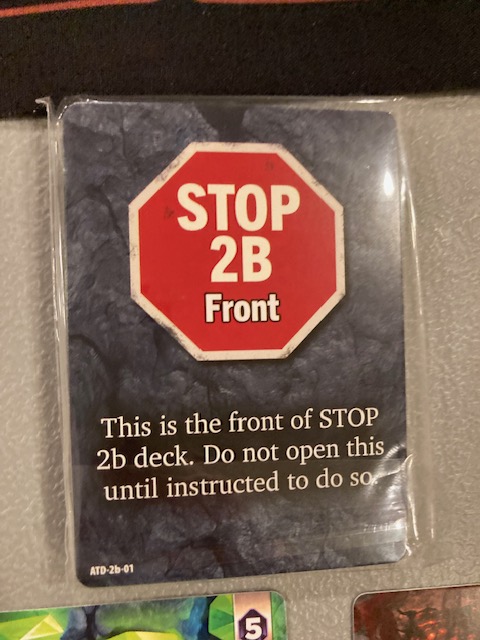
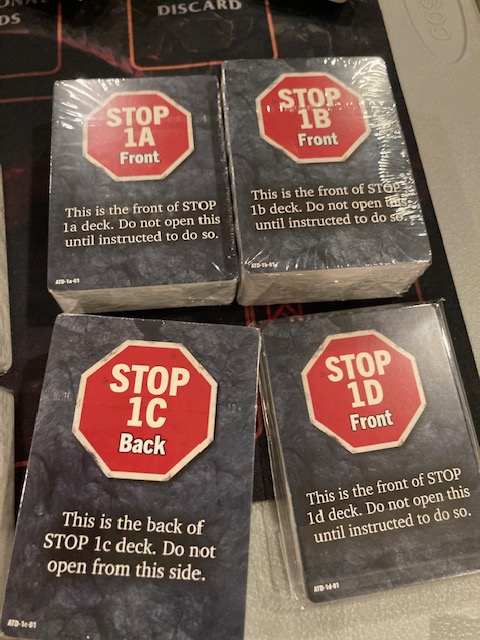
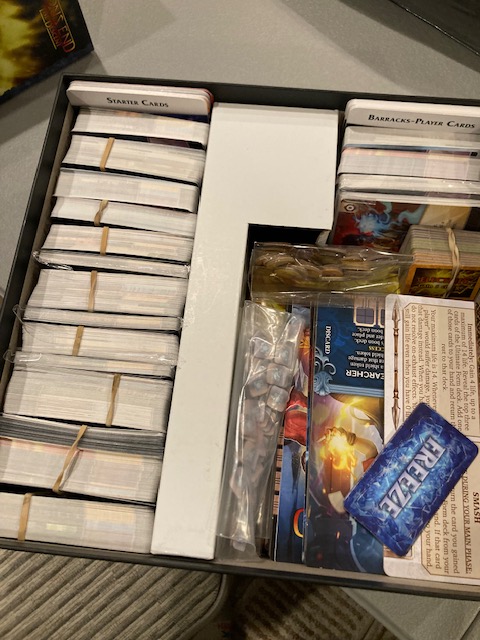
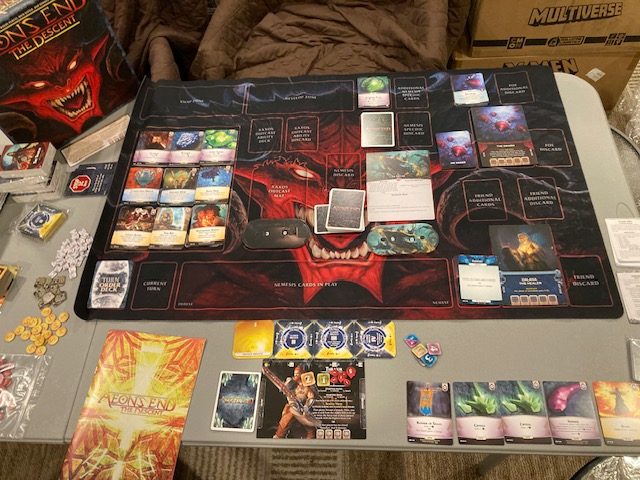
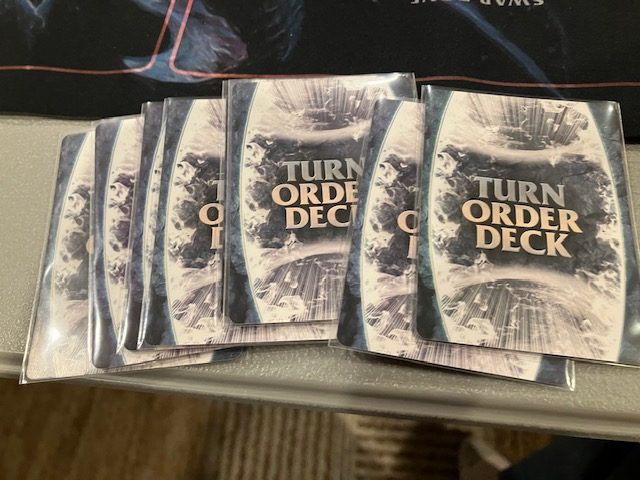
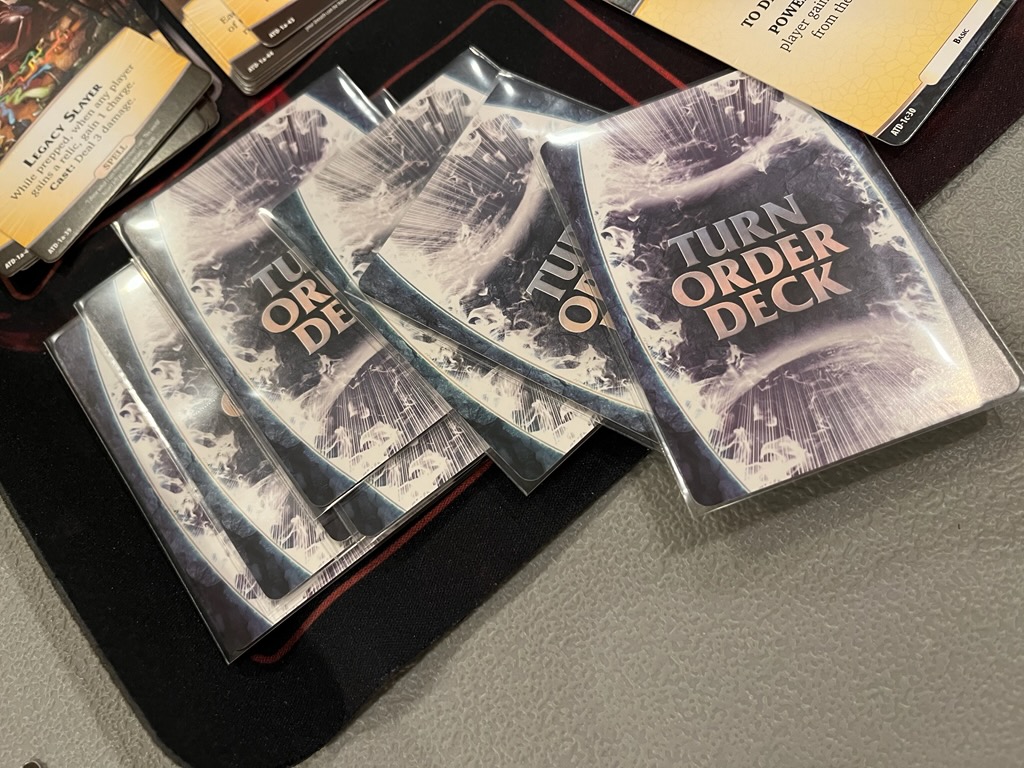
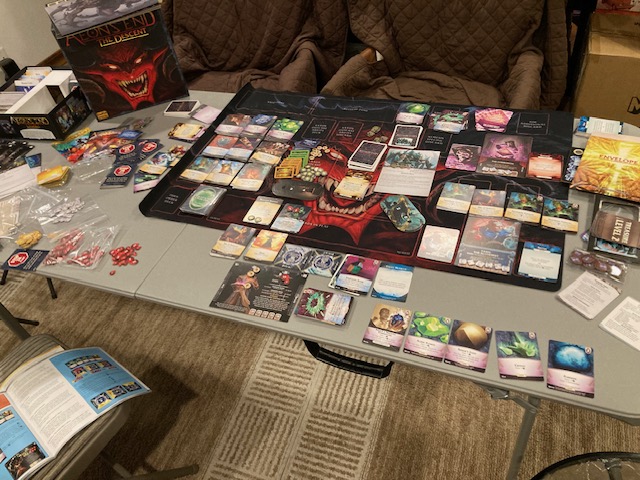
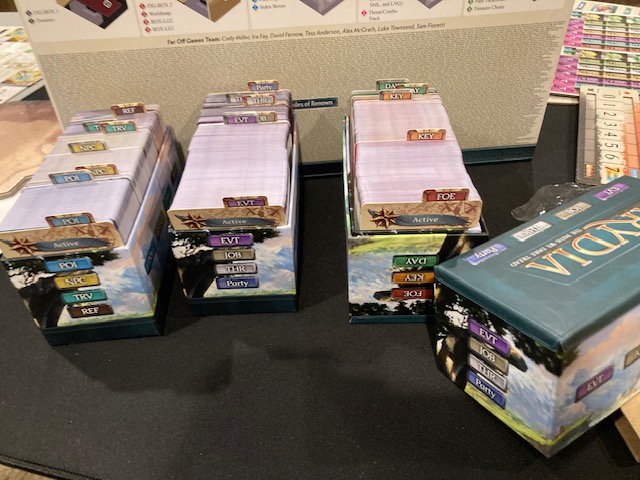
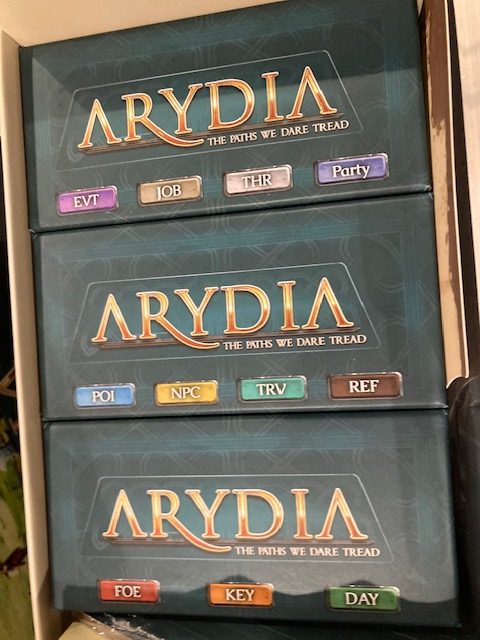
But I want to end my unboxing the same way I ended Day 0: setting up the card and map decks. These card decks (see three boxes above) control how the game unfolds: the stories, the combats, the twists, the turns … all of the game is in these three decks.
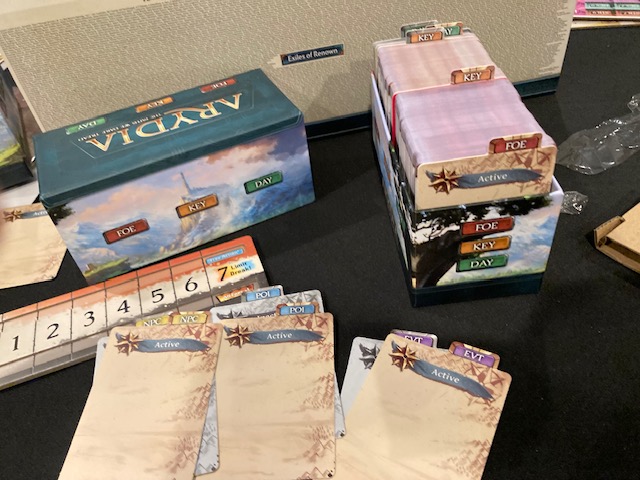
One of the first things you have to do is put the backers (see above) in the card boxes to indicate where different sections start and end.
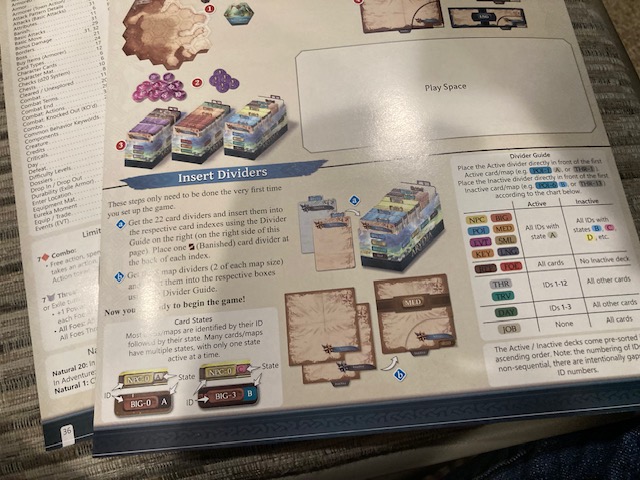
This is literally one of the first directions in the quick-start: “Insert Dividers” .. see above.
So, at the end of my first day of unboxing, I ended up putting the dividers in. This was … more work than I expected, as the card decks have a very precise way they need to be set up. I think I spent a good 30-45 minutes inserting the dividers (don’t laugh! It’s true!).
There’s also dividers for the maps (which we’ll talk about in the Day 1 section below) that you have to insert. Really! It’s more work than you might expect to put in these inserts!
So, at the end of Day 0, I got all the dividers set-up and the basic game unboxed. Overall, I probably spent 2 hours to get to this point.
Starting First Play: Day 1 (December 31st, 2024)
NOTE: Some of the stuff here might be considered spoilers, as it’s from the Quick Start Guide, but it’s the first things you see, so it’s not much of a spoiler. Feel free to skip this if you want to be completely surprised.
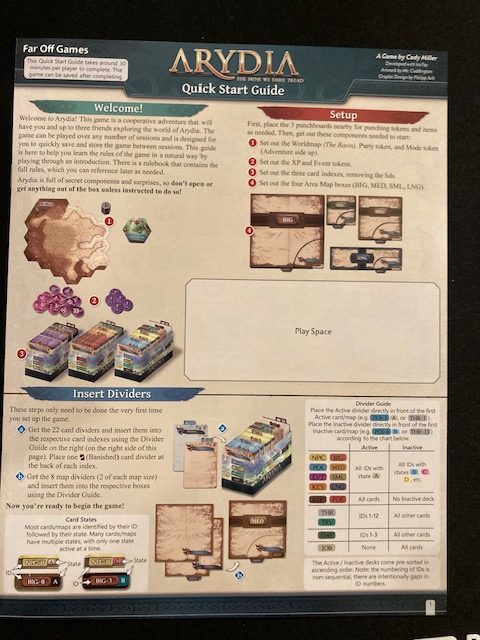
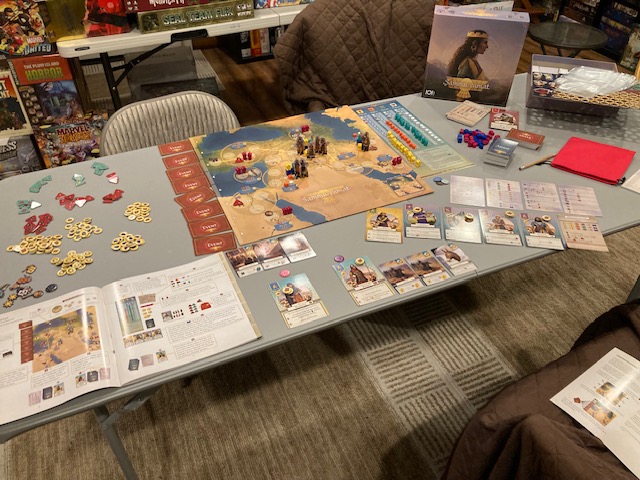
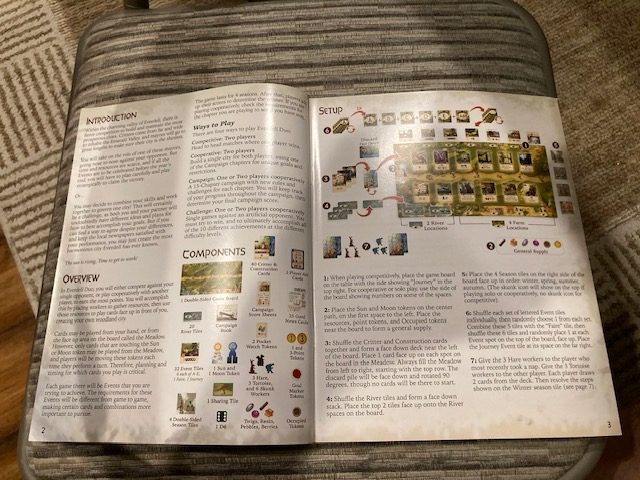
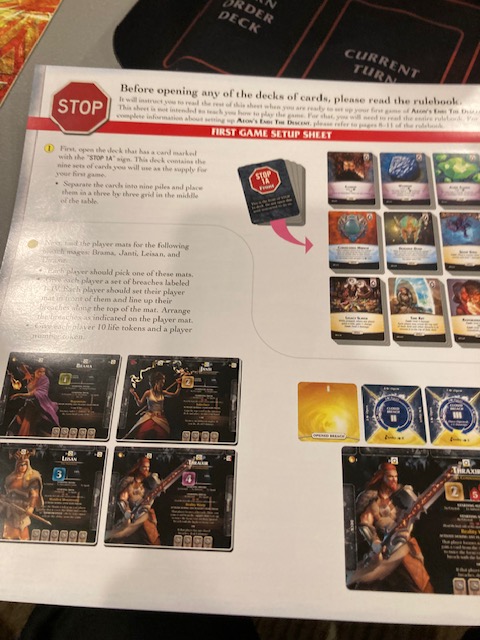
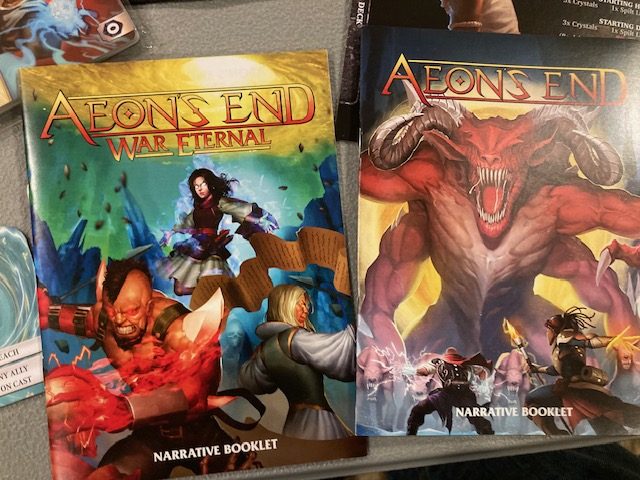
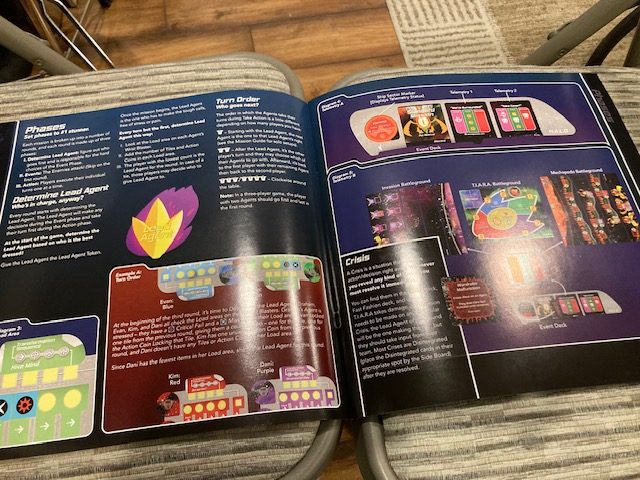
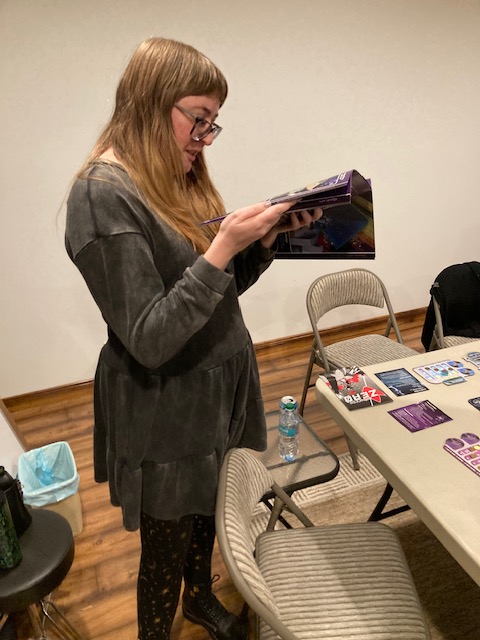
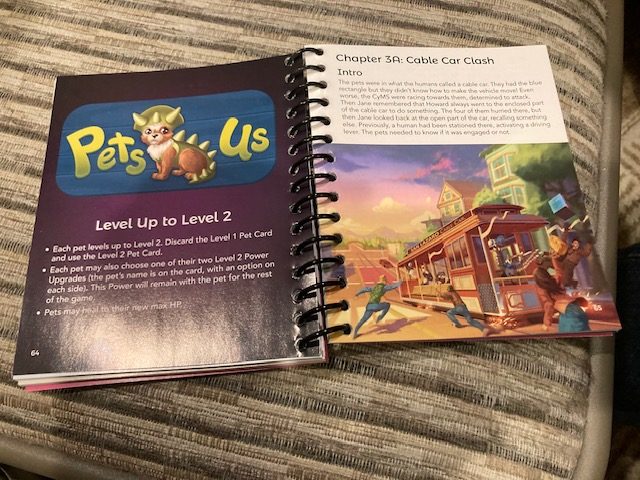
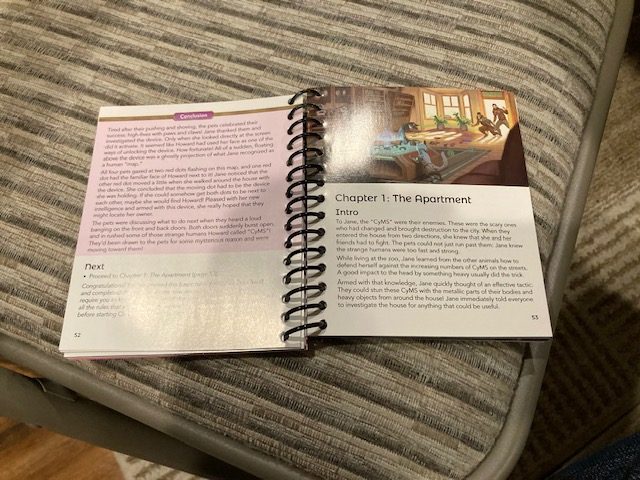
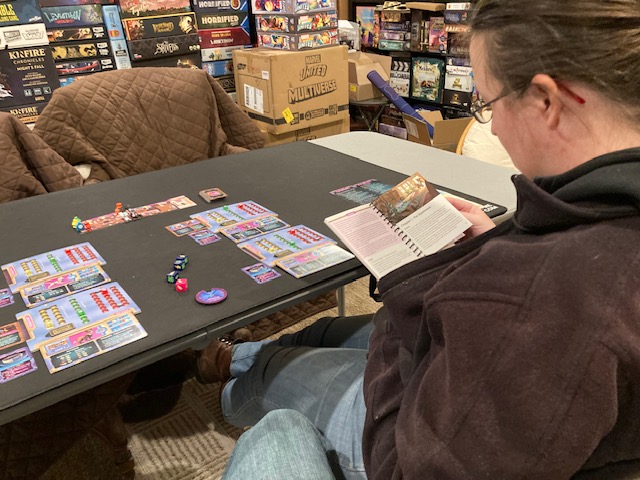
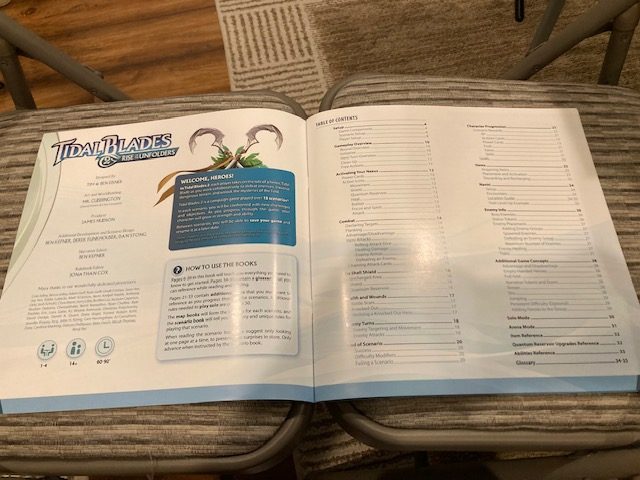
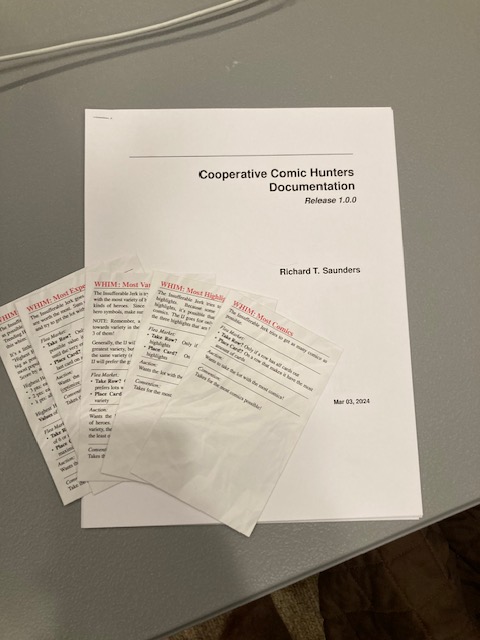
We didn’t focus on this too much in Day 0, but there is a really nice Quick Start Guide (see book above) to guide the players through the game.
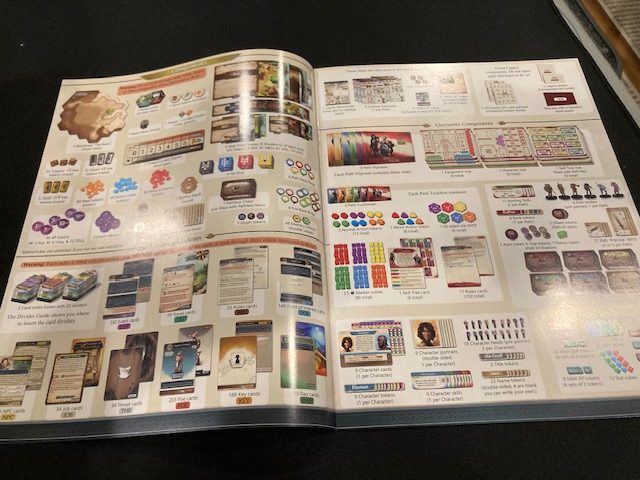
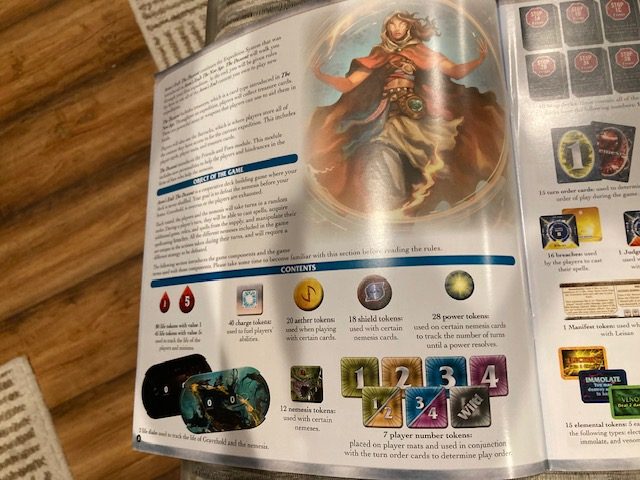
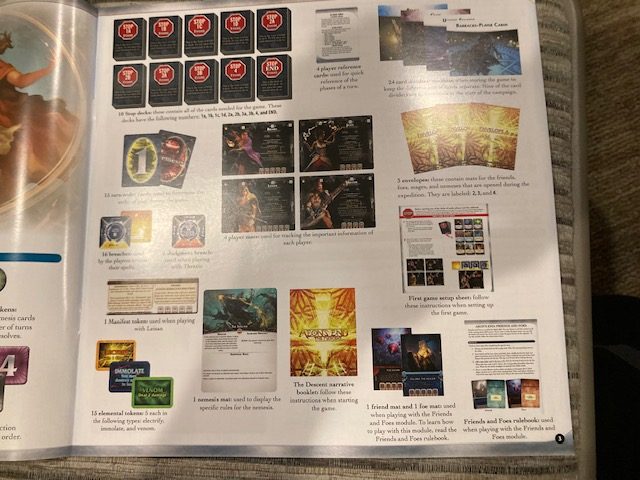
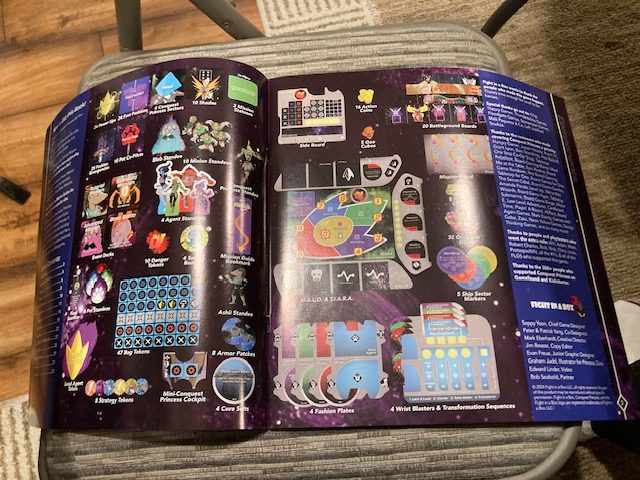
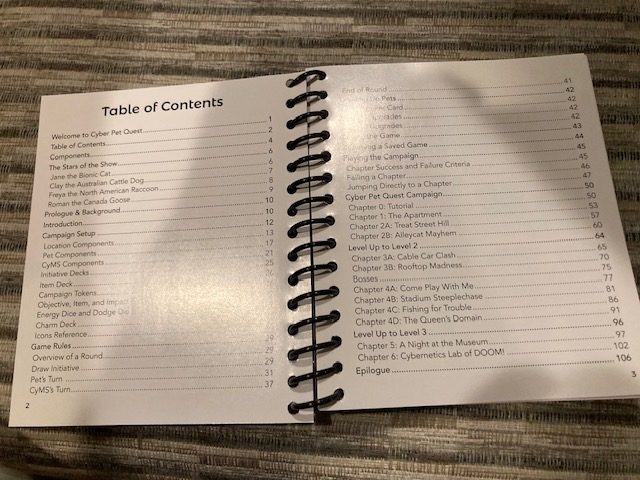
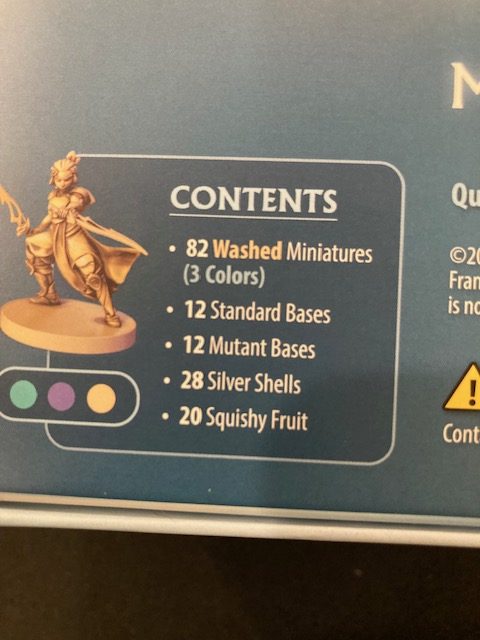
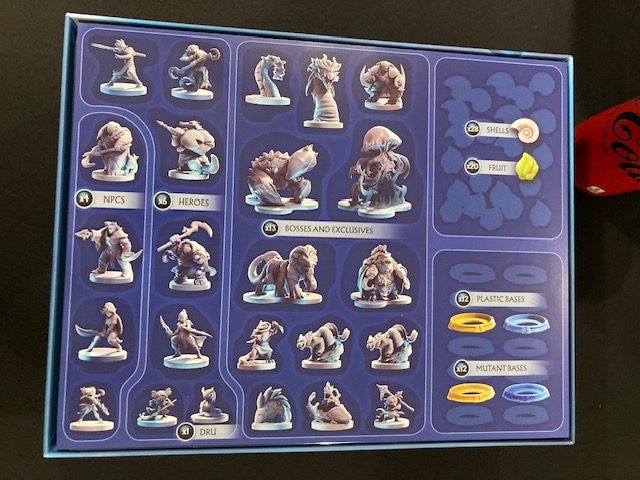
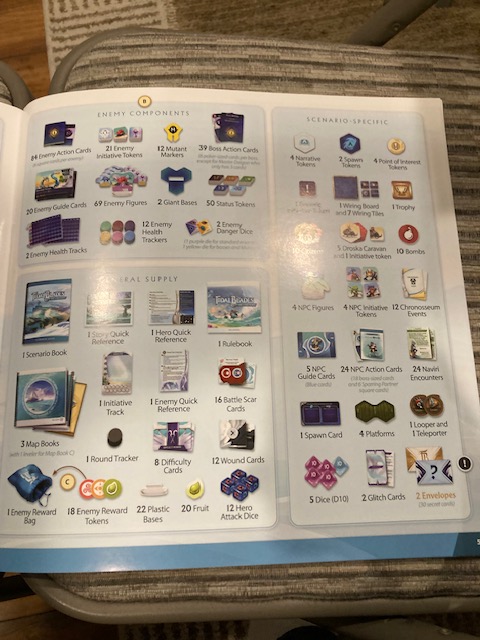
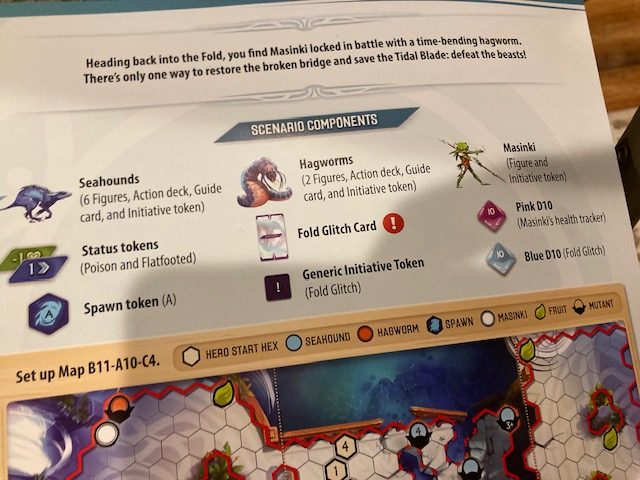
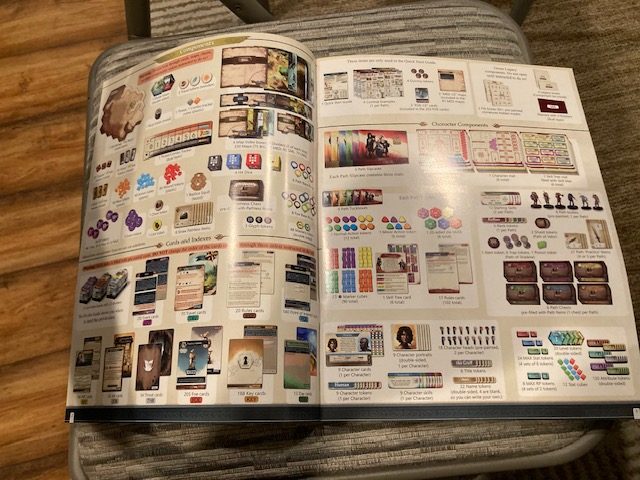
This Quick Start Guide is 16 pages long … yes, let that sink in … a Quick Start Guide that is 16 pages! That’s because the rulebook is 36 pages! And yet, the Quick Start Guide does a GREAT job getting you into the game! I spent Day 0 setting up the decks and maps (which is described on page 1 on Quick Start Guide). The next page has the components! The components are interestingly listed in both the Quick Start Guide (see above) and the Rulebook. I mean, a good list of components and correlating text is ESSENTIAL to any good rulebook, so I am all for this!
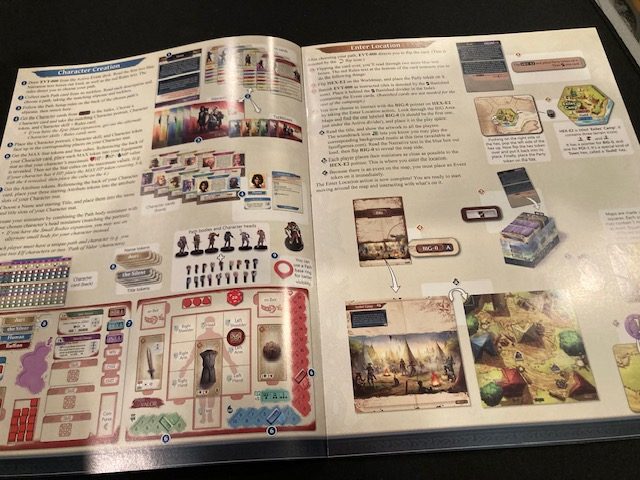
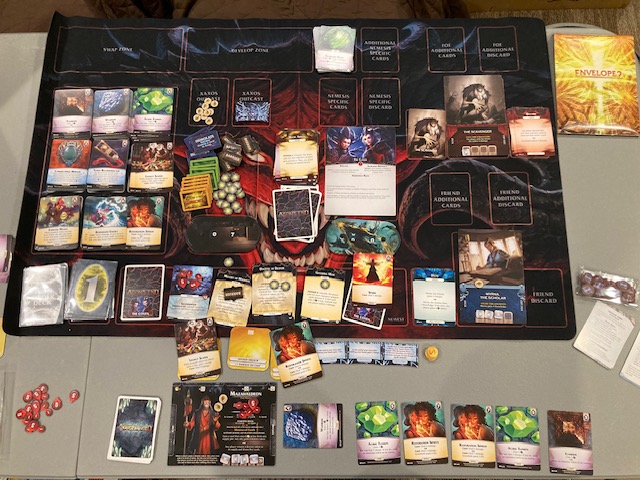
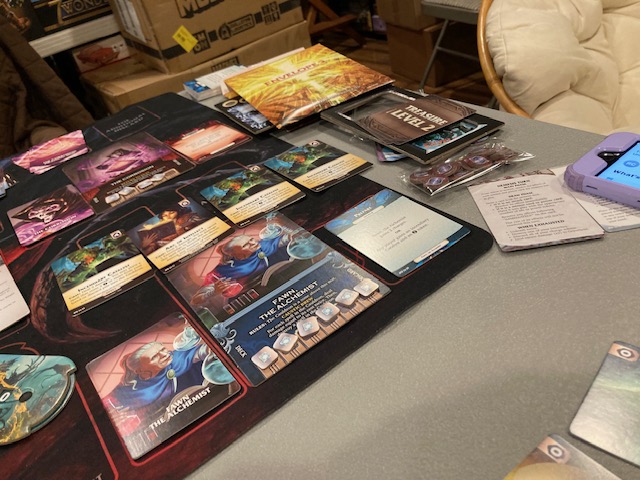
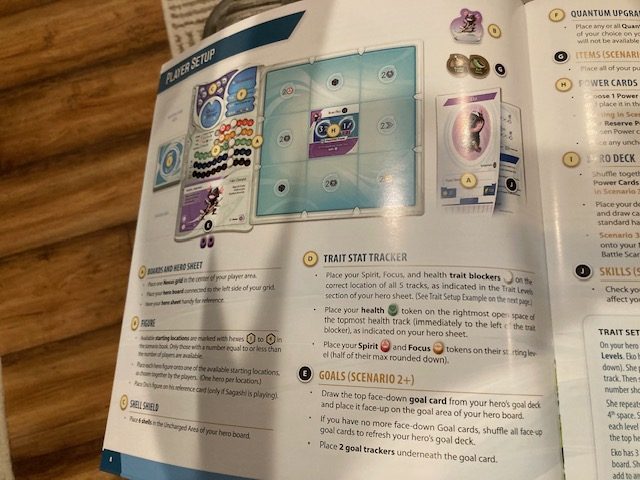
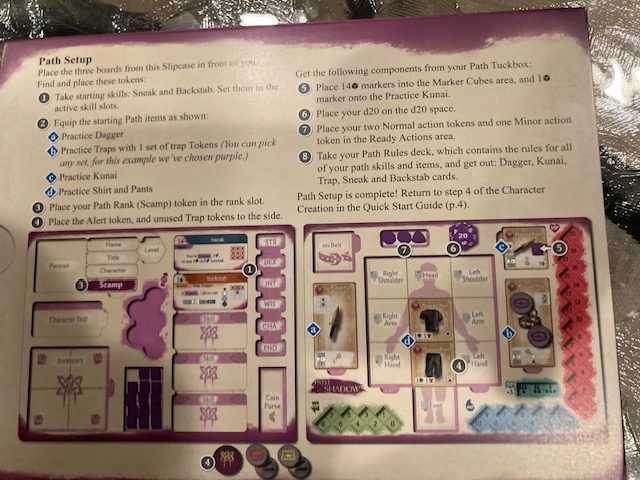
The next step, which I spent a lot of Day 1 on, is Character Creation (see page 4 of the Quick Start Guide above). This guides you through the process of choosing a Path (Rogue, Cleric, etc, basically a Dungeons and Dragons Class).
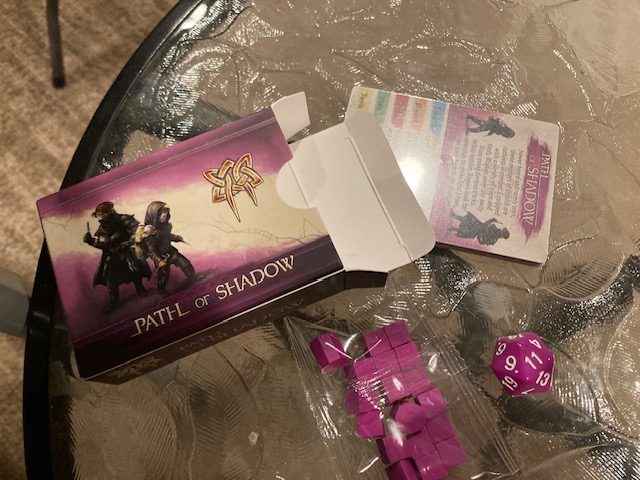
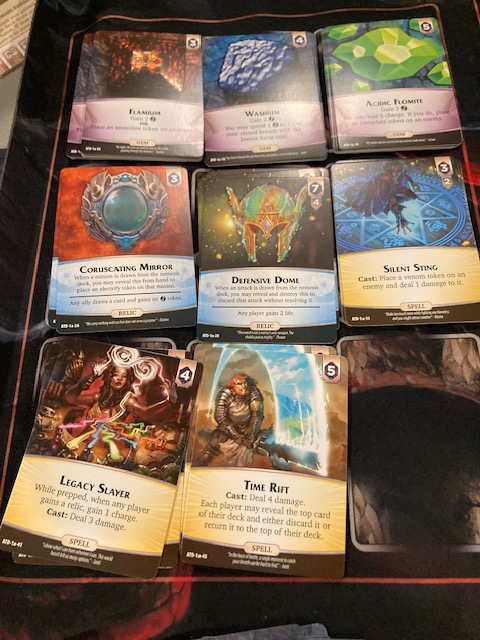
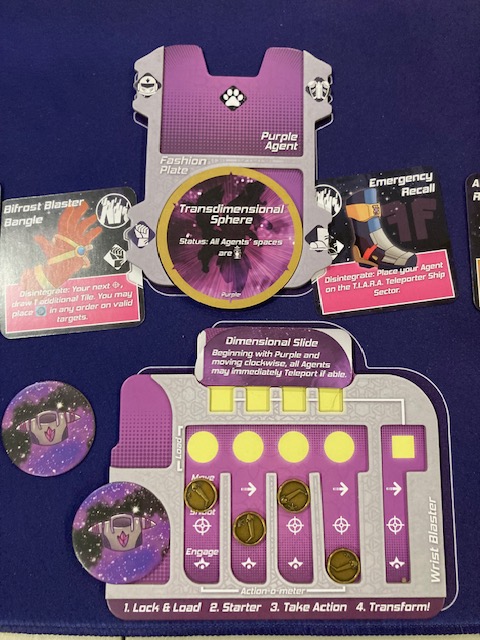
I chose the purple boxes, so I am a Rogue! (you actually get to read the summary of each type if you want more info before you choose). The small card box contains a d20, some colored cubes, and cards describing your skills. See above.
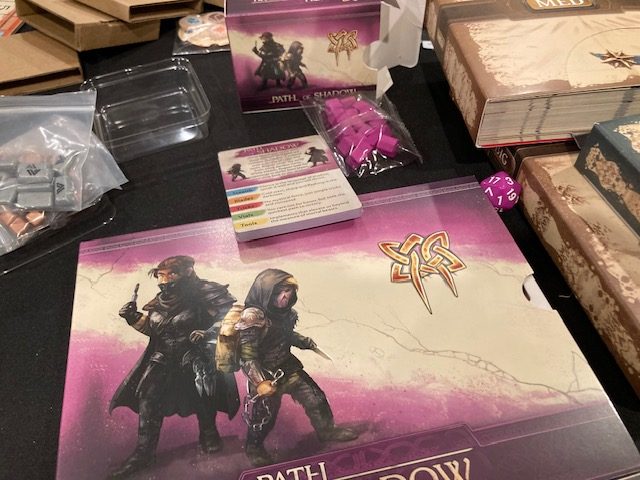
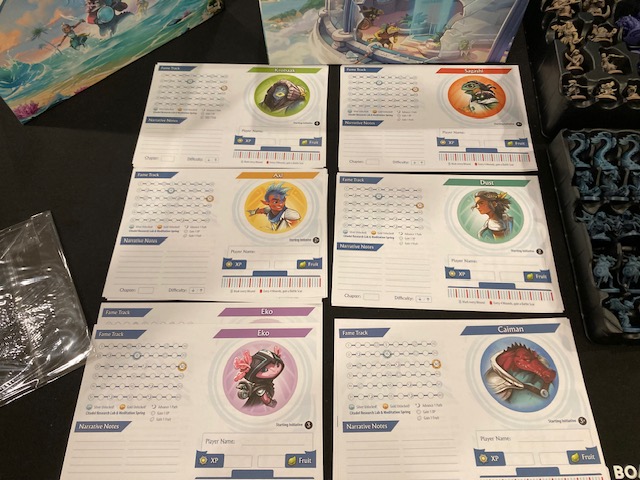
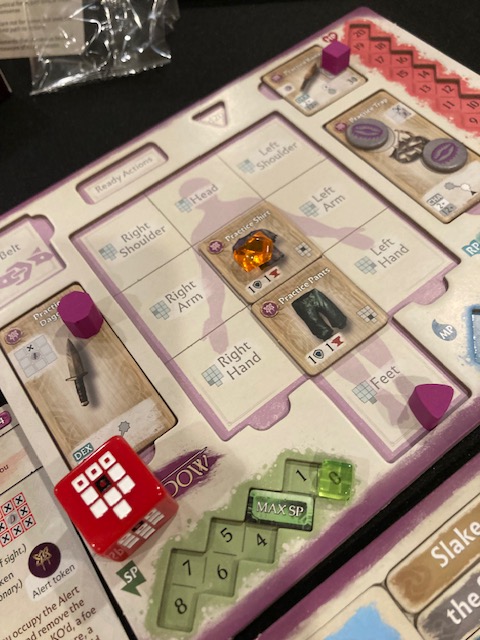
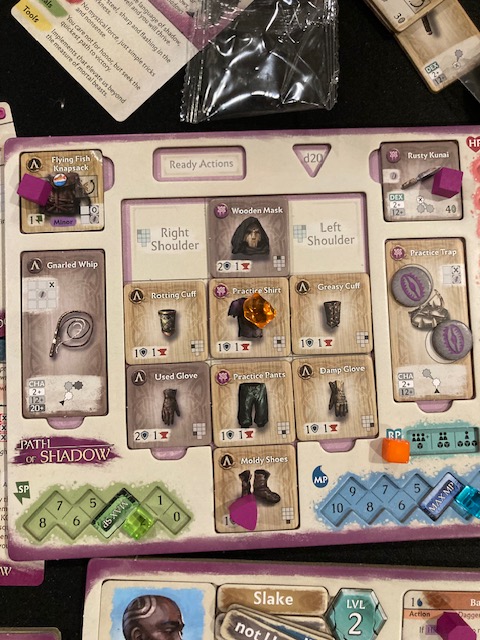
The long thin box (above) contains your character sheets (below) … which are all double layered boards!
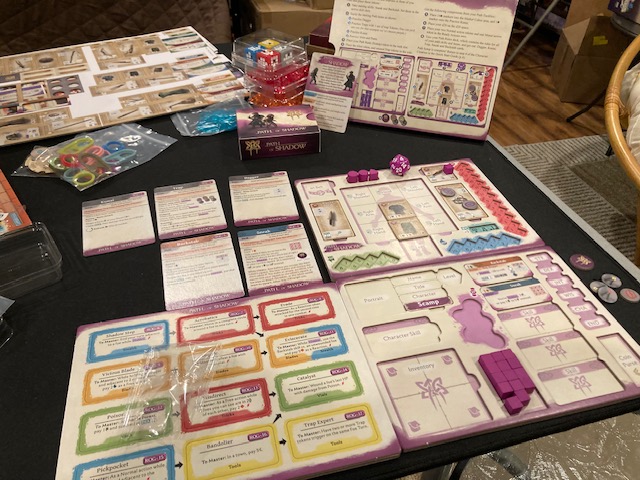
See above as my Rogue has his skill tree board (left), character board with skills and inv (right), and the the character profile (above, right), and the more descriptive skill cards (above, left).
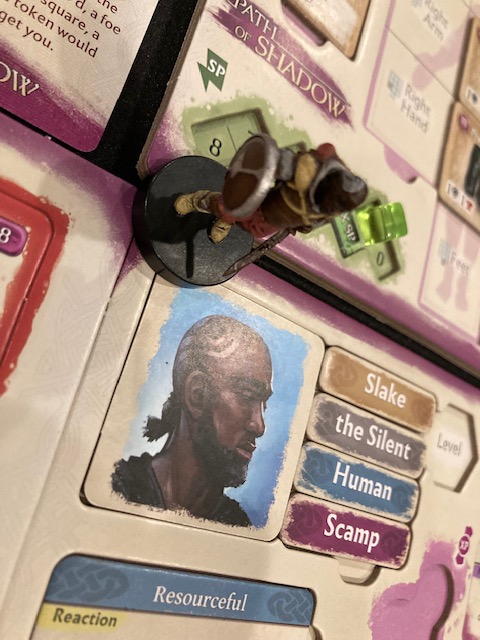
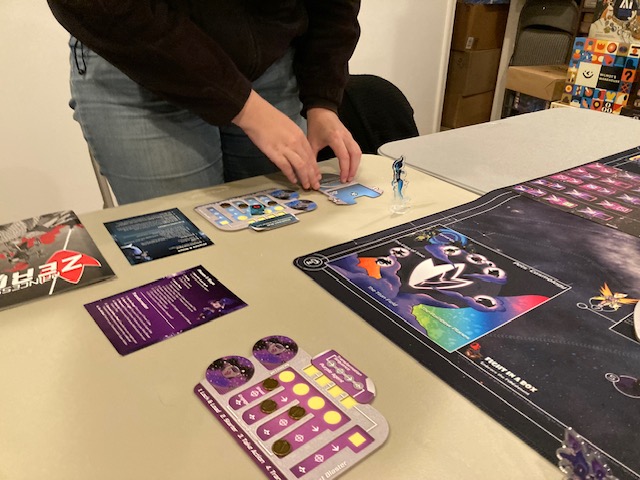
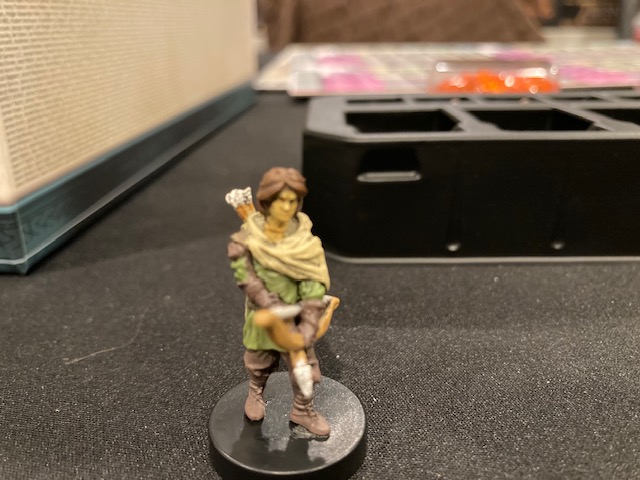
At this point, you also choose your name, character mini, head (which still sounds weird), and race. See above.
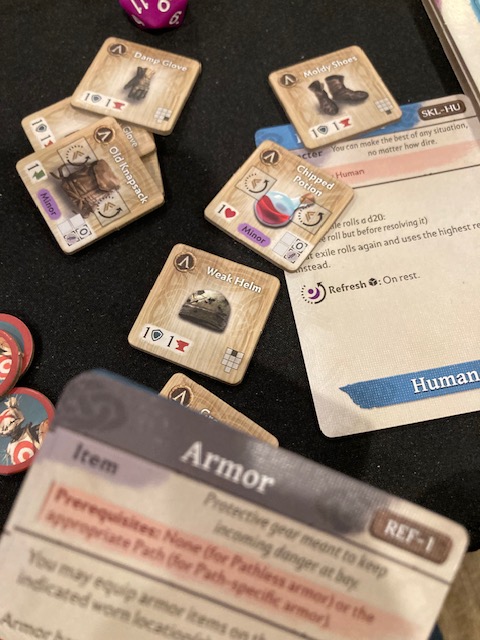
Your Race (I am human, see above) choice also get some special abilities (the Human gets a free re-roll every so often).
This process of choosing characters was really well done! They even give you a hint how combat will work: see how one sheet has an armored profile which armor covering areas?
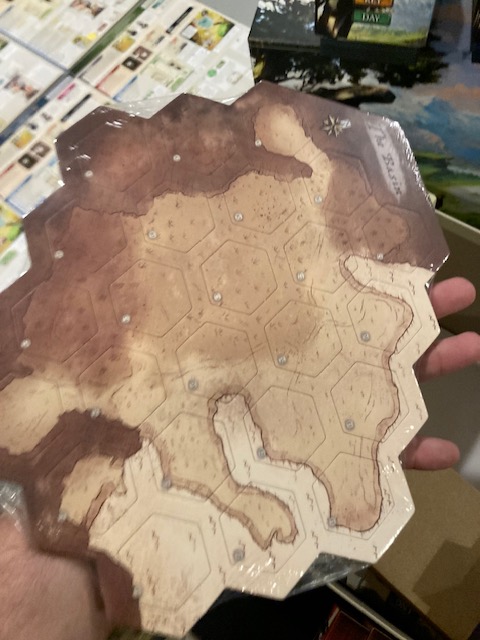
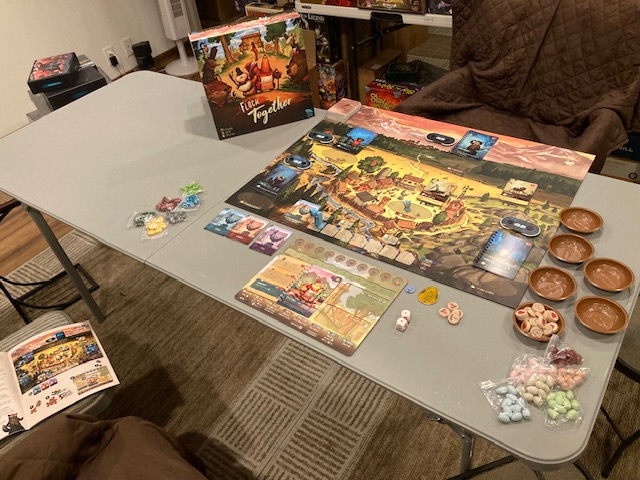
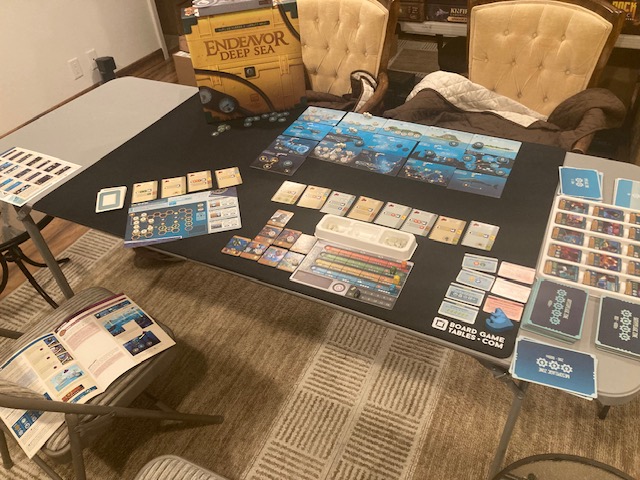
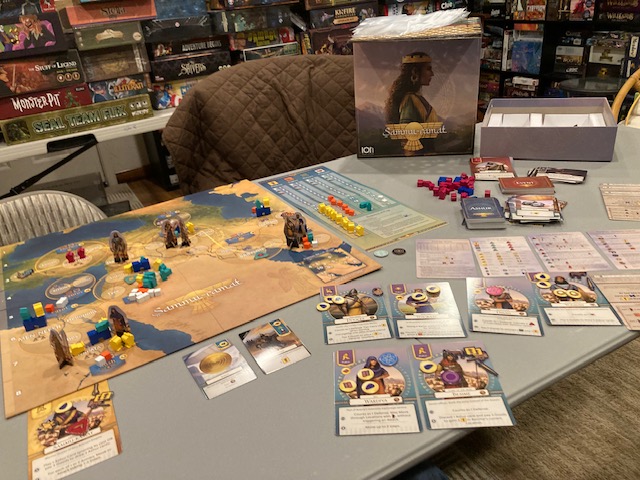
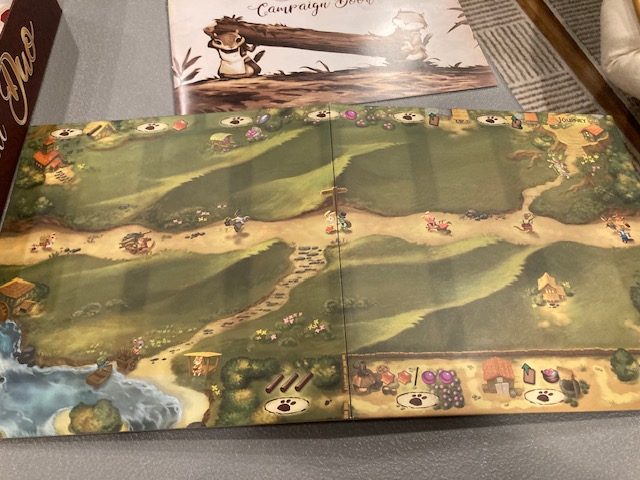
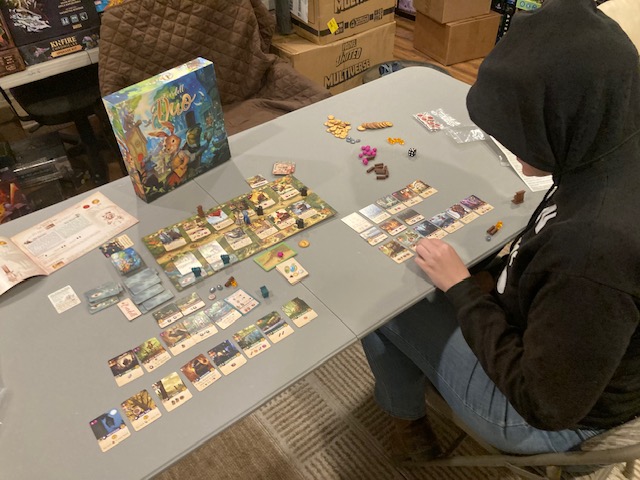
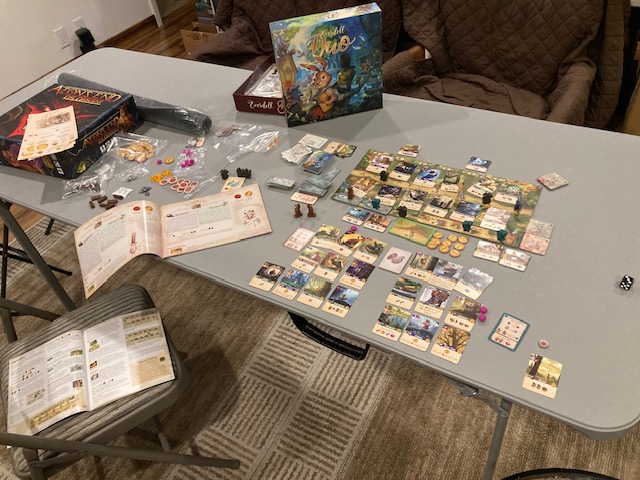
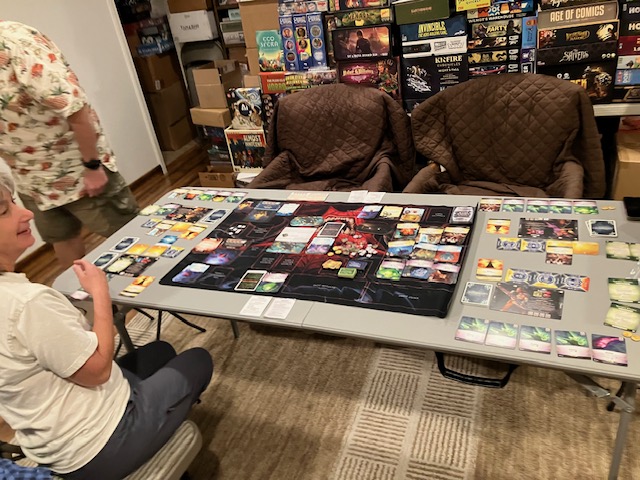
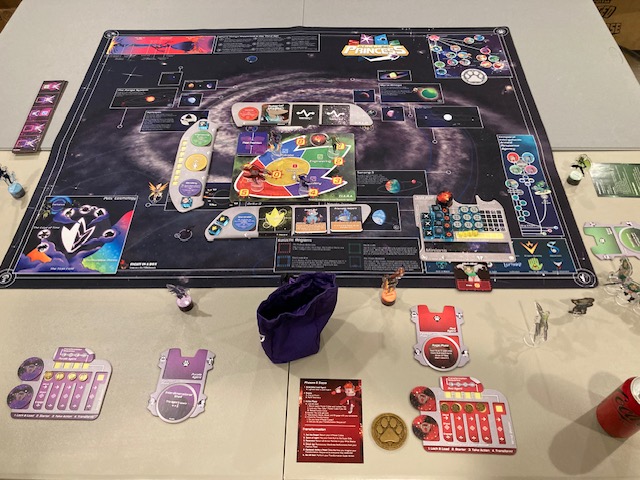
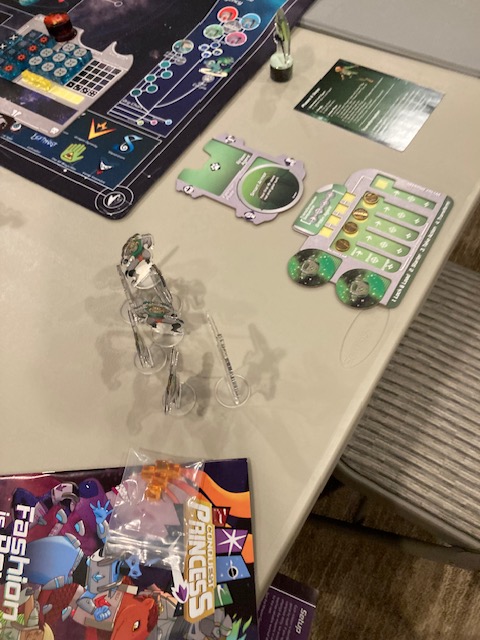
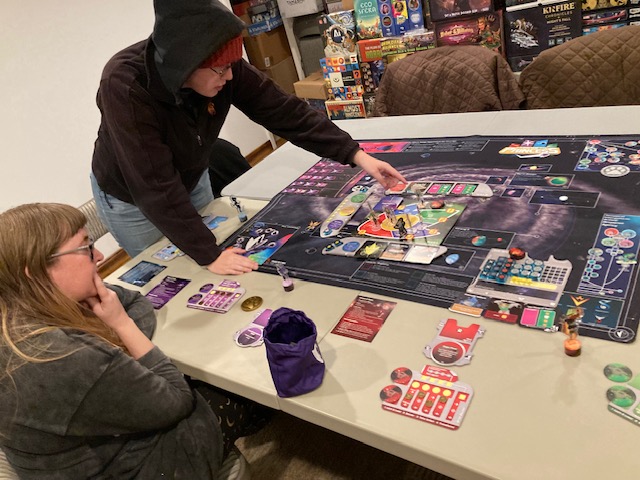
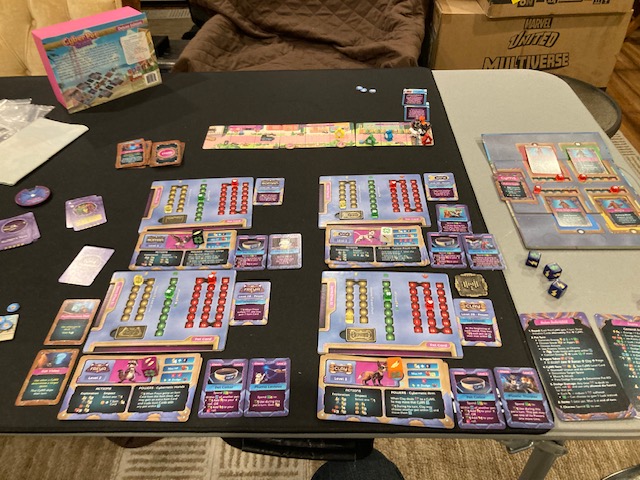
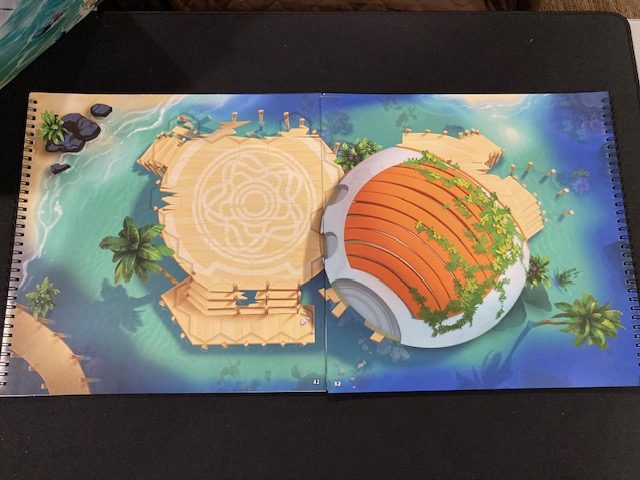
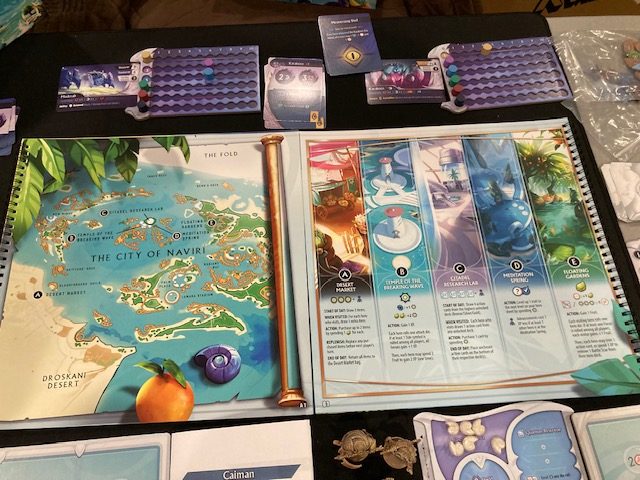
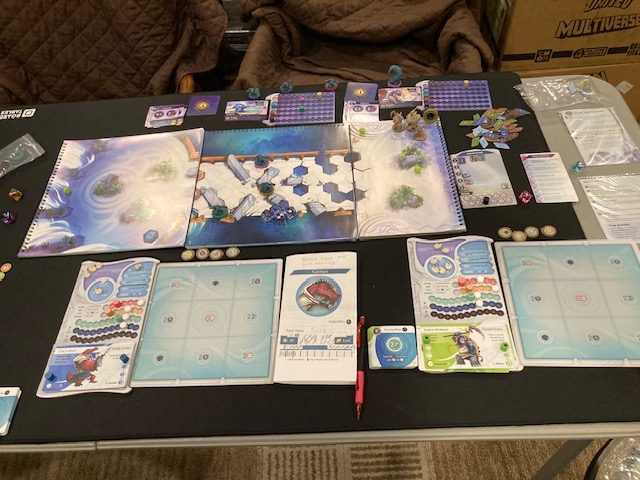
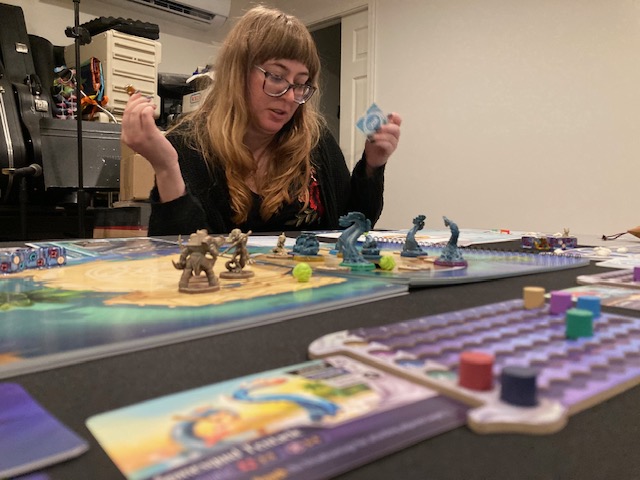
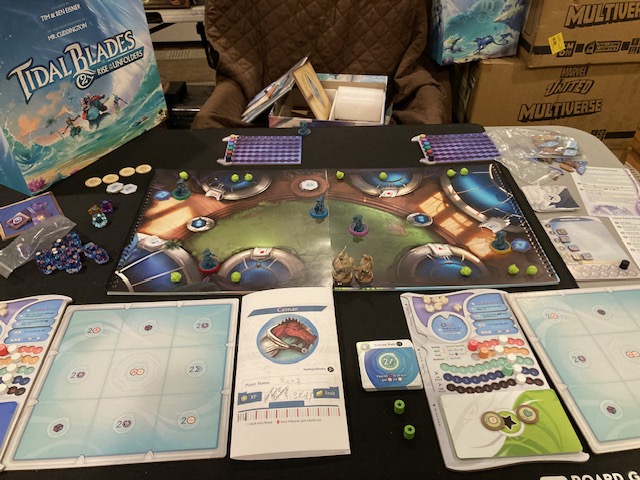
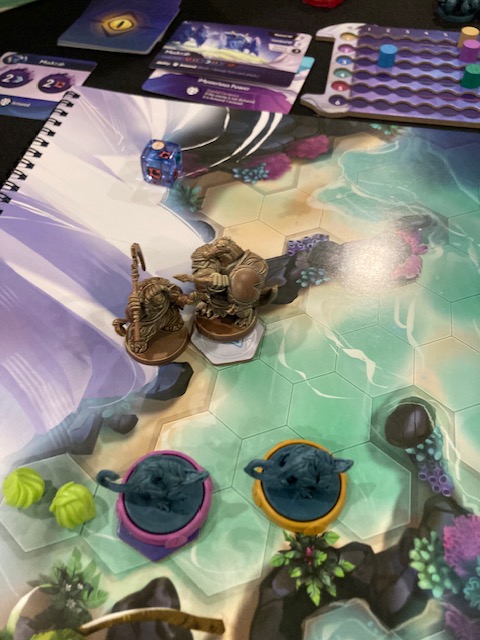
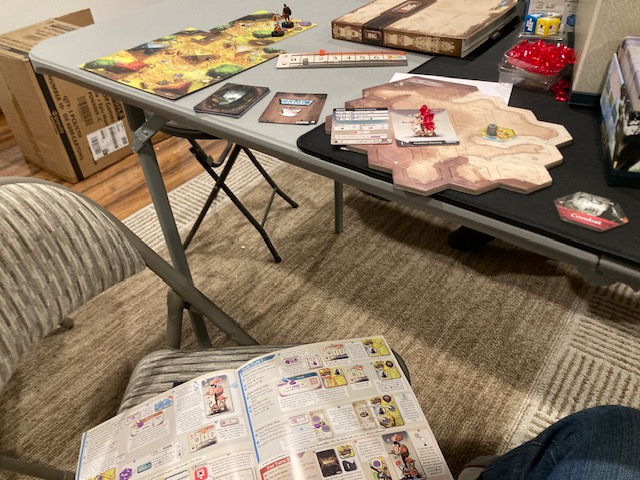
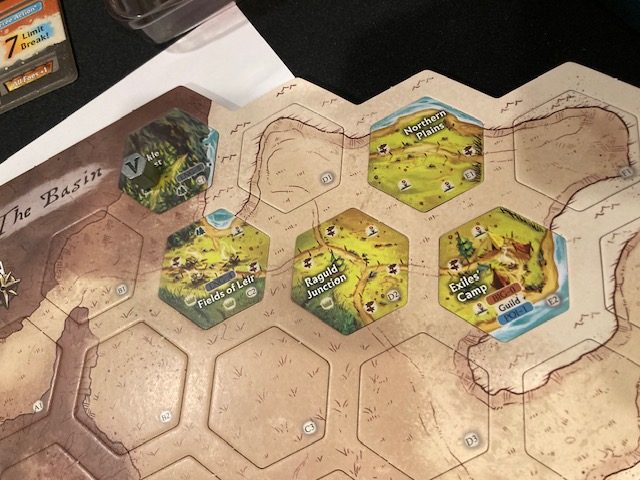
The next step has you start into the world! This game is combination of exploration, combats, and puzzles and quests! You start on the WorldMap (“the Basin”, see above) and explore, looking for stuff!
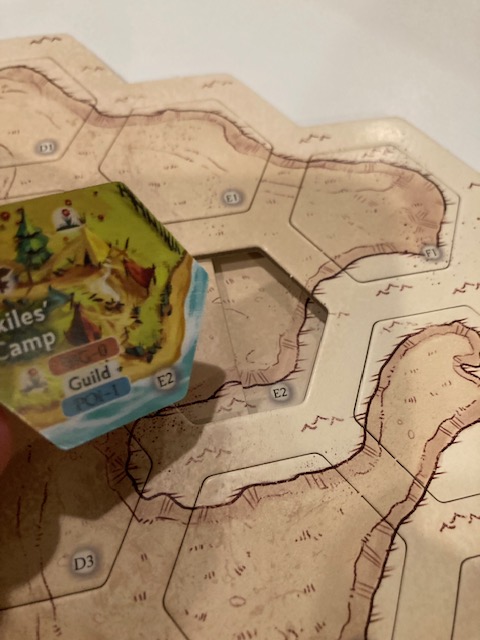
There is a REALLY NEAT mechanism for discovering the hexes: the hexes are inserted in, but you can “push” on the right of the hex and pop it our easily, as there is a little ledge underneath the hex! This makes it VERY EASY to pop out a new hex! The world starts unexplored, except for the Exile’s camp! See above!
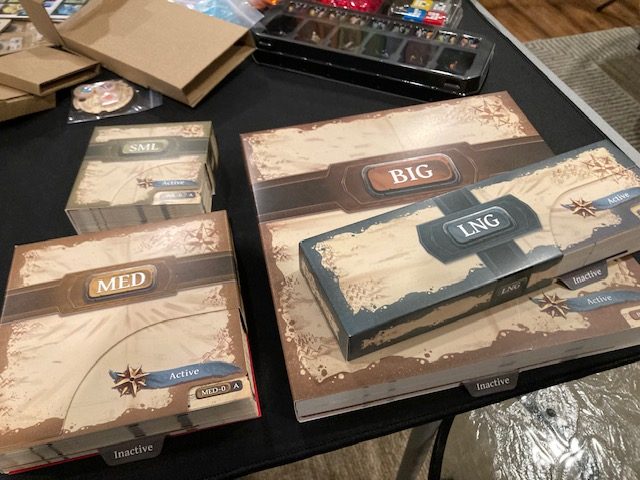
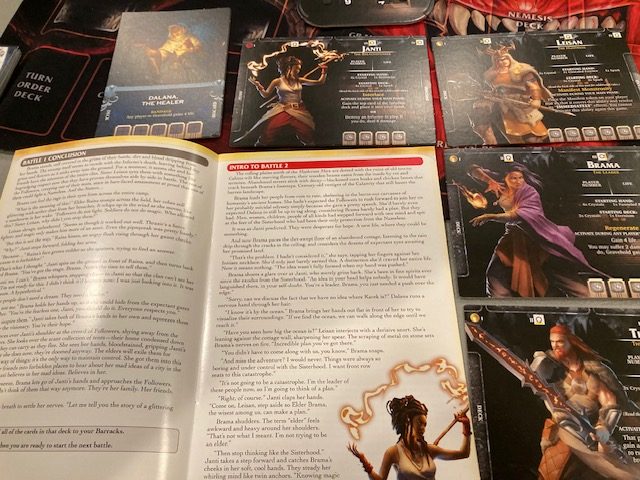
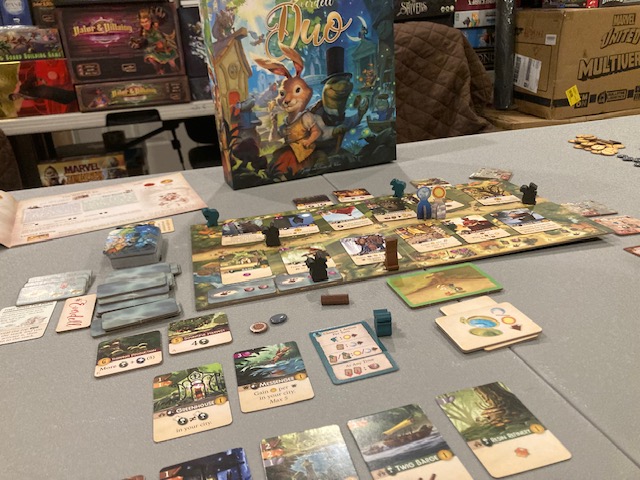
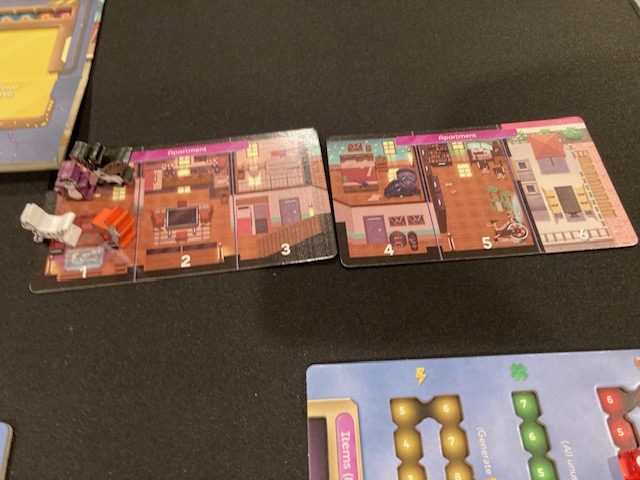
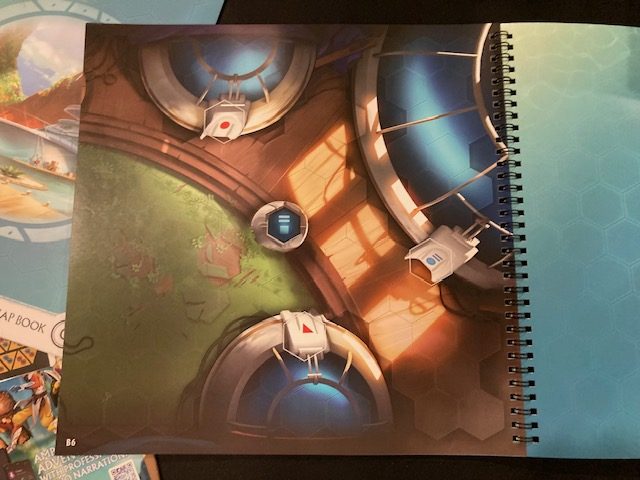
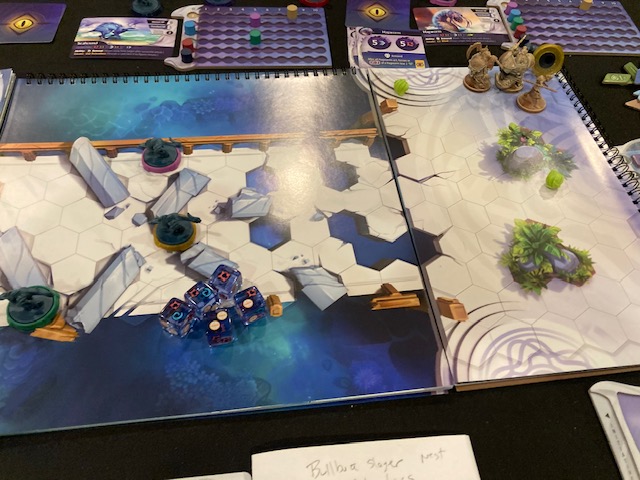
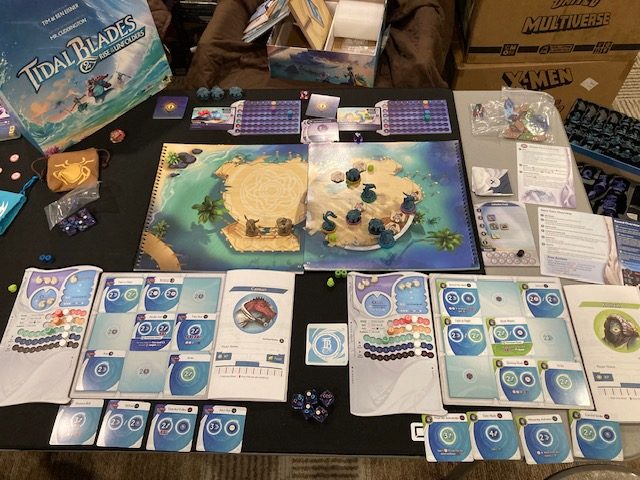
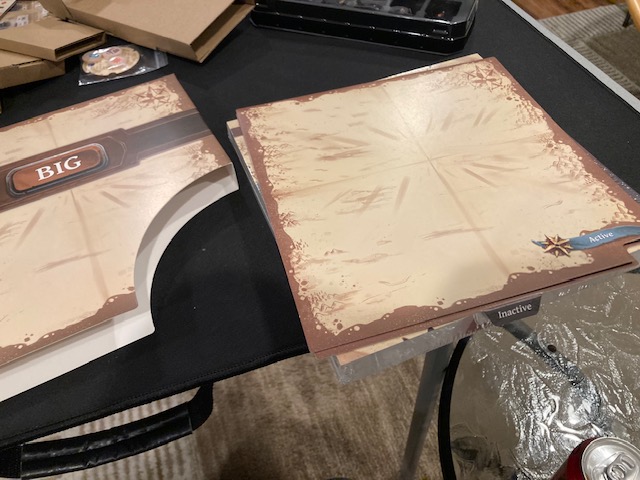
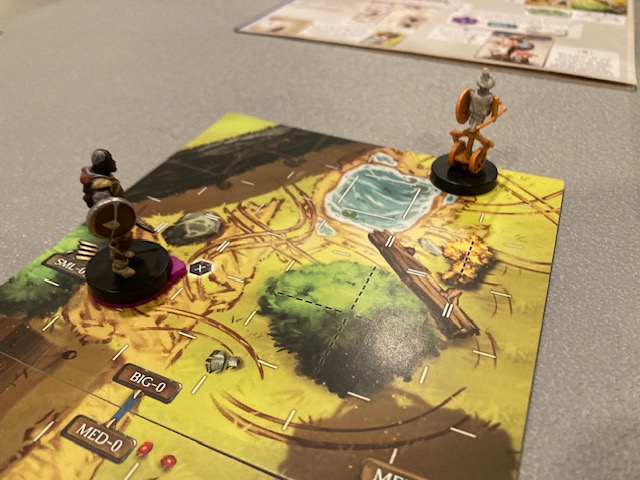
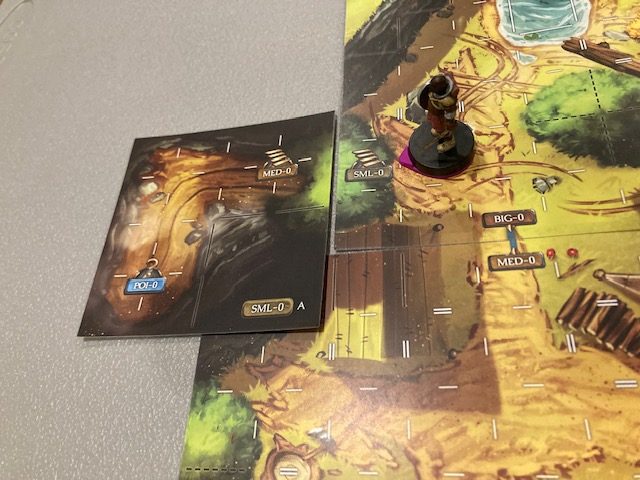
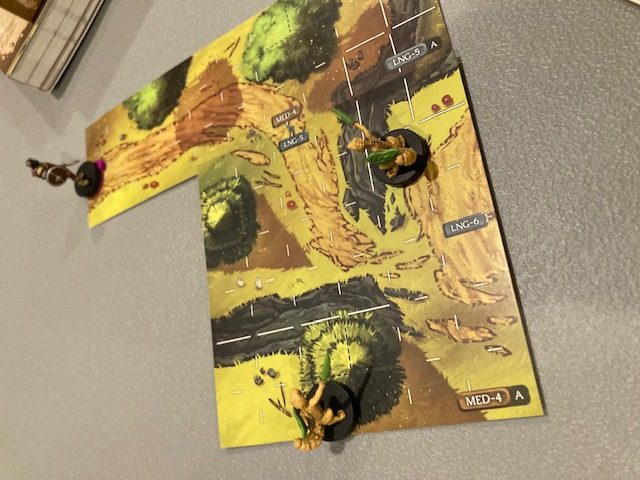
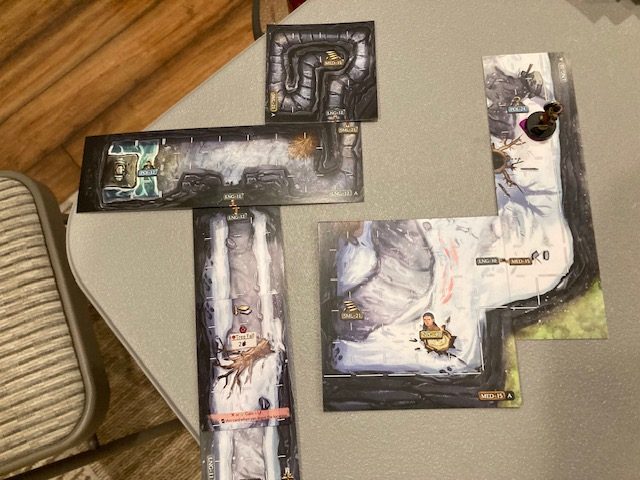
When you explore a location (like the Exile’ camp), the game will direct you to use some of the maps that come with the game! The maps are LNG (long), MED (medium), SML (small), and BIG (big). See above.
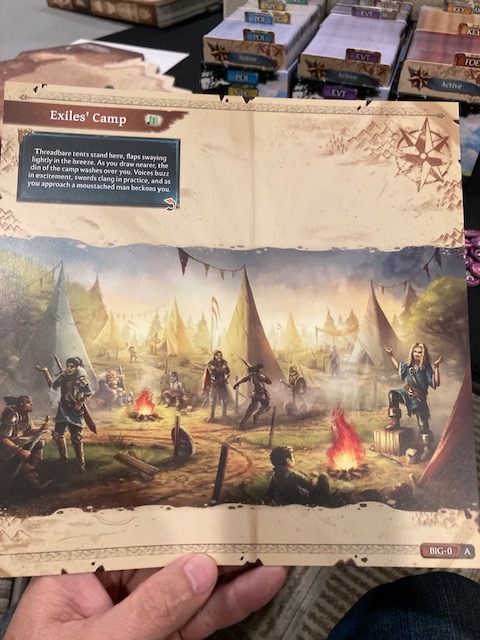
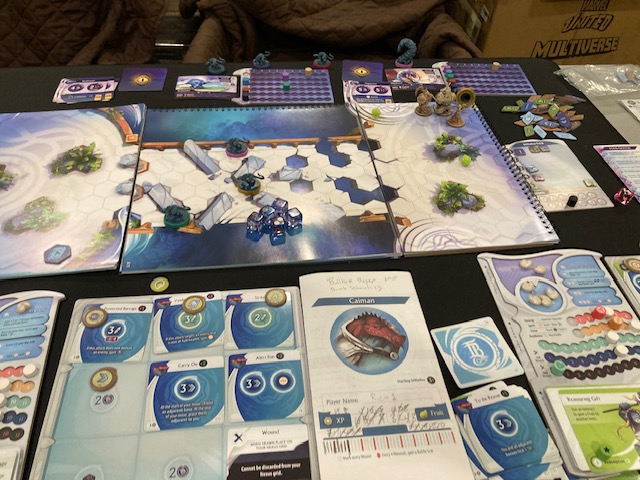
One side of the maps describes the scene with words and text! See above!

Then you flip it to the other side! And then you explore the maps at that Location! At that maps are POI (Points of Interest), FOE (foes, potentially), NPC (Non-player characters), and other stuff! You interact with the place by moving to them (if you start a board with a FOE … you start combat immediately! We aren’t quite there yet!)
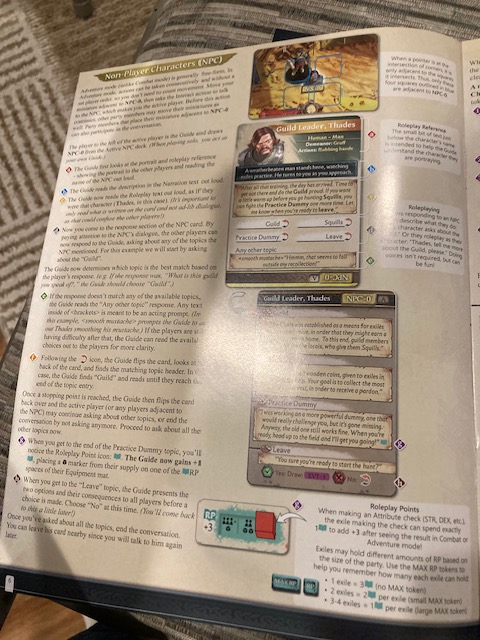
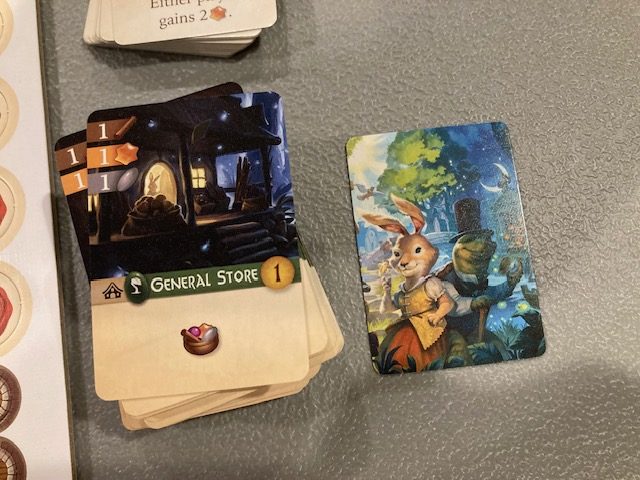
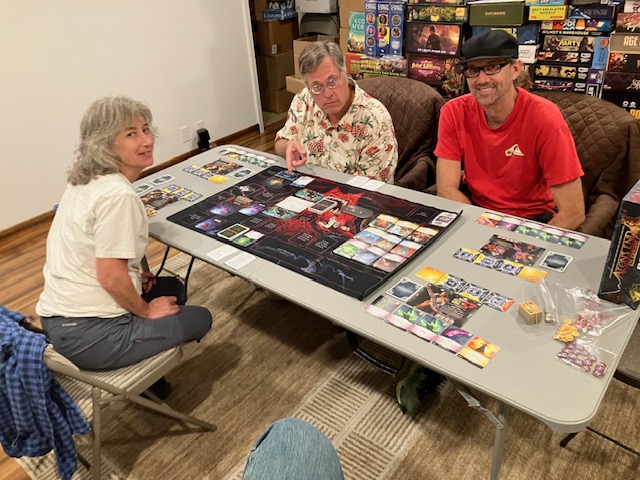
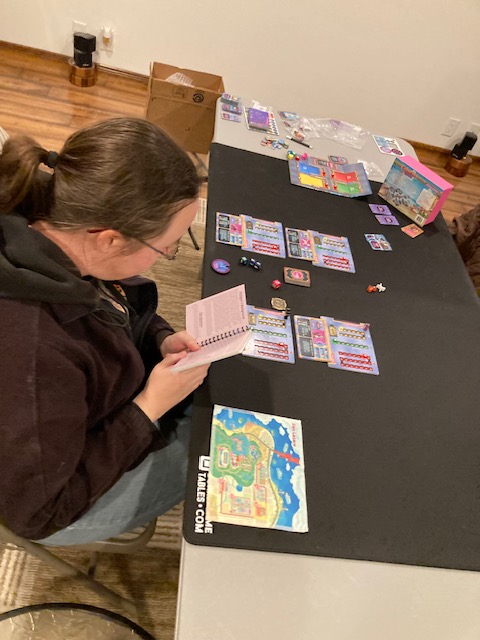
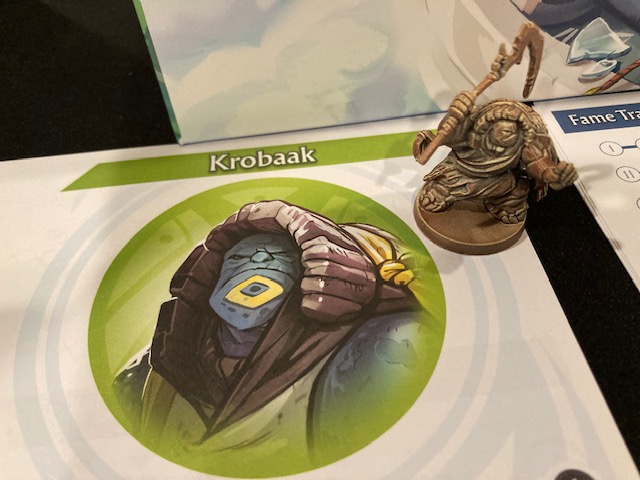
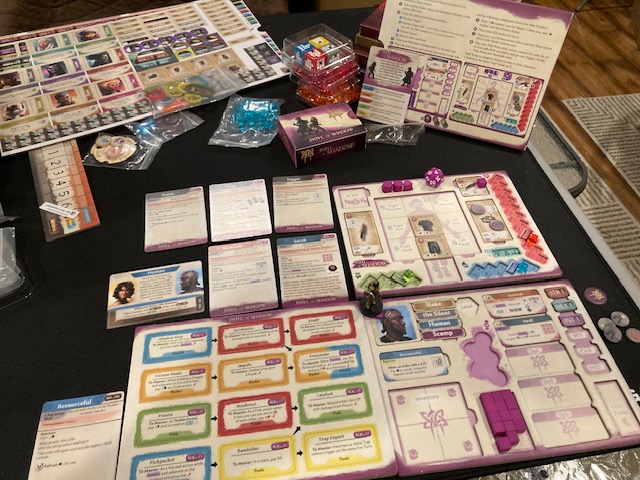
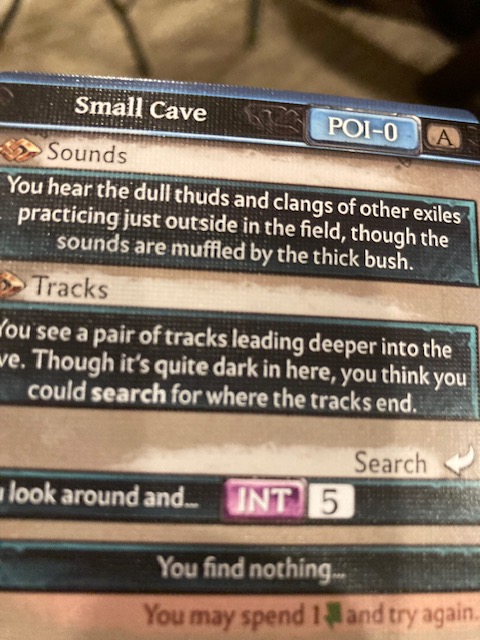
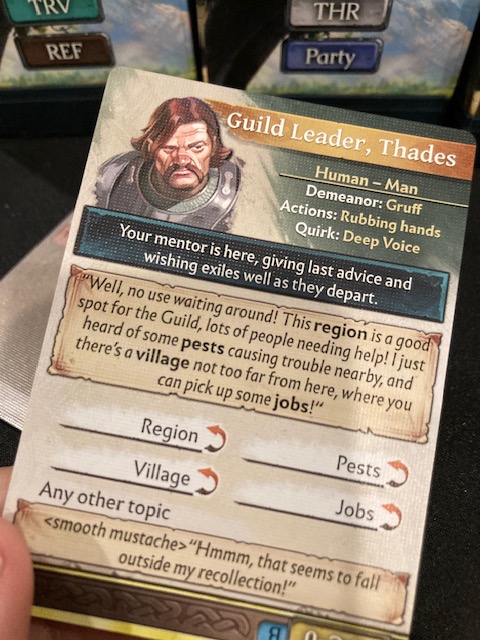
Interacting with a NPC (or POI) is basically the same: everyone interested goes to that Location! You get their card and read it! The first NPC you encounter is Guild Leader, Thades!
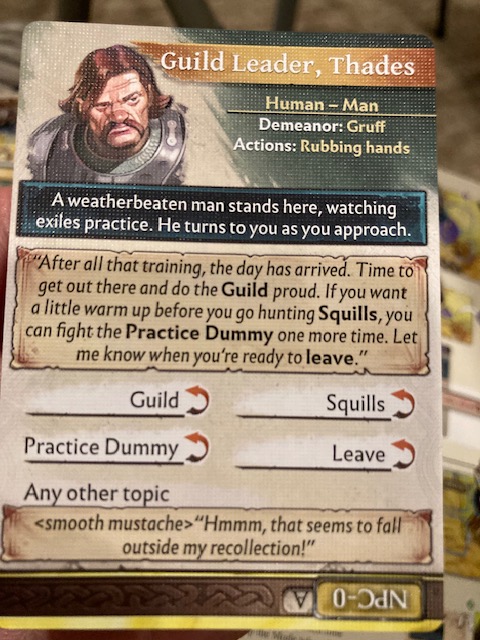
Then one player “roll plays” the card to another group, and the group makes decisions! See above as the group can ask about the GUILD, the SQUILLS, PRACTICE DUMMY, or LEAVE! Basically, this interaction is kind of like some of the point-and-click adventures we’ve seen before (see our Top 10 Cooperative Point-And-Click Adventure Games)!

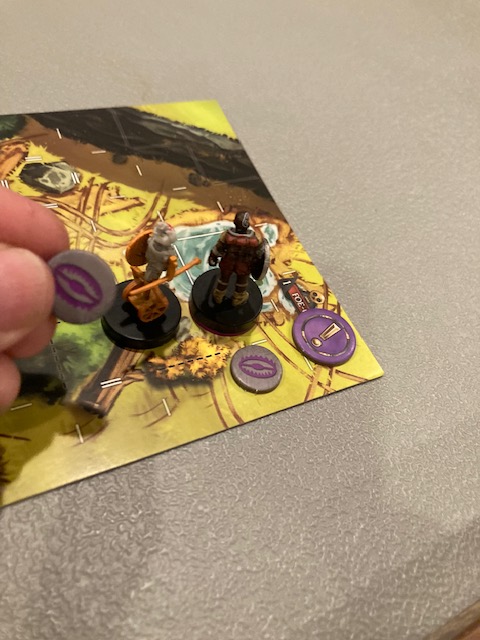
And sometimes these interactions will point to a new map, a new card, a new KEY (a way to keep track of open adventures), or other stuff! See above as we head into our first combat!
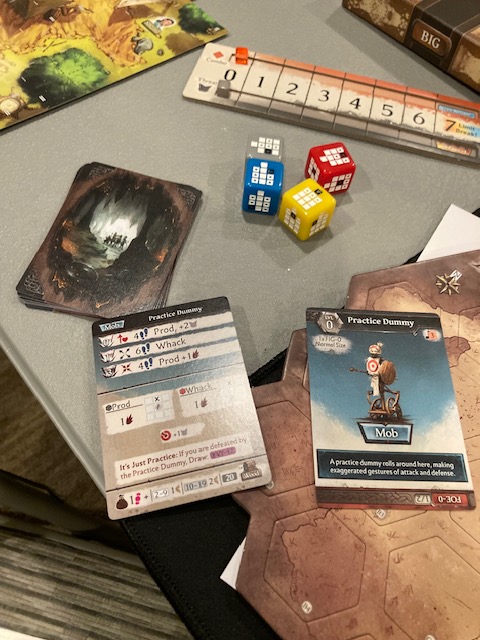
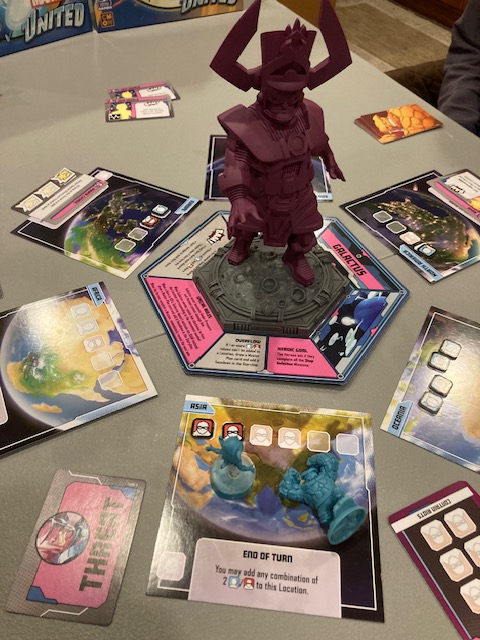
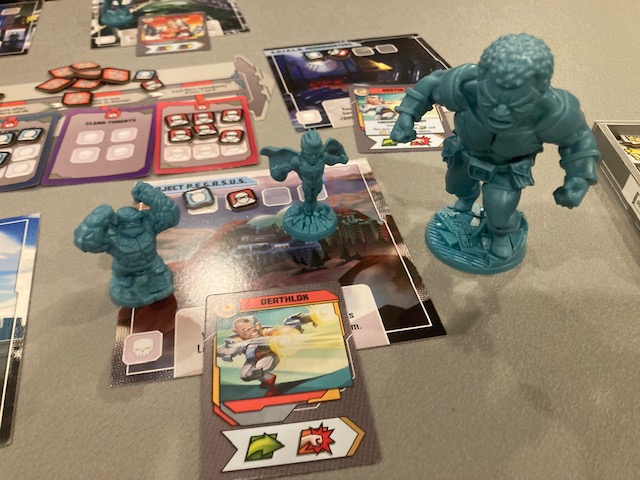
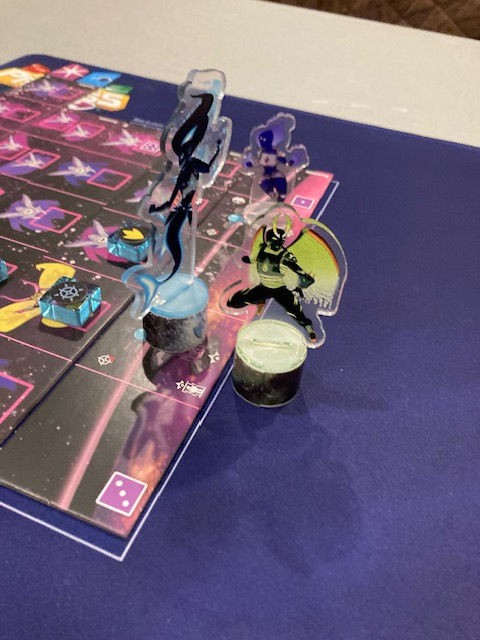
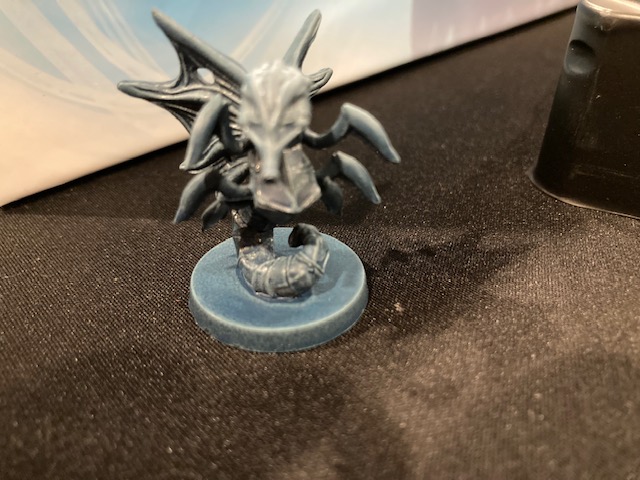
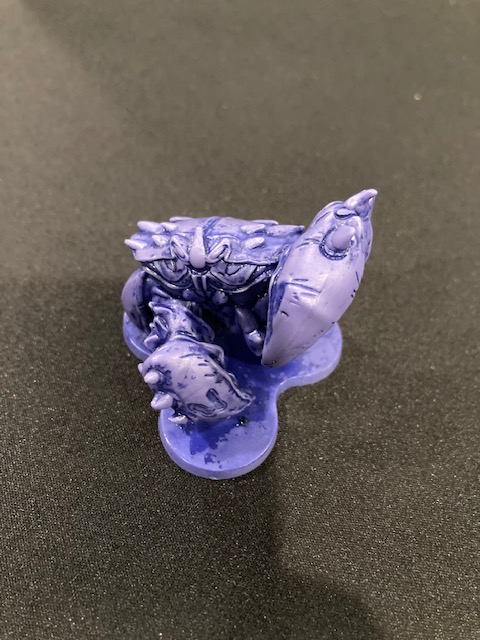
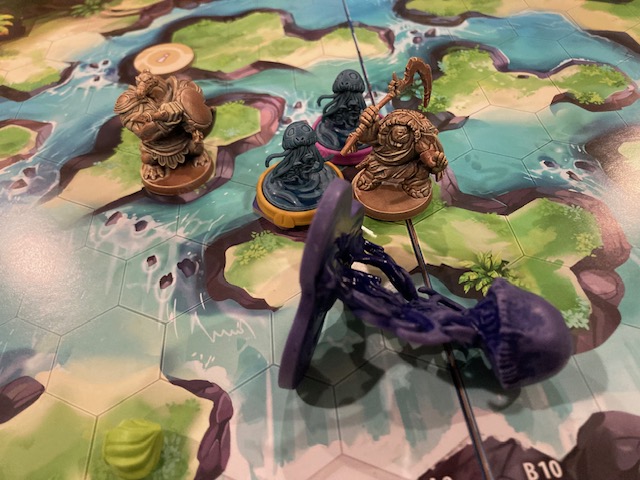
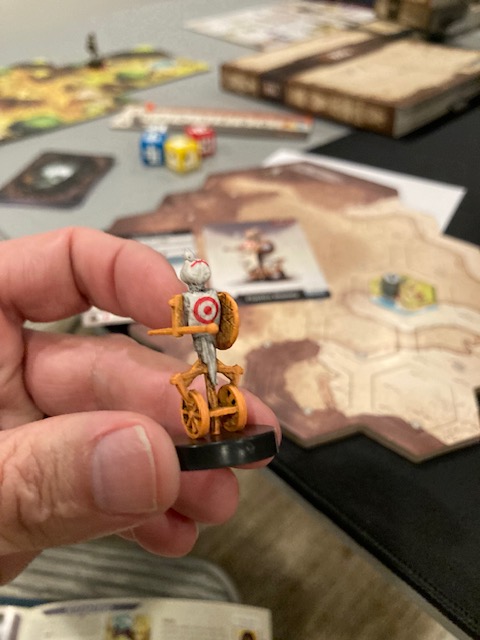
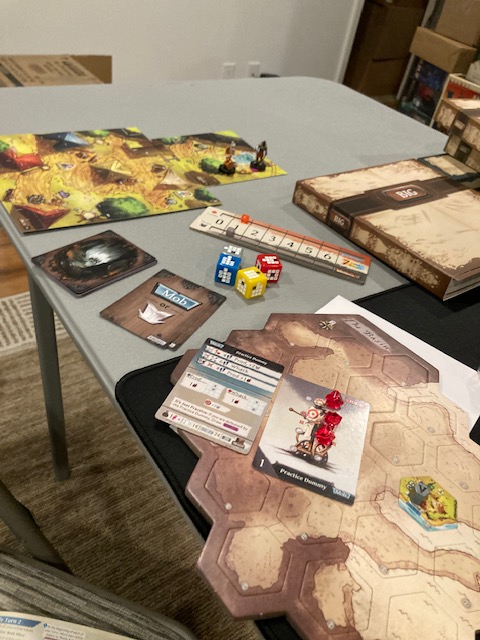
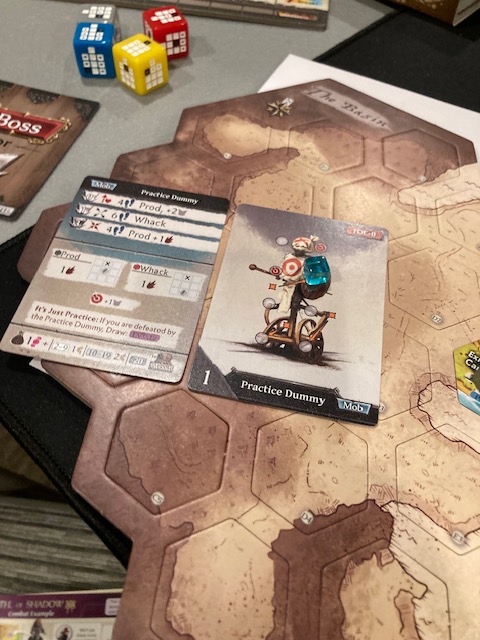
This game definitely has a lot of combat in it! We are fighting the Practice Dummy!

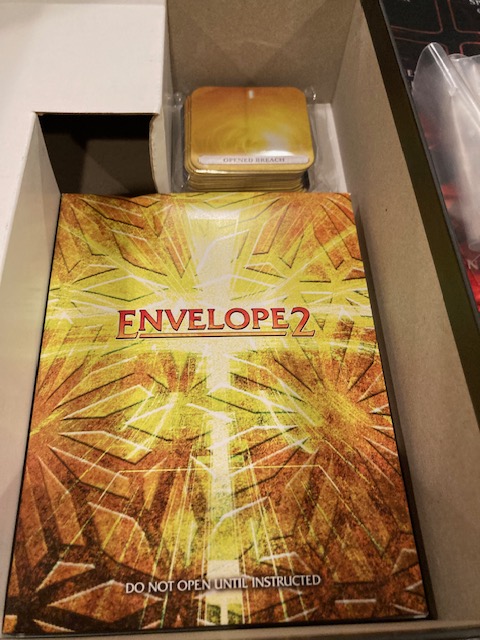
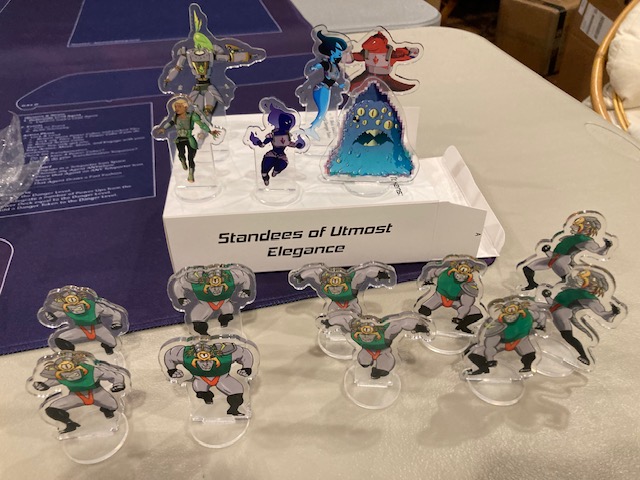
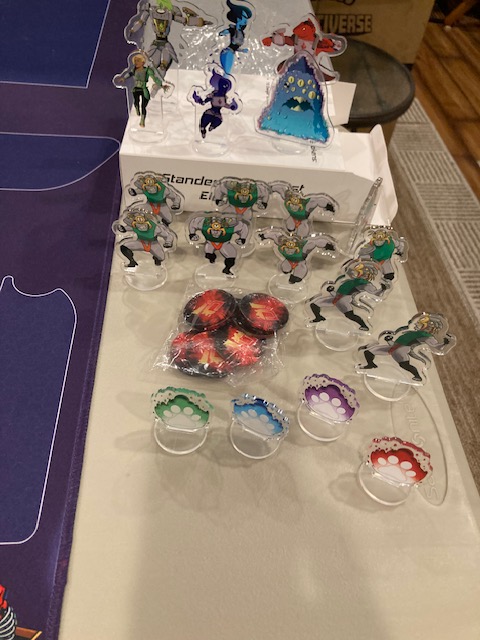
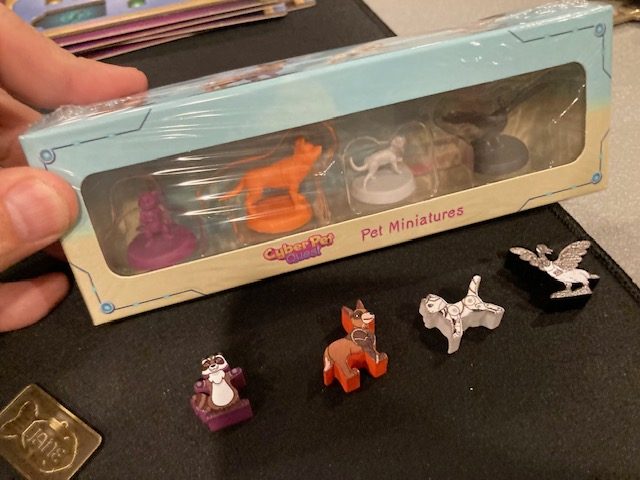
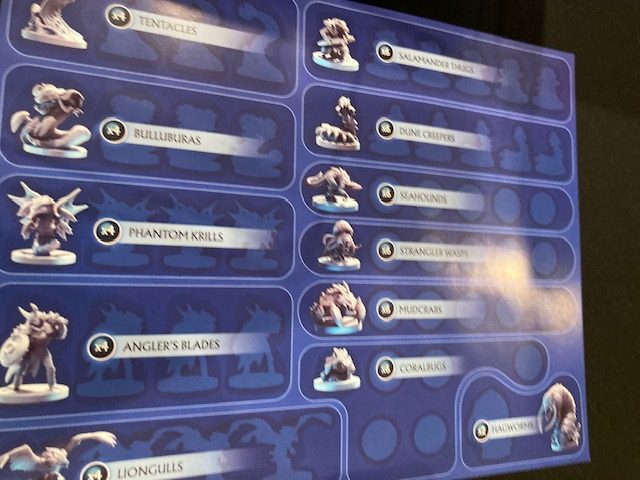
Where does the little Practice Dummy come from? The Fig Box of course!
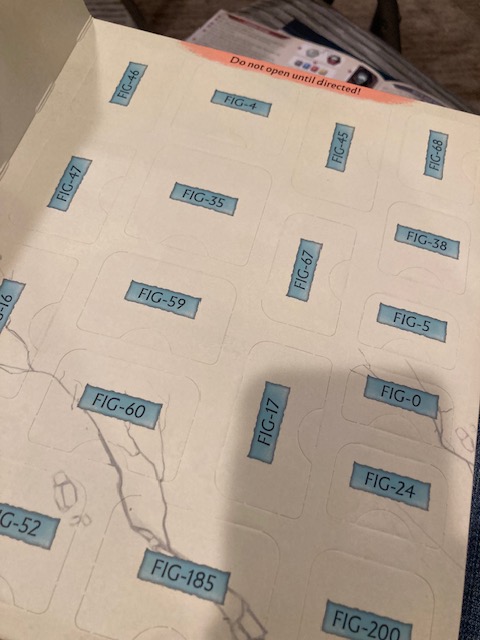
Each FIG box has a bunch of closed windows, so we can’t see what’s coming … we can only the window for the mini we want!
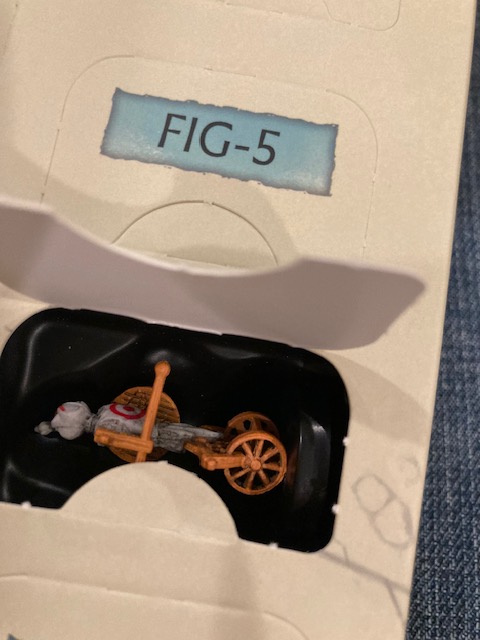
That’s right! The minis are all “hidden” until you encounter them! So cool! (Advent Calendar!)
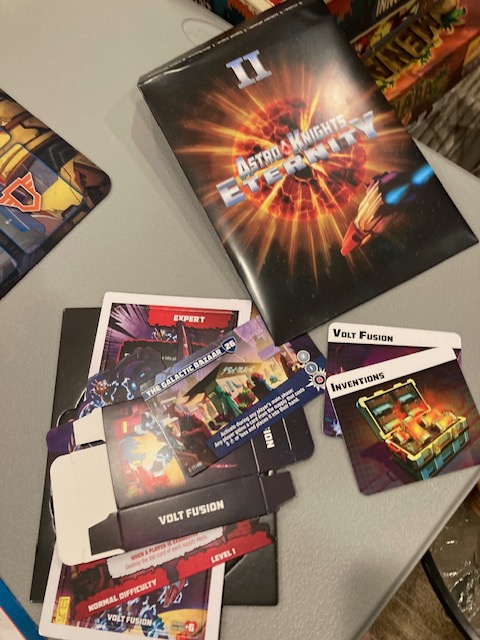
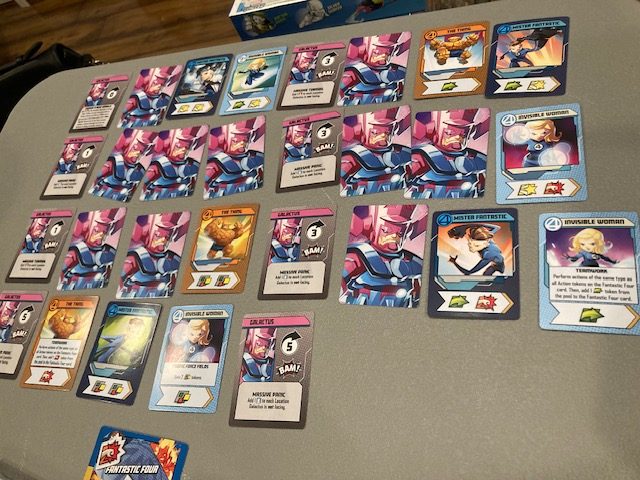
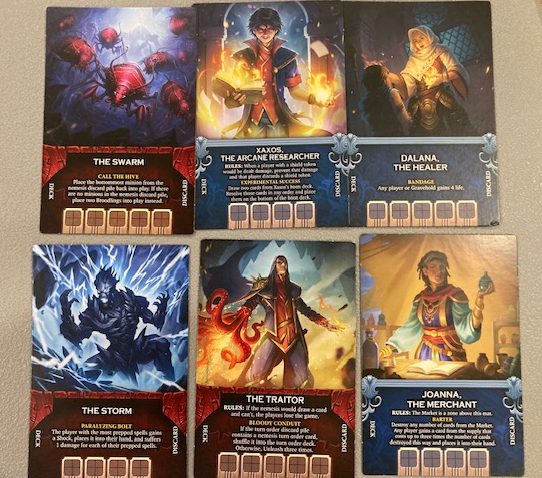
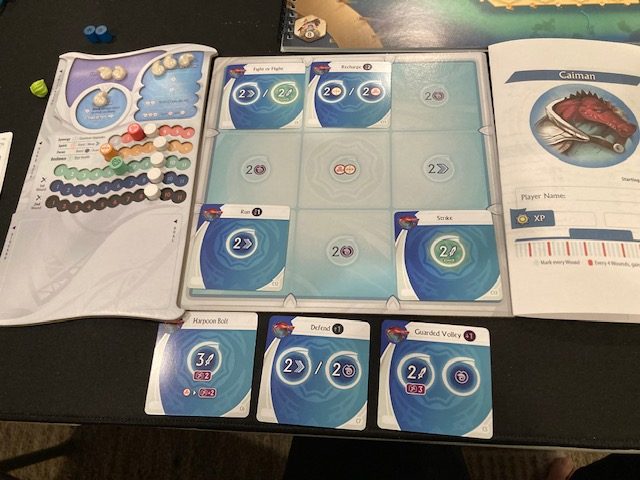
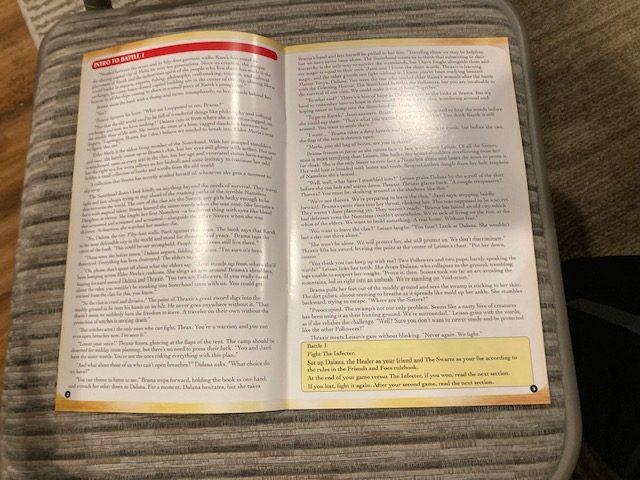
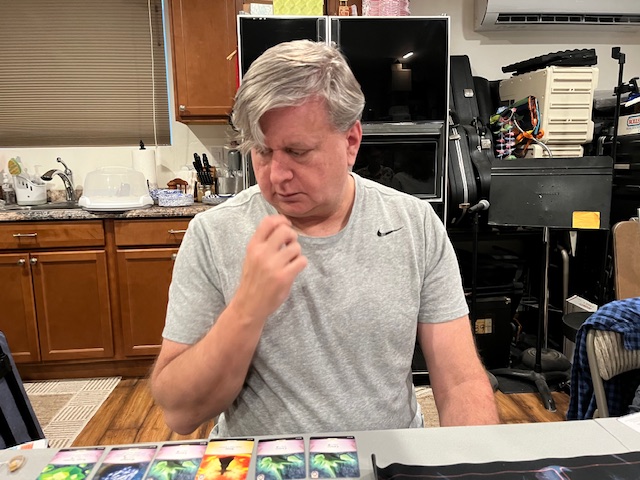
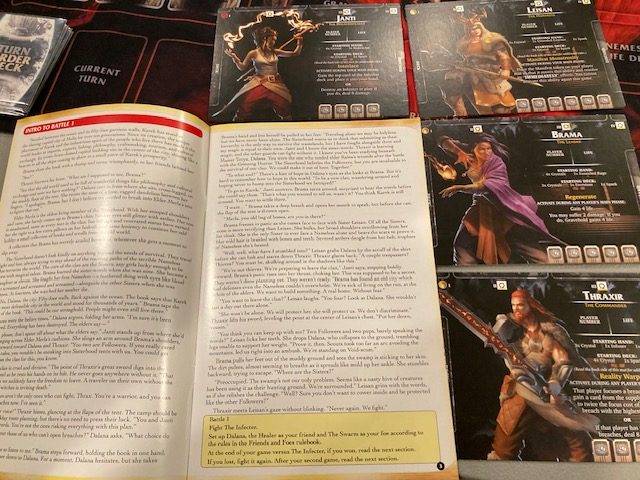
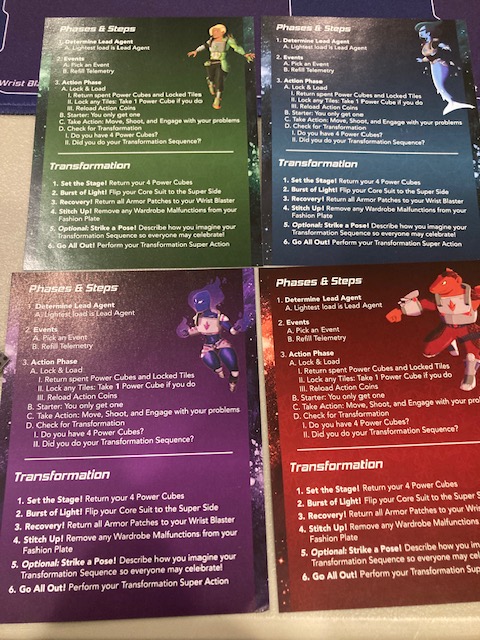
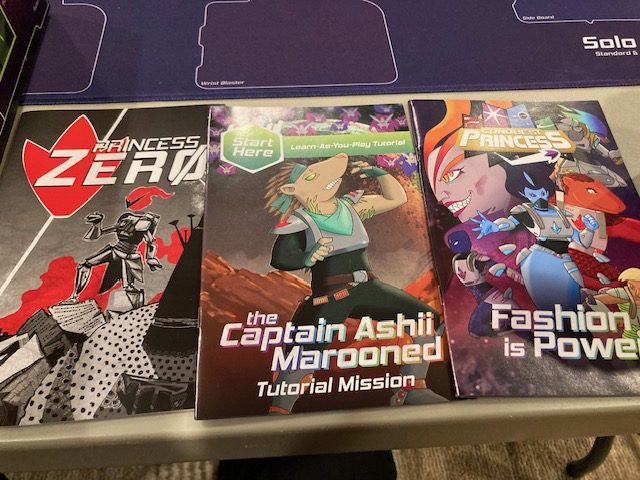
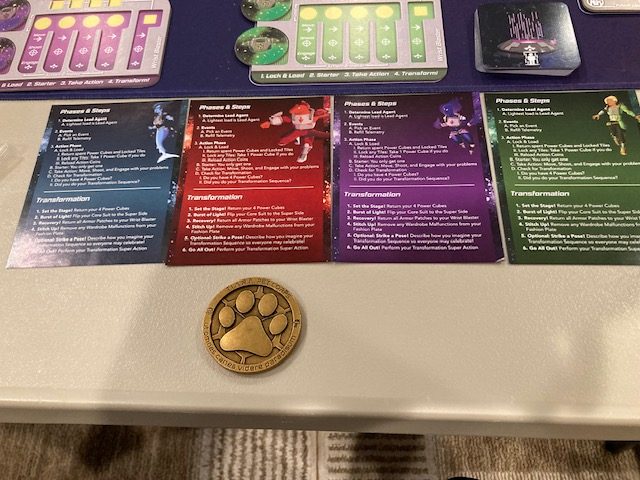
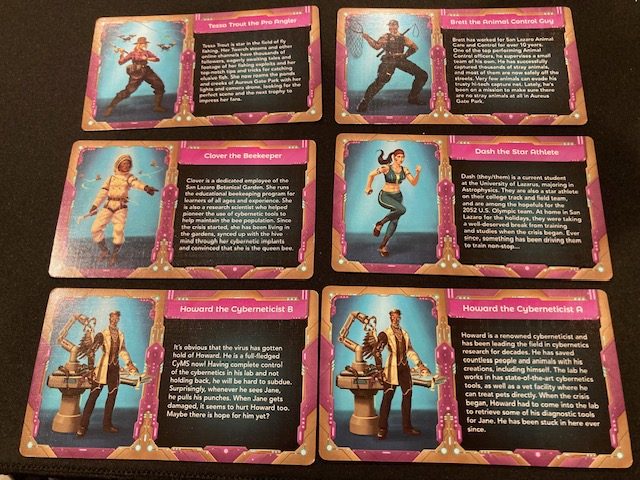
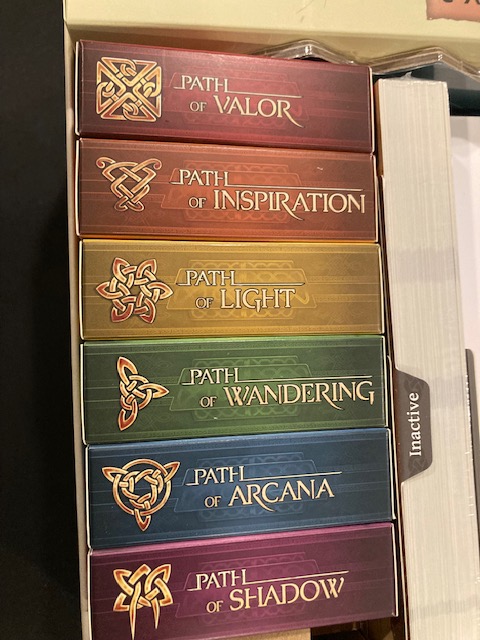
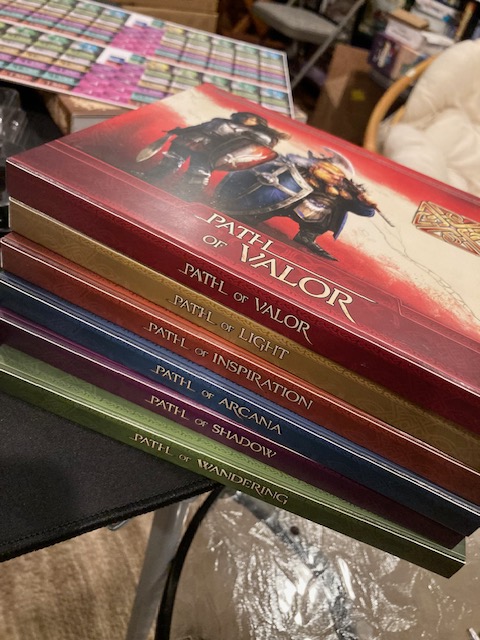
So, at this point, we switch to ANOTHER rule book, The Combat Example book!
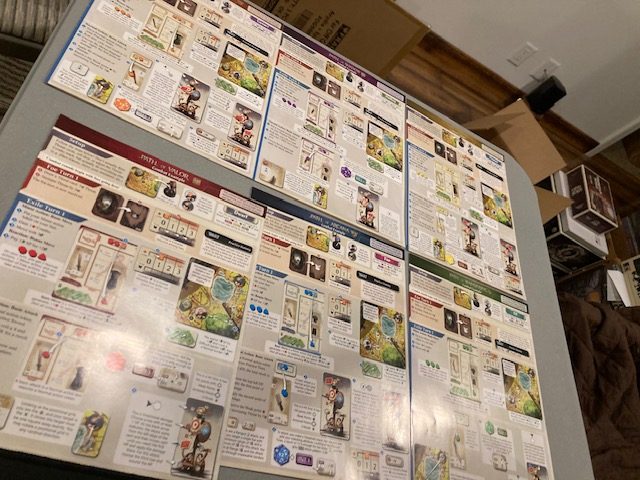
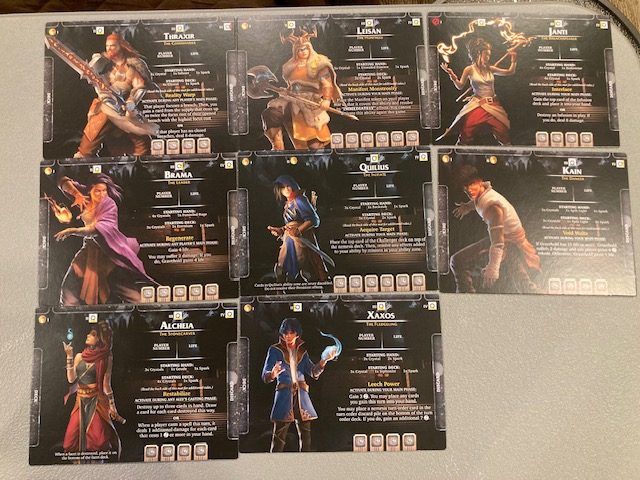
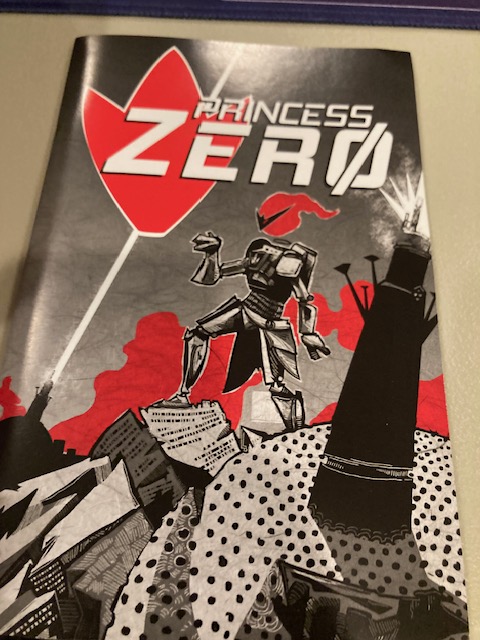
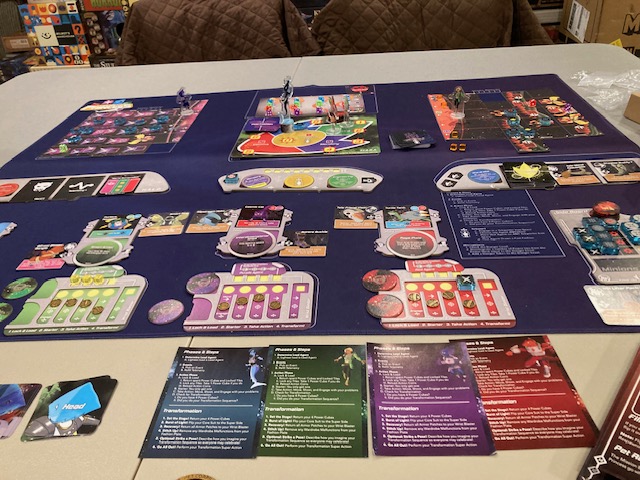
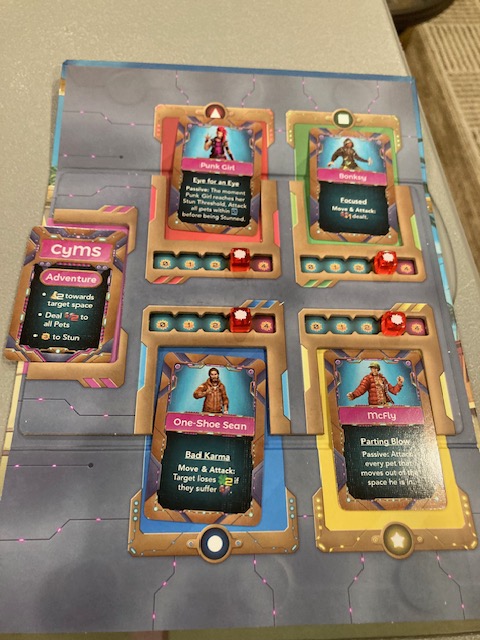
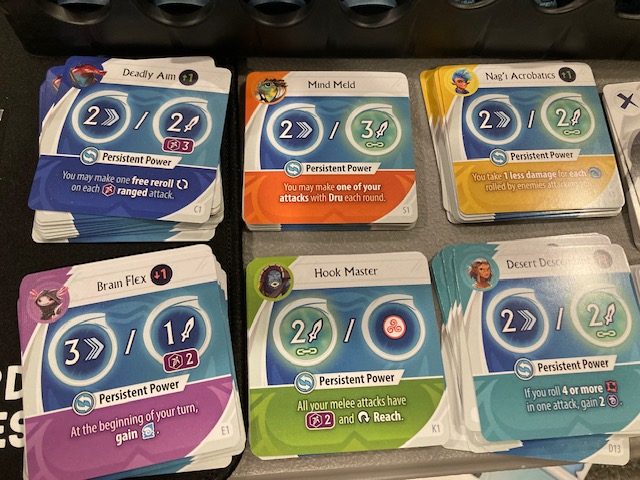
Every single Path (character Class) has a different combat example book! See all 6 of them above! That’s right, you have a specified walkthrough FOR EACH DIFFERENT Class (Path)!!!
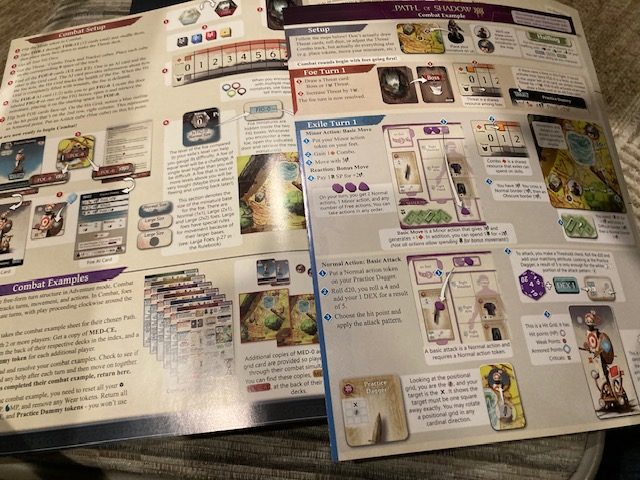
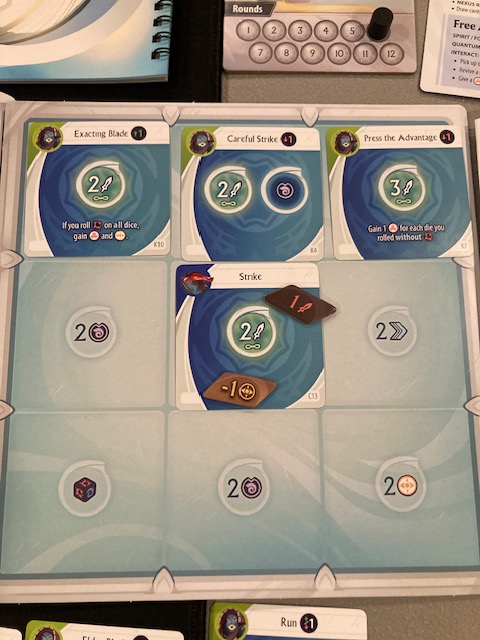
This is really cool, as it kind of tells you how the character works! The Rogue-like Class (I mean Path) is very much about hiding and laying traps! This 4-page tutorial takes you through one combat with the Practice Dummy, showing you all the different things you can do!
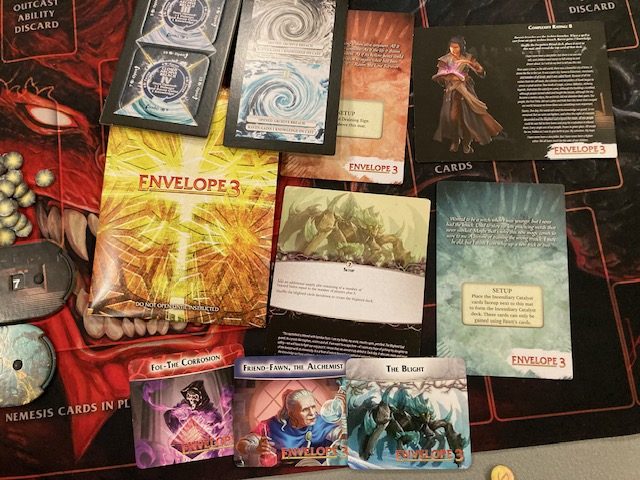
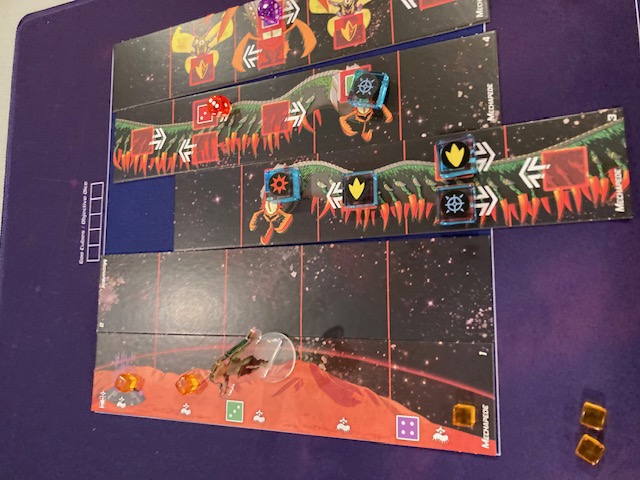
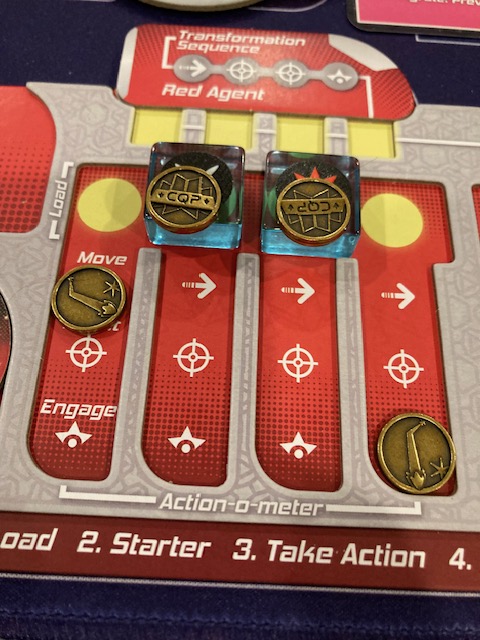
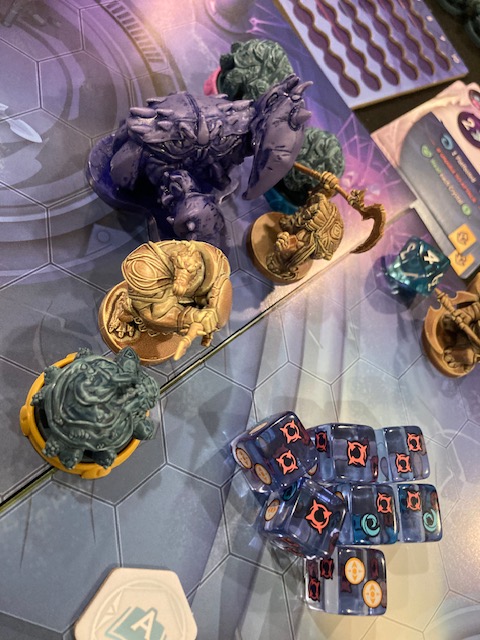
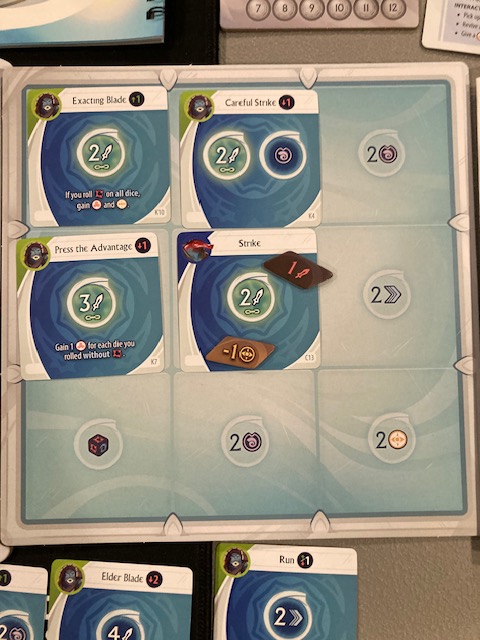
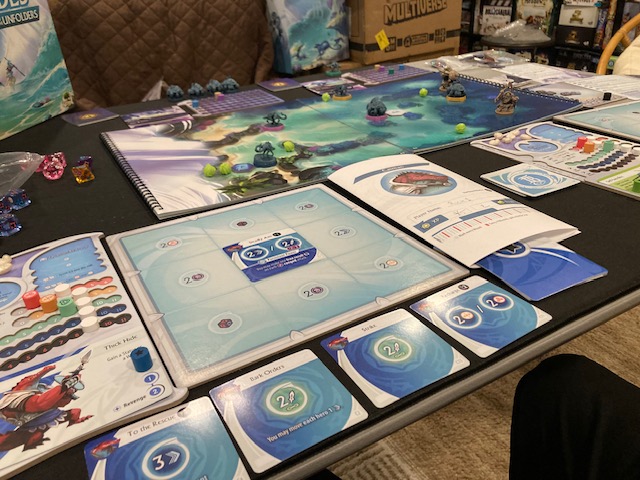
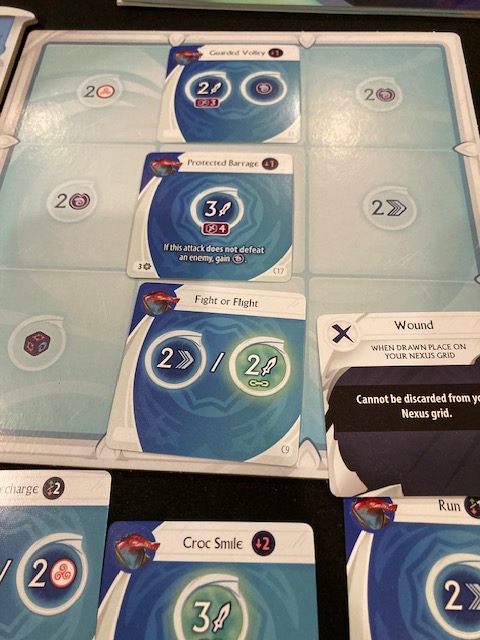
Basically, the combat alternates between the Bad Guys (the Practice Dummy here) and the Good Guys (you and your group).

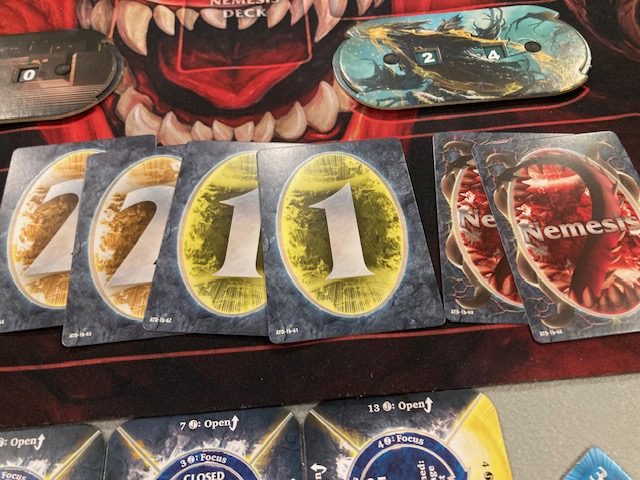
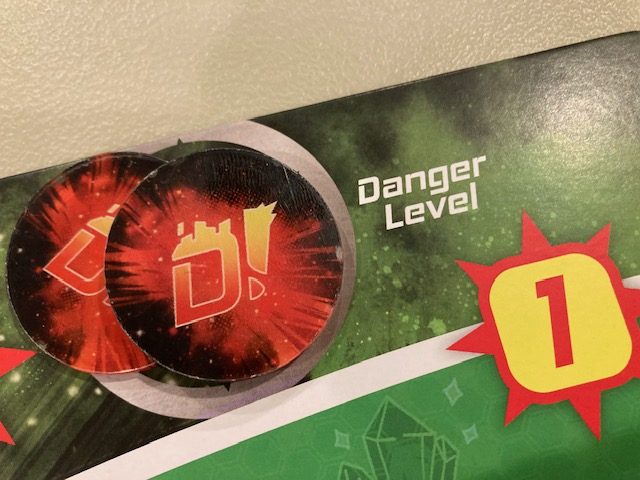
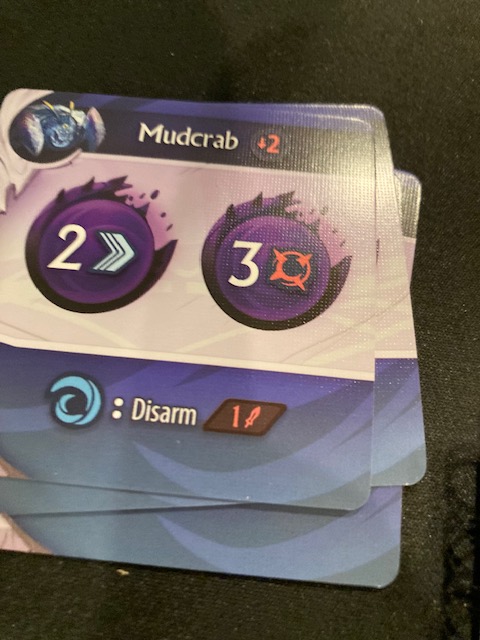
A deck controls what the Bad Guys do: usually either upping the THREAT level or actually attacking using the current THREAT level! The more THREAT there is, the more intense the attacks by the Bad Guys!
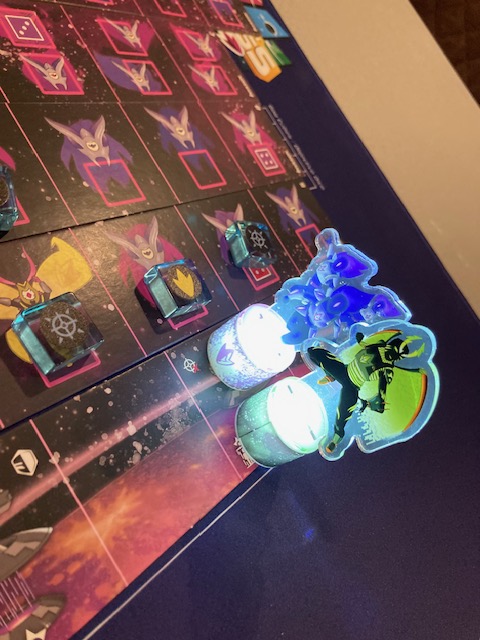
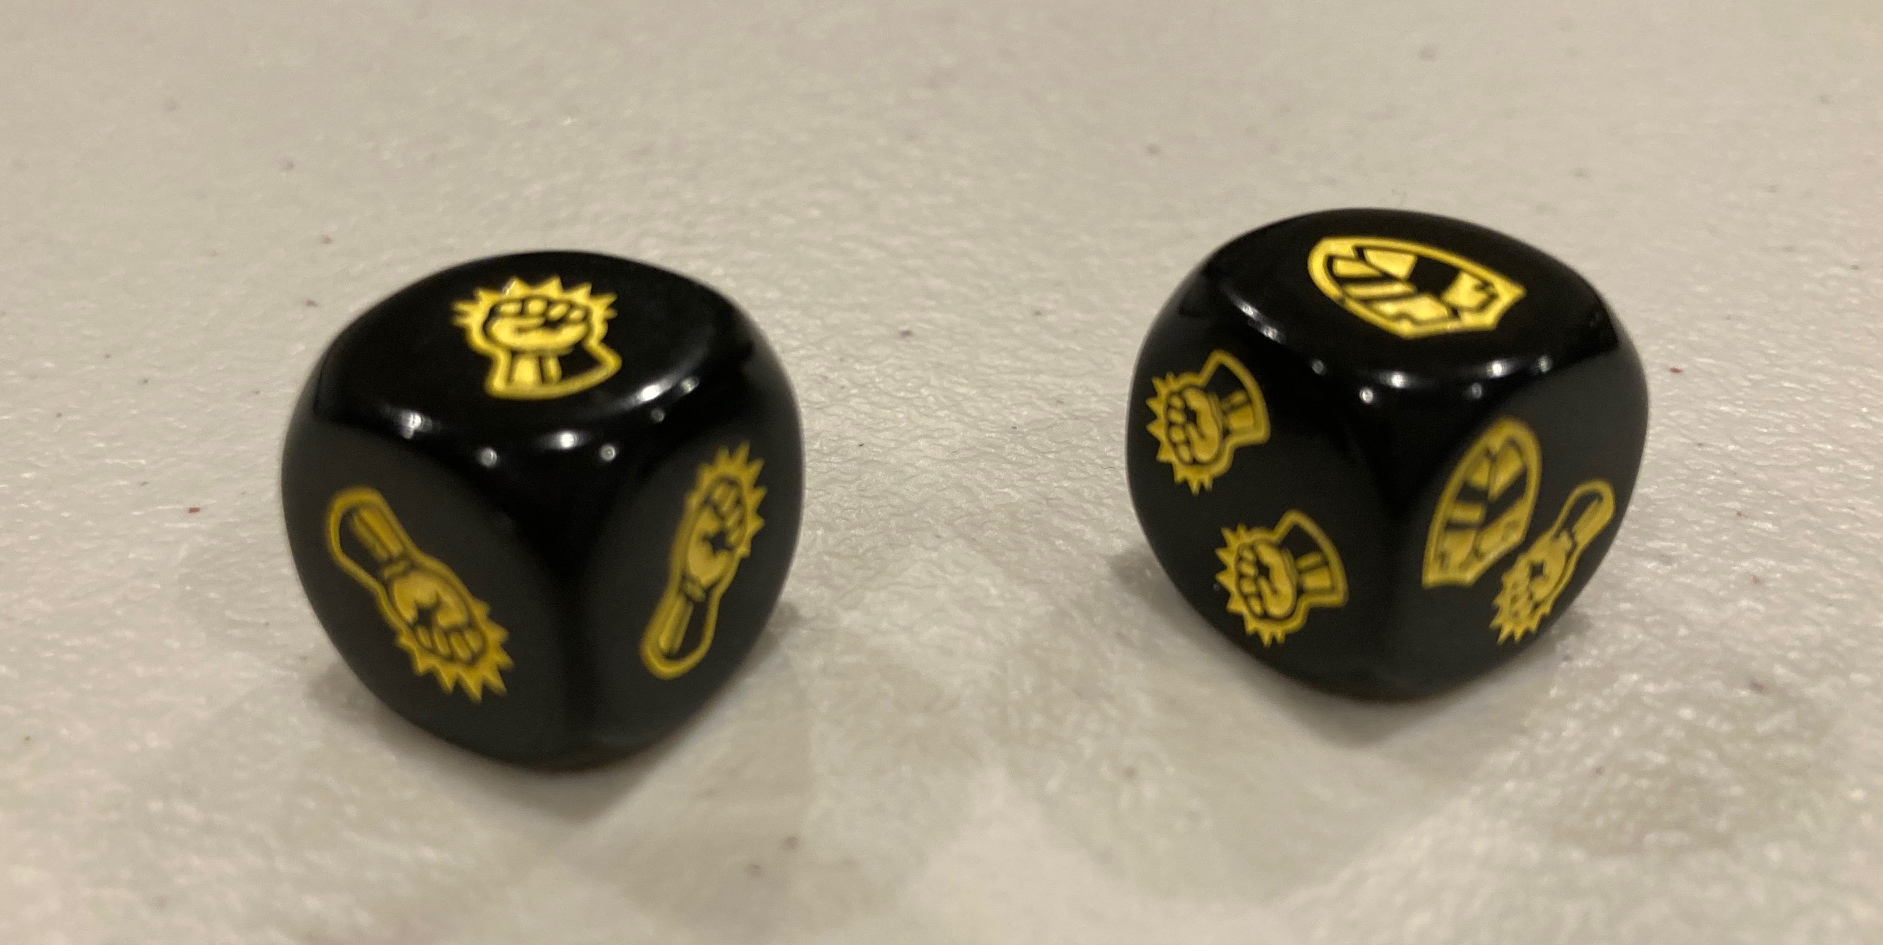
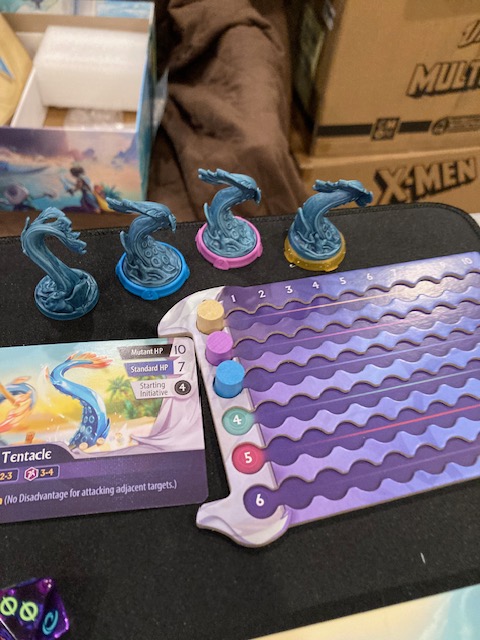
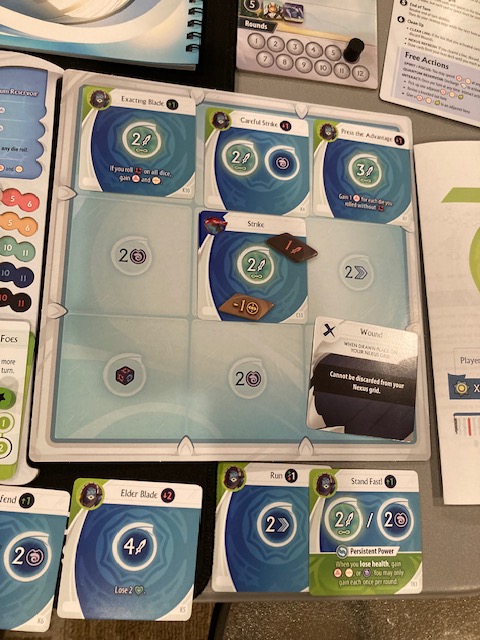
When the Bad Guys attack you, they “hit” automatically (unless you have some mechanism like the Rogue to stay hidden) and do damage based on the die they roll. The Practice Dummy rolls a RED die, and hit you square in the middle! See how the die specifies where it hits?
We saw a similar mechanism for hitting back in Sleeping Gods (see our review here)! This as one of our favorite parts of Sleeping Gods! It seemed like such a cool combat mechanism to have your body “mapped” for hits!
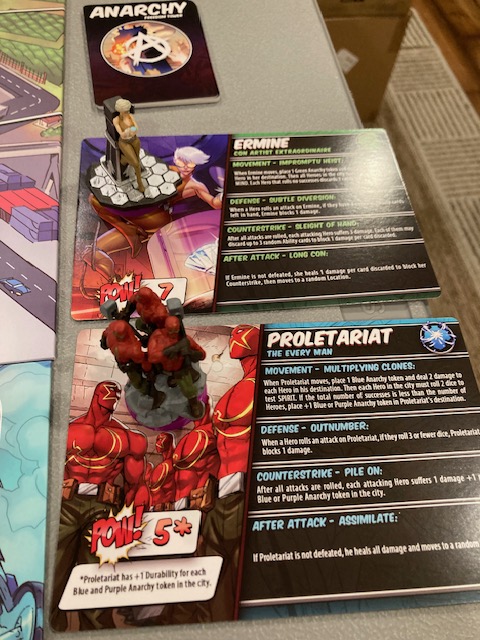
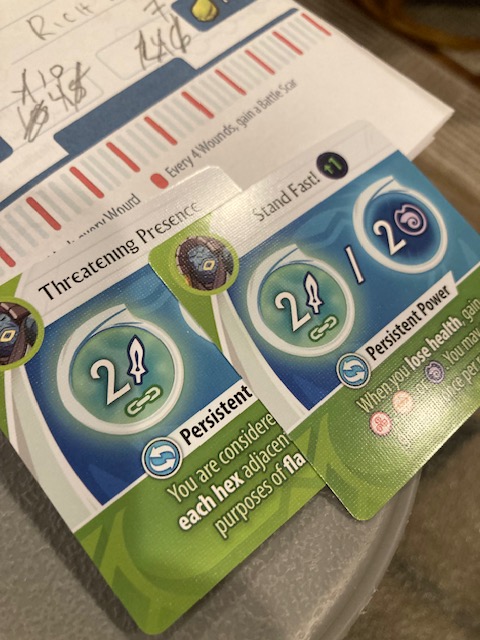
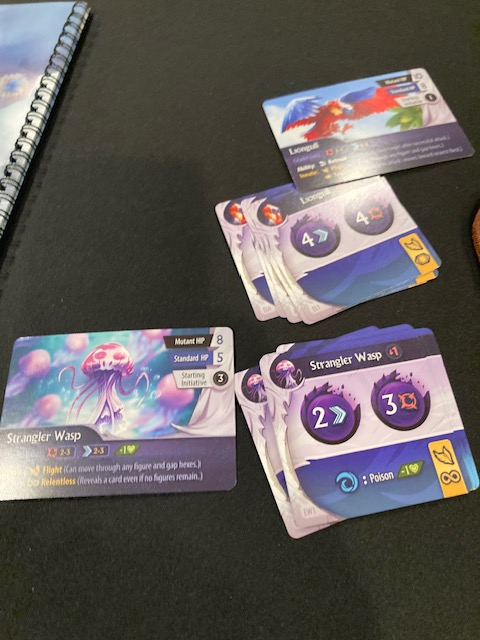
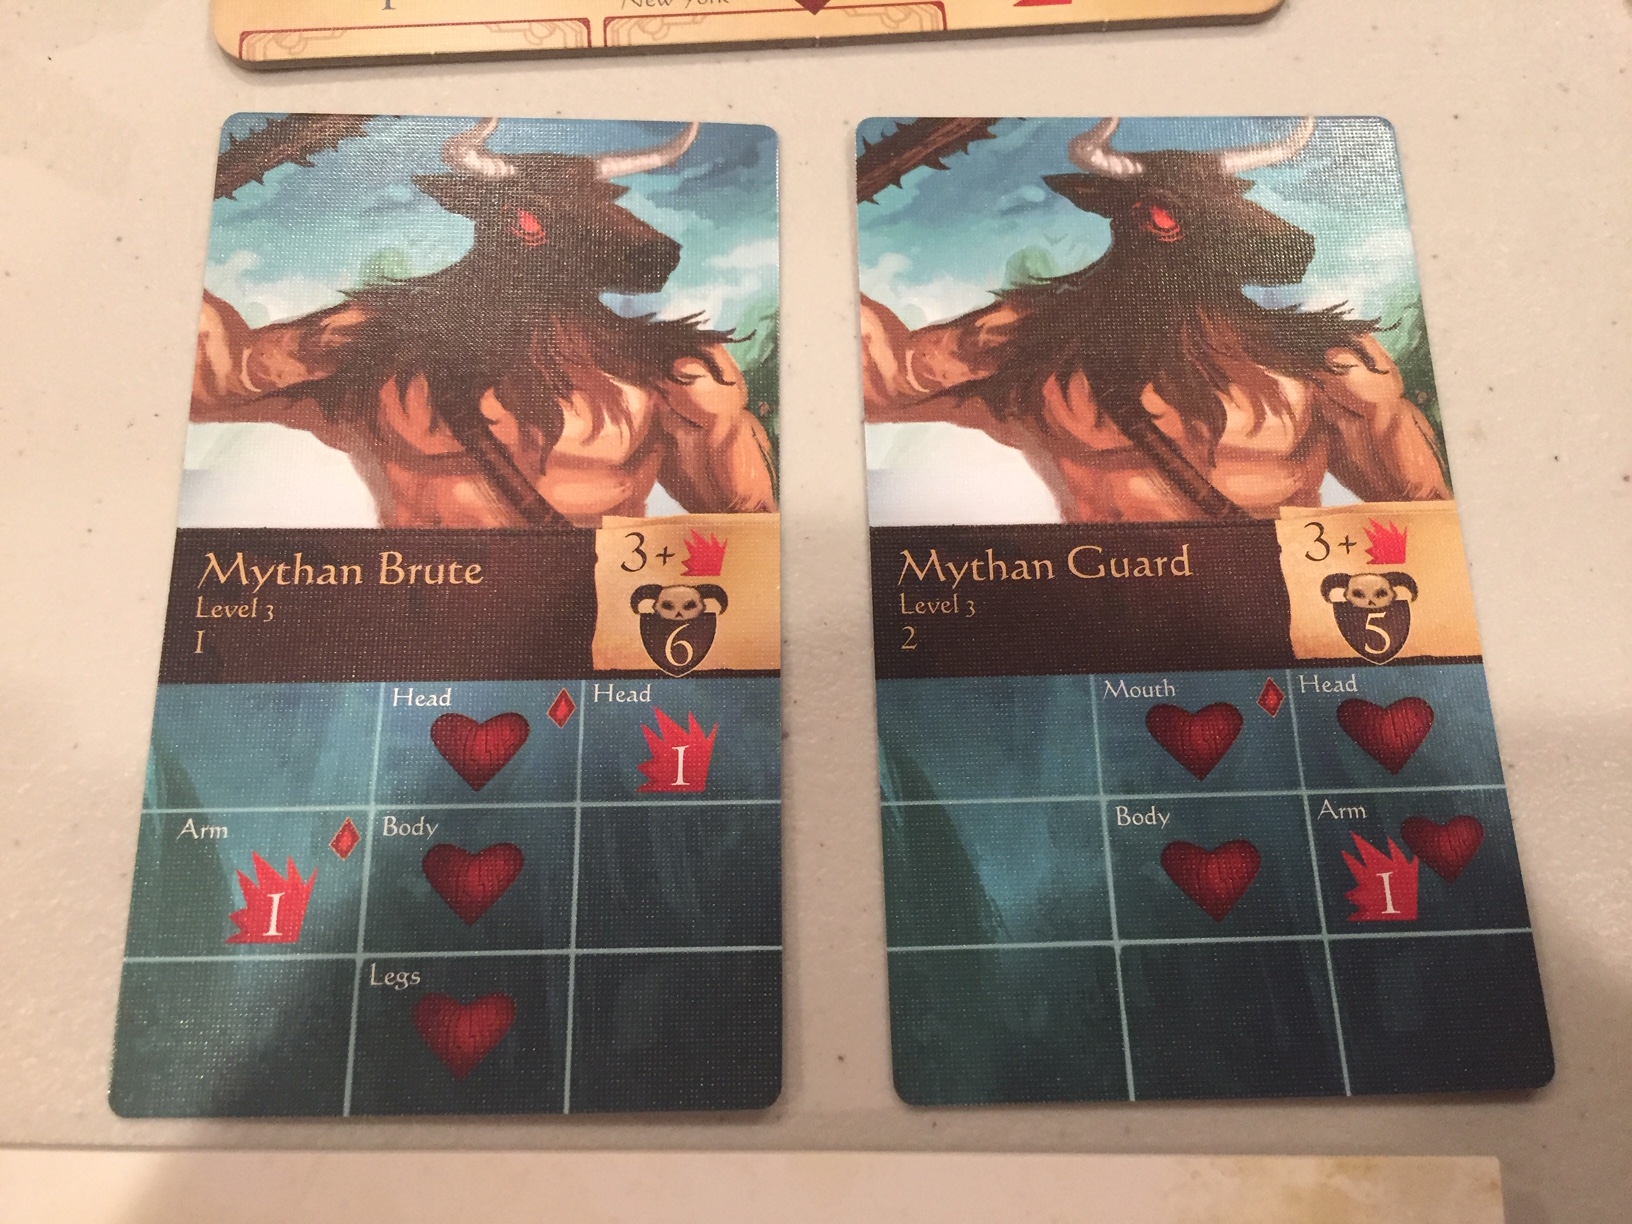
The Bad Guys have a similar system, where they have an array of “hits” and you only kill the Bad Guys if you hit every spot!
EDIT: Some people complained about SPOILERS, so I turned this picture into a link instead; it shows a more complicated monster, but it does reveal a monster you haven’t seen yet. SPOILER in this picture: click on the link if you want to see it
SPOILER: shows a more complicated monster
Later Bad Guys have significantly more spots that contain damage points, so they are harder to kill! (Minor spoiler in the picture above, but trust me, you won’t see this one coming!)
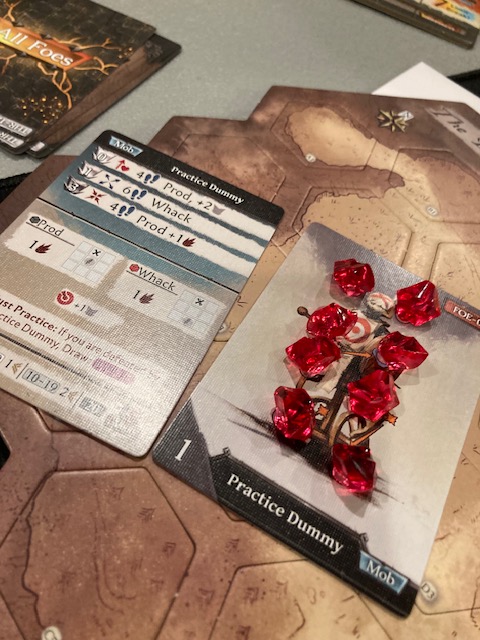
See above as I have taken out the Practice Dummy!
So, I was able to explore a little part of the world and have my first combat! And I was still only halfway through the Quick Start Guide! However, I ran out of time. This was a good 4 or so hours of set-up and exploration and play. But that Combat Guide is SO GOOD!!! I loved that! I really felt like I understood combat after that!
Rewards, Level Ups, and Exploration: Day 2 (January 1st, 2025)
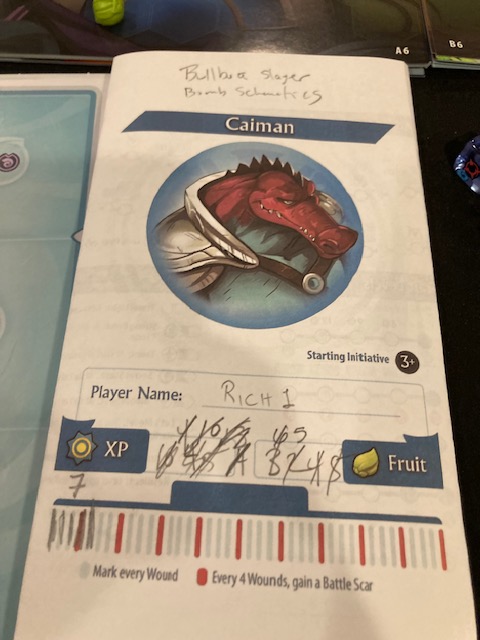
So, now halfway through the Quick Start Guide, I had all day to play on January 1st!! I got my rewards (some experience points) and moved on. Incidentally, Experience Points make it easy to level up and upgrade your character. Let me repeat that: You get to Upgrade your Character!
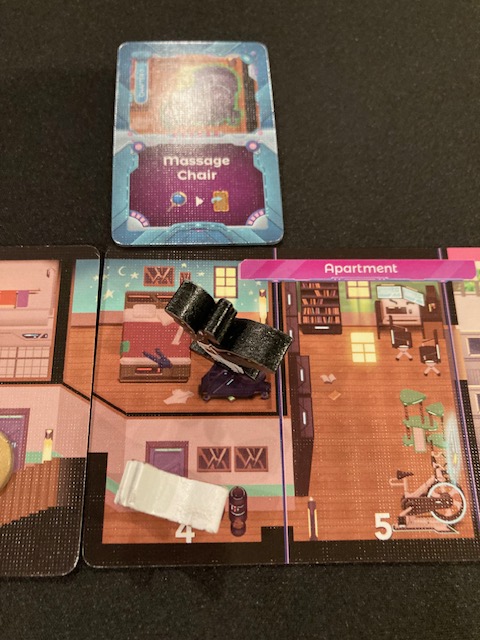
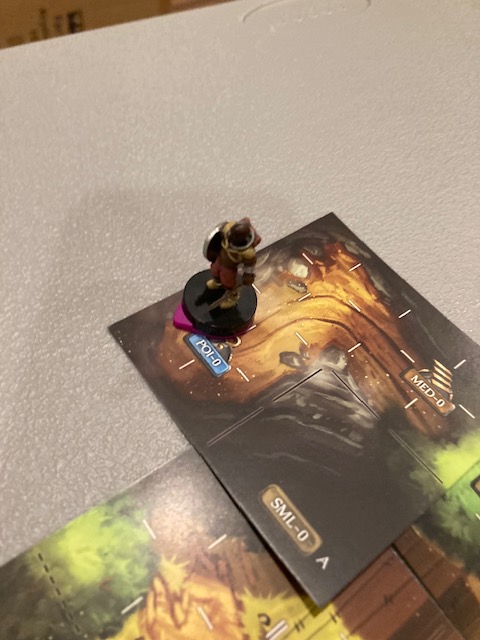
I was able to explore the Location a little more, and found a neat little cave in the same area. This found me a KEY (think keyword) that allowed me to get off the map and move on to more explorations.
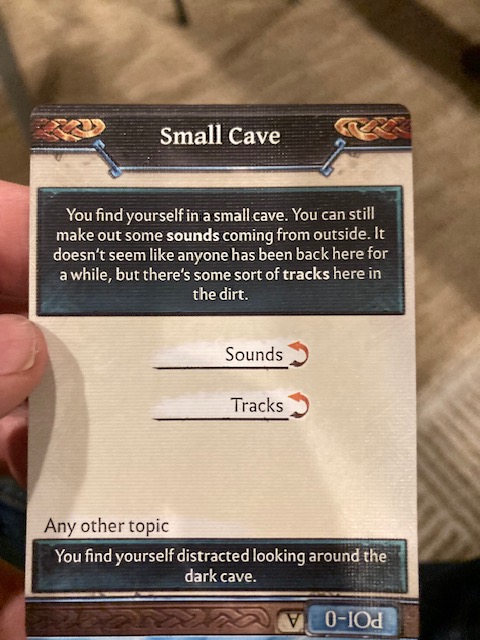
Just like NPC, the interaction with a POI feels like a Video Game!!!
The Quick Start Guide also talks more about KEYS and STATE CHANGES (a way to keep track that you have completed quests). A STATE CHANGE represents something “changed” in the Adventure and the way the card deal with that.
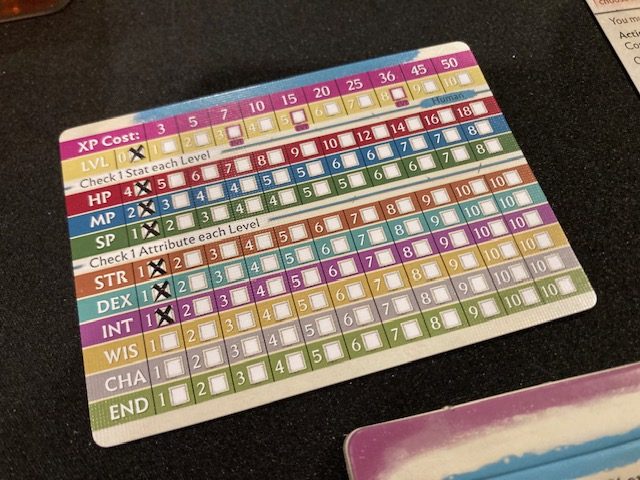
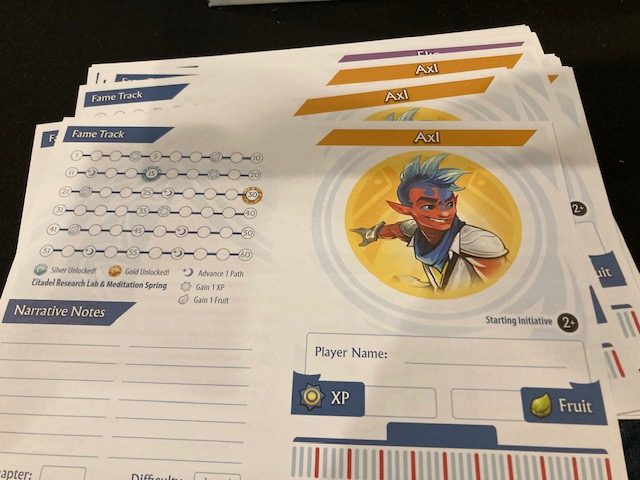
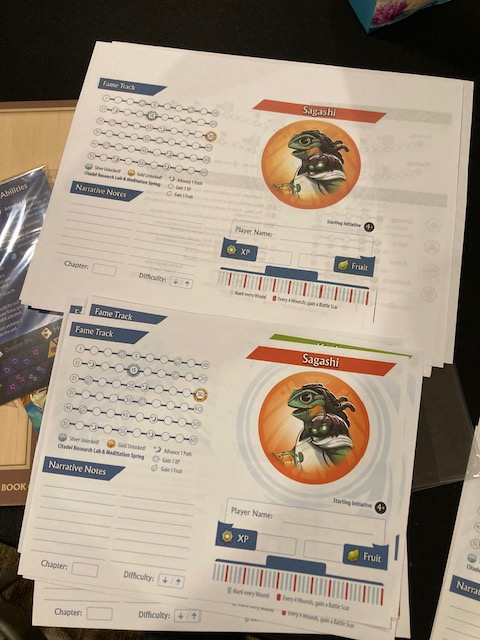
Next, you get to go to a town and heal up. For those of you who have done any Dungeons and Dragons, towns are very important waypoints to heal and get new stuff! In this case, the Exiles Camp also allows you to Level-UP! The back of the Path card has a Level Up Guide!
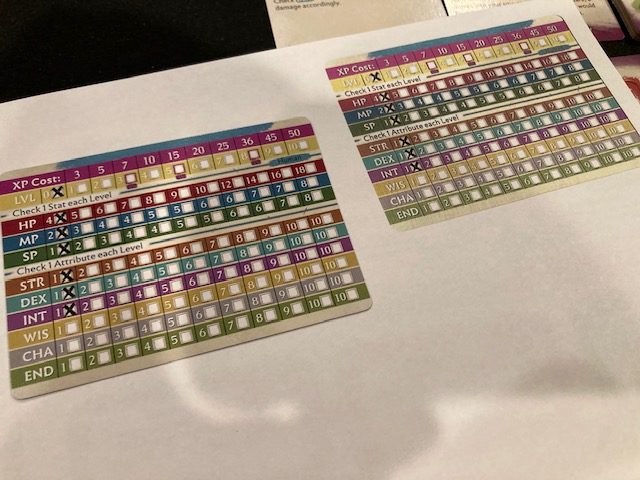
I chose to make a copy of it, so you didn’t make the pristine cards (you can also download these and print them).
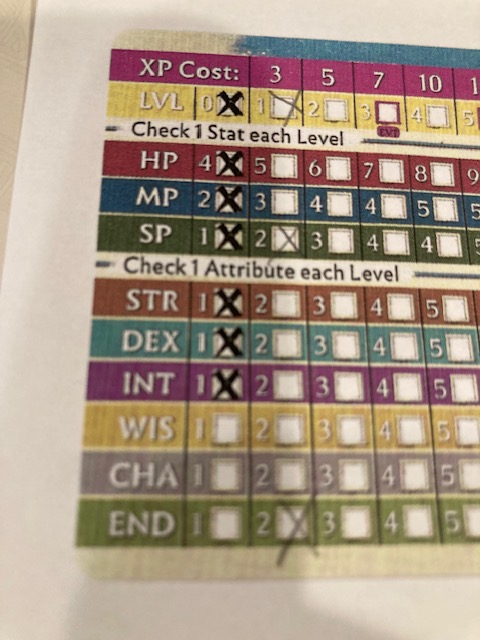
Levelling-Up is a great time for the Adventurer, as they can choose new upgrades to their abilities!

They can also choose a new Skill from their Skill tree (if they have the prerequisites)!
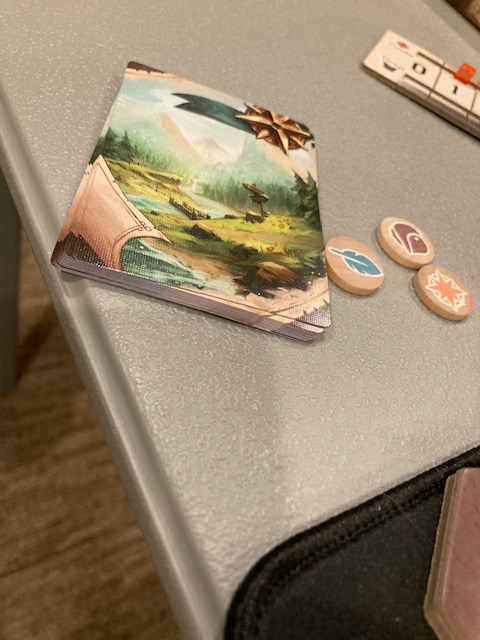
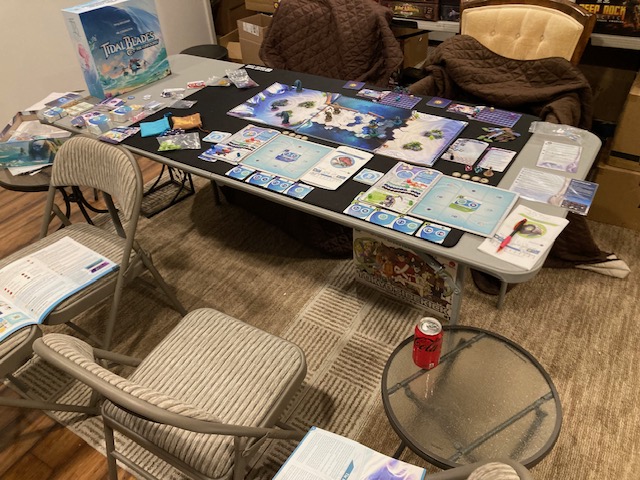
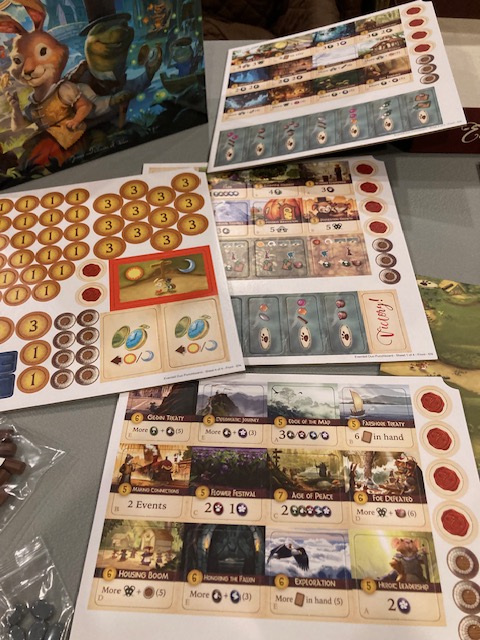
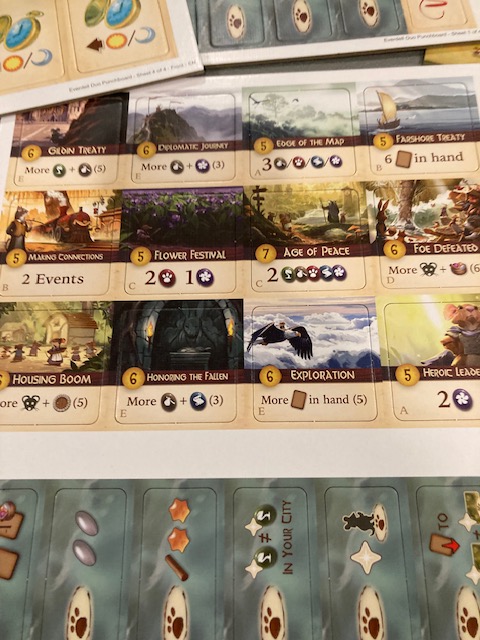
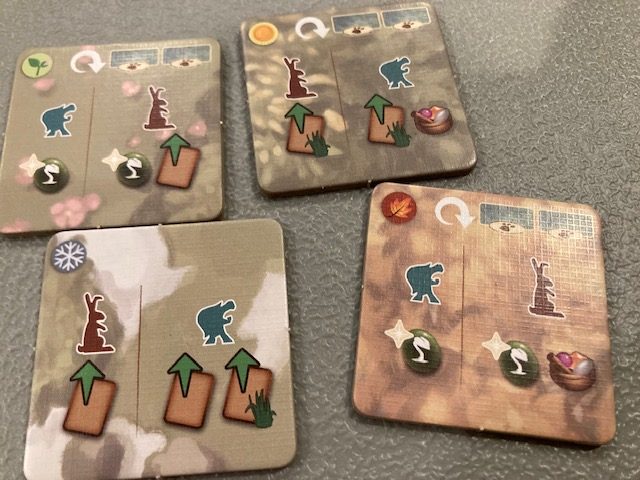
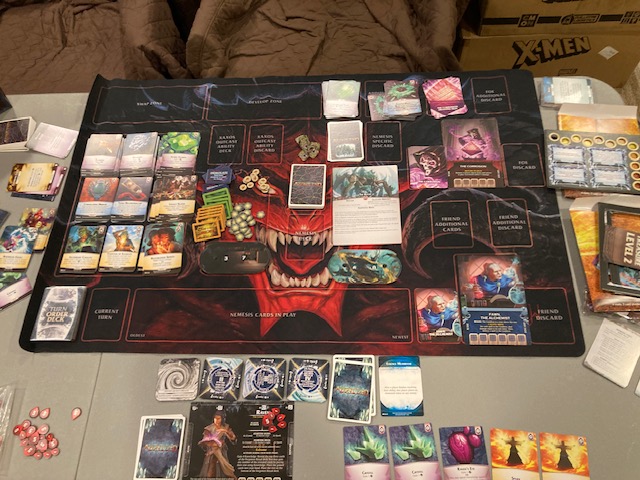
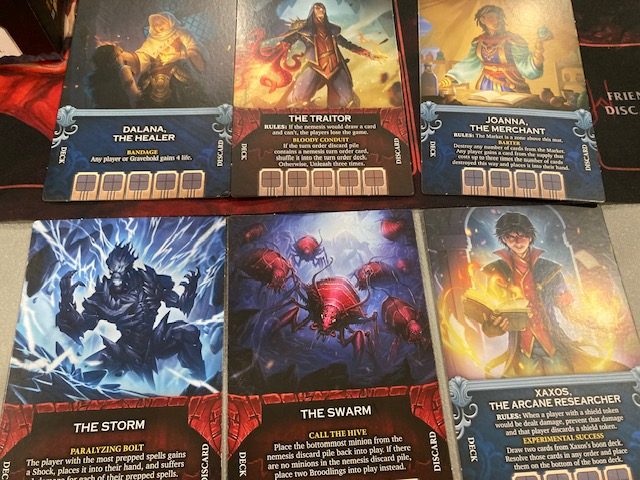
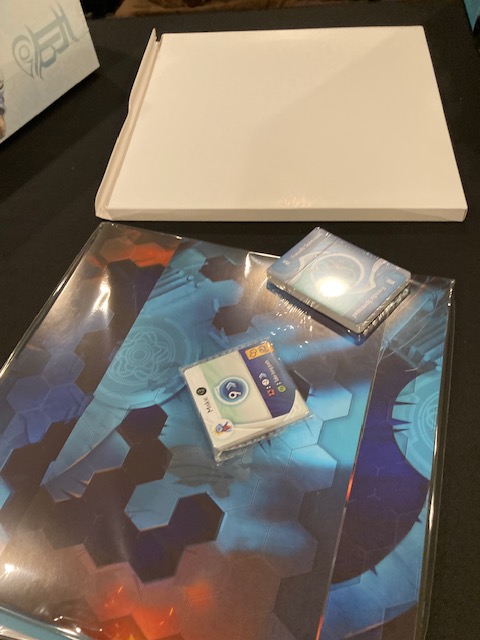
Now, after levelling up (and healing), we are ready to explore the world! The explore deck above is used to tell you how exploration is going!
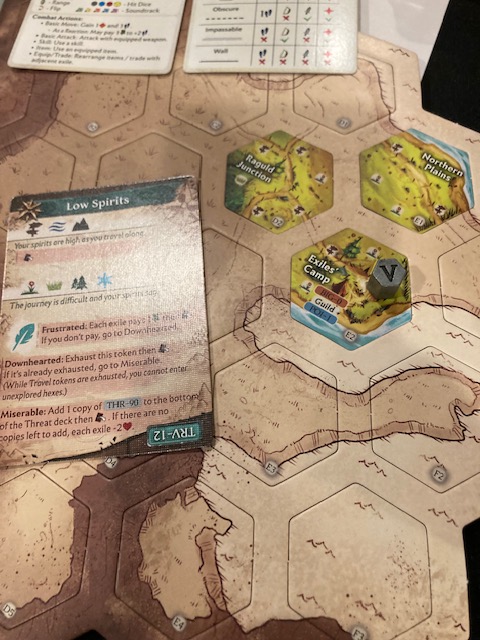
Basically, depending on what terrain you are traveling through, you may have simple success travelling or some hardship!! See the card above, as Mountains, sea, and sign posts/roads are just a simple travel, but Plains,Grassland, Forest and Ice you become frustrated!
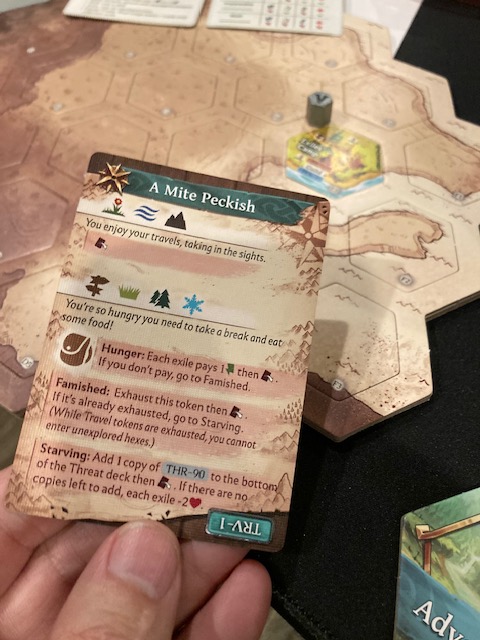
Basically, you may to flip some of your tokens to represent the hardships. It’s not too big a deal when you start your travels, but it’s possible the hardships will start overtaking you if you don’t rest after too many travels! I thought this mechanism was fairly thematic and simple and interesting!
At this point, the Quick Start Guide ended and I was ready to take on the world! The Quick Start Guide takes you through so many of the games mechanisms so well, I didn’t feel the need to read the rulebook!! I learned Travel, Days and Resting, Points of Interest, Non-Player Characters, Combat, Experience, Levelling Up, WorldMap Travel, Location Travel, Town Actions, Floors and Stairs, Events, Character Creation, and so much more!
Exploring the World (Day 3, Day 4, …)

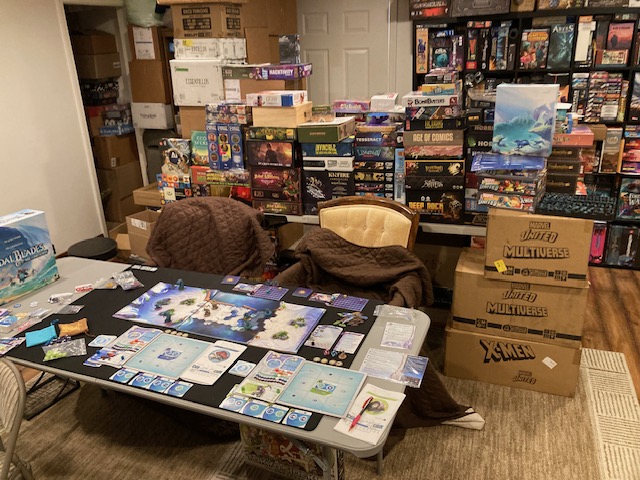
From this point on, I was exploring the world myself, levelling up, and find the stories of this land! Arydia has ended up on my table continuously for about 6 to 7 days. Some days, I would play for hours, or some days it would be just one combat. But I couldn’t bring myself to put it back in the box …. there is a SAVE mechanism, but it’s still a lot of work to SAVE and LOAD it back. It’s just easier to keep it out.
Rulebook
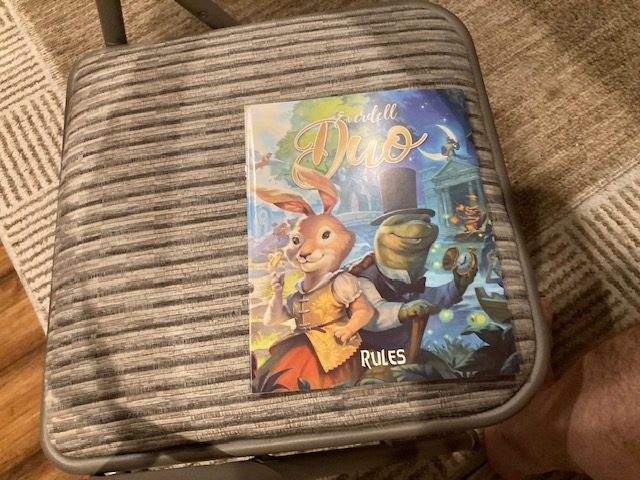
Great rulebook.
It droops just a little, but the rulebook is so well done, I am willing to overlook that.
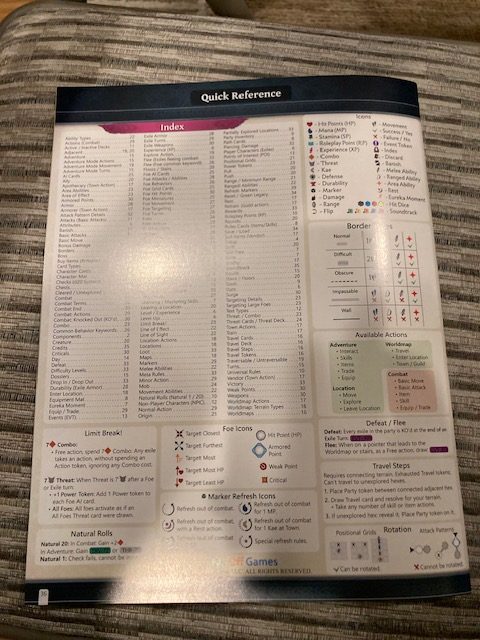
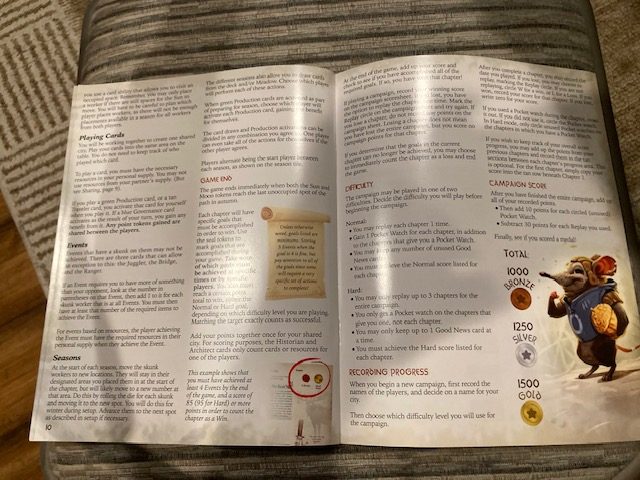
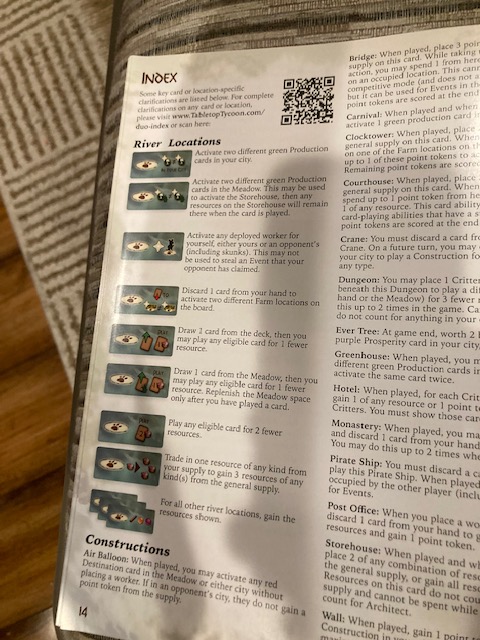
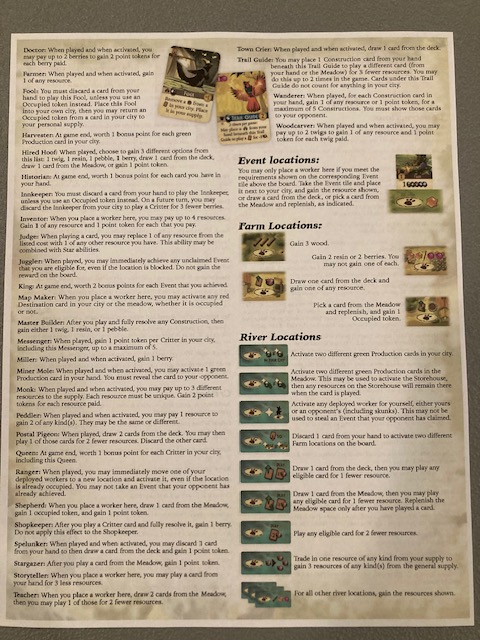
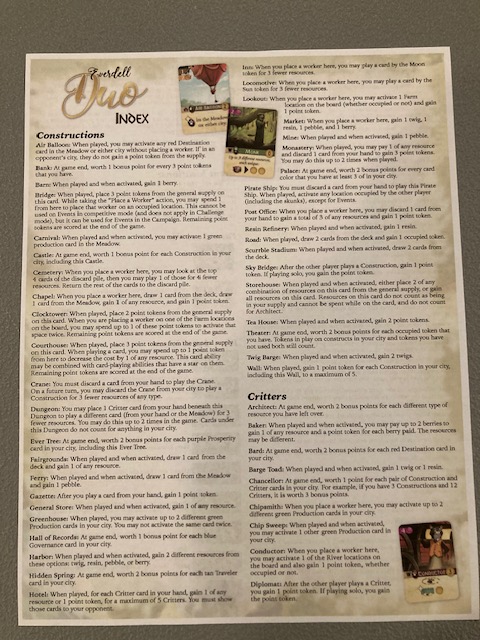
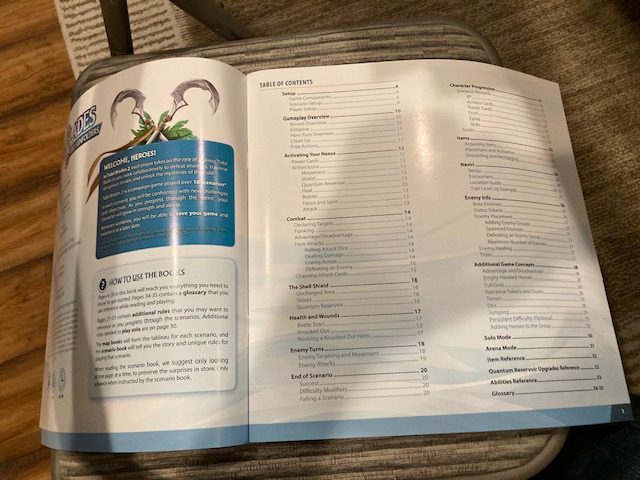
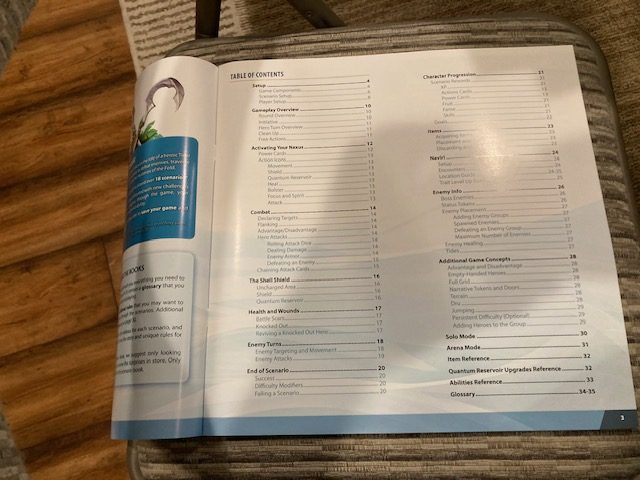
Honestly, I didn’t need to rulebook (because the Quick Start Guide was so amazing) unless I was looking up a rule! And guess what?? There’s an Index! There’s a pretty good Index on the last page! So, this rulebook delivered and became a good resource when I needed it.
Let’s be clear, this is a complicated game, so there are always questions that don’t get addressed (what’s the order of operations of a combat hit if the last hit damages a point what heals another point? Does the heal happen before the final death?), but in general, I was pretty happy with this.
In fact, the Quick Start Guide and Combat Guide gave me SO MUCH Confidence to just jump in! The Rulebook with its Index worked well when I needed it. This is one of the better documented games I have seen in some time. Kudos!
What Is This? Do You Know What Ultima IV is?
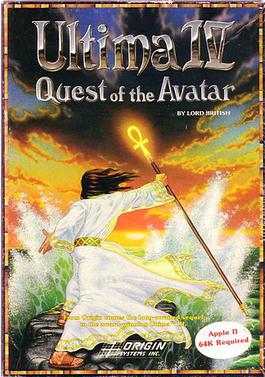
What is this game? If I had to describe this to someone who played Video Games in the 80s, I’d tell them that Arydia: The Paths We Dare Tread reminds me so much of Ultima IV for the Apple II and Commodore 64! If you have ever played Ultima IV, you know what this is! It’s a game where exploration is a major component of the game!
You explore the big map (like in Ultima IV) and the little maps (like in Ultima IV).
Your interaction with NPC and the environment feels like the way you interact with NPCS in Ultima IV! “I am the king of Eros! I am all about Honesty!” “Tell me about Honesty!” The keyword interaction system just feels like Ultima IV!
And the combat, which is an important part of the game, feels a little like Ultima IV combat! You interact on a Grid and move about!
But Ultima IV is all about the Quests and exploration as well!

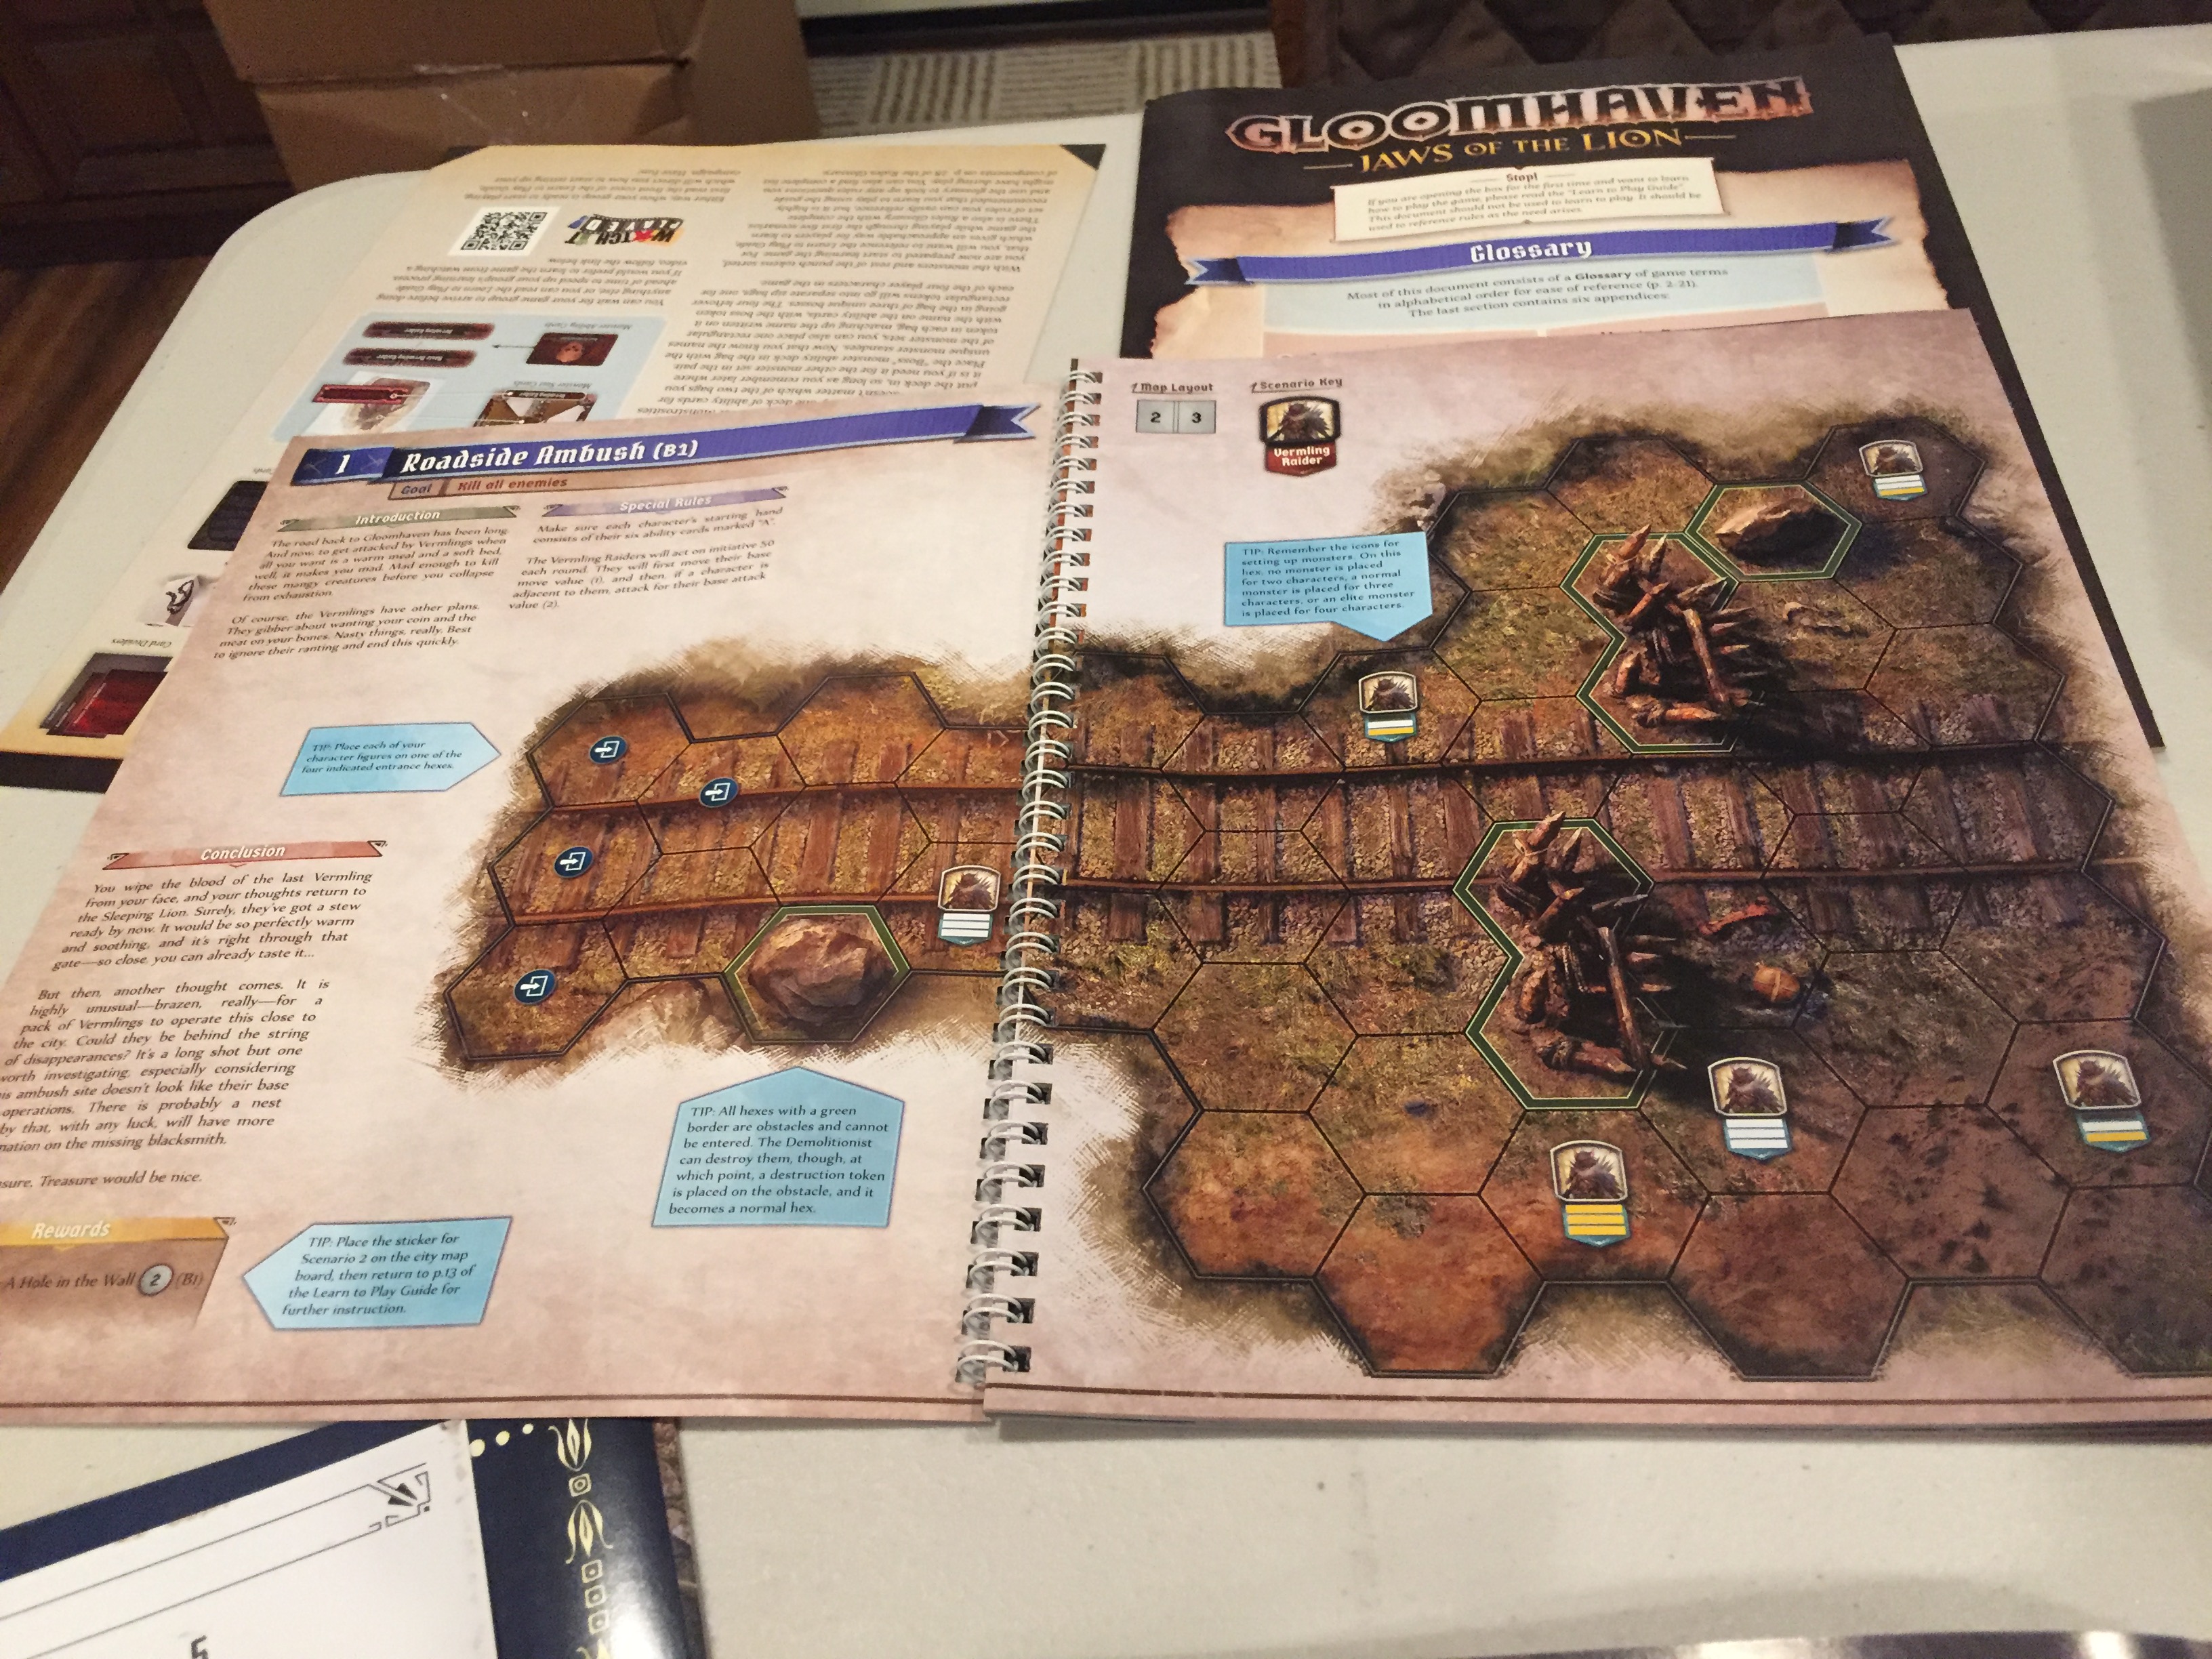
But, if you are a more modern gamer and have no idea what Ultima IV is, I’d tell you that this feels like Gloomhaven: Jaws of the Lion … with more story and exploration. Jaws of the Lion is a fantasy exploration and combat game with great onboarding … sound familiar? Now, don’t get me wrong, I like Gloomhaven: Jaws of the Lion (see our review here), but I always felt like there was too much focus on combat. Sure, there was always some exploration and such, but at the end of the day, it felt like most of the hours you invested into the game were mostly combat!
Possible SPOILER picture, so turned it into a link: Possible SPOILER: picture in a town with a combat yet to be seen
I feel like the little stories and quests and puzzles in Arydia are more … fun? That’s why I make the Ultima IV comparison: the end all of Ultima IV is to pursue the quests and stories, with combat being some part of that, whereas Gloomhaven (all of them) seem to have so much more gameplay focused on Combat.
Arydia: The Paths We Dare Tread feels like the board game manifestation of the video game Ultima IV!
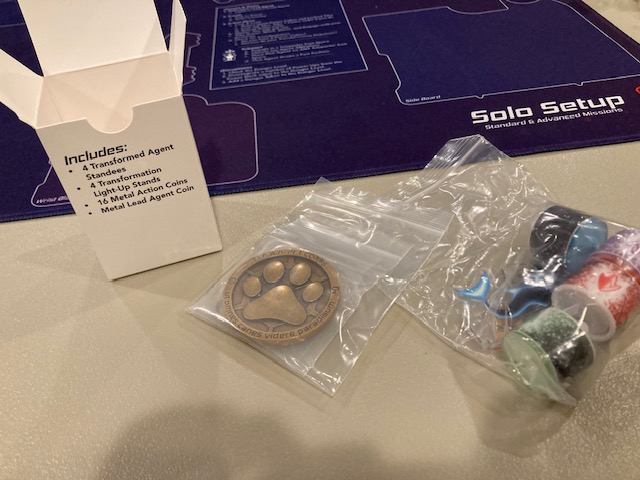
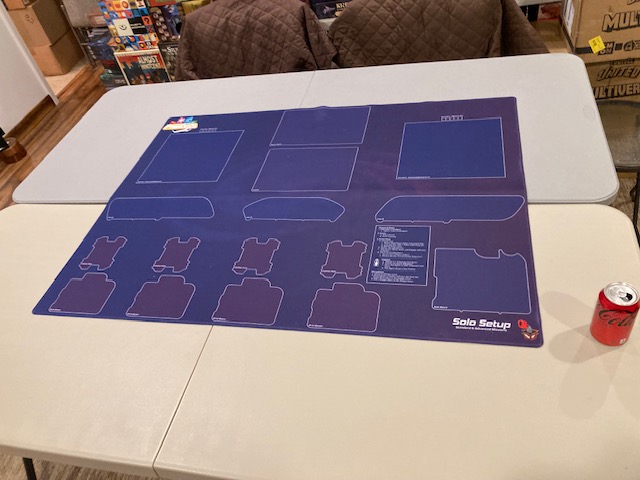
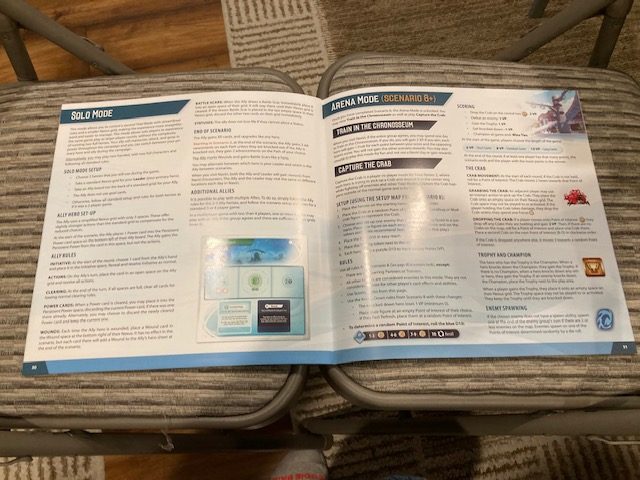
Solo Play
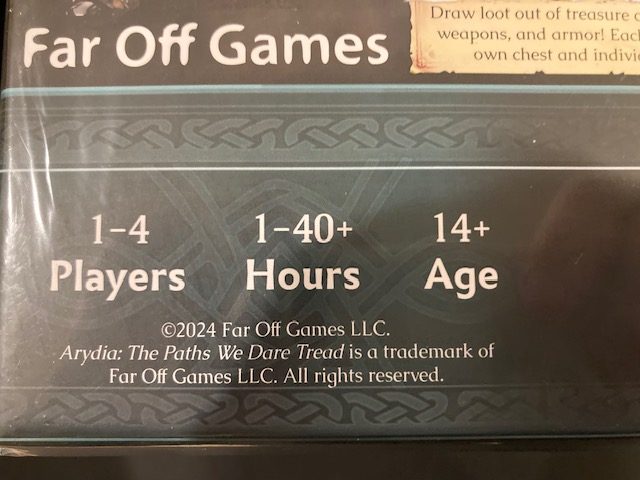
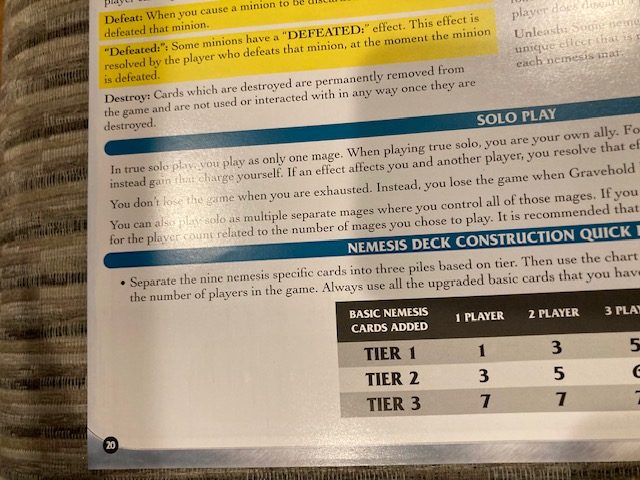
So, Aydia: The Paths We Dare Tread has a solo mode (thank you for following Saunders’ Law)! And guess what? It’s a true solo mode: one player playing one character! (Although the Rulebook does mention that you can play multiple characters, but it will just really slow down the solo game).
This game works so well as a solo game. In a few places in the text, there are slight adjustments for solo games (the RP: Role Play Points, for example, allow the Solo Character to hold more RP than normal), but in general the games seems to scale just fine. Like we said earlier, this game has great documentation, so they few places (like Role Playing Points) where there are adjustments for solo play, it’s very well documented!

Combat seems to scale fine, as the Combat alternates between Bad Guy and Good Guy (one from the party). For example, consider a 4-Player game: in four turns, the Bad Guys goes 4 times, and each member of the party goes once. For a solo game, this balance stays: the Bad Guys go 4 times and the Good Guys go 4 times … it’s just the solo player goes all 4 times! The only thing I worry about is that the solo player might have too few hit points, as a 4-Player games would have 4x the hit points! What balances this out, of course, is that all upgrades get applied to the solo character, so he tends to be more of a superman as he levels up …
Frankly, this was a great solo experience. I have played probably about 20 hours as I write this, and I have really been enjoying this. I like the Video Game feel of exploration and combat.
This will probably make my Top 10 Solo Games of 2025.
2024 or 2025?
This delivered to my door Dec. 30, 2024. I got through “a lot” of the Quick Start Guide on Dec 31, but finished the Quick Start Guide in January 1st, 2025. So, is this a 2024 game or a 2025 game? BoardGameGeek lists the date as 2025! Since it is SO CLOSE to the end of the year … and a lot of people on Kickstarter haven’t gotten their copy yet, I am calling this a 2025 game!
What I Liked
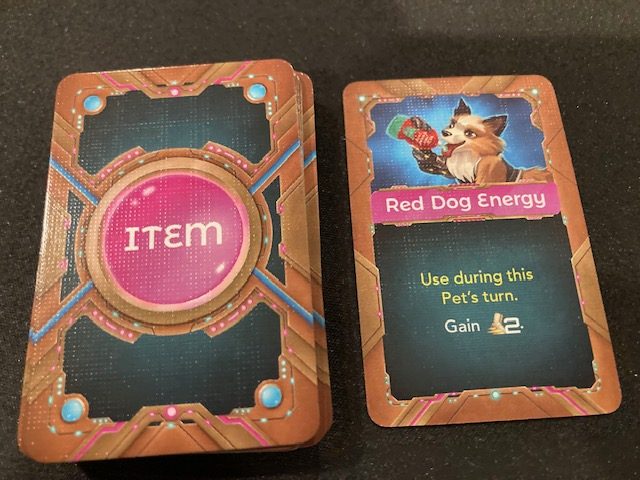
Hidden Minis: The way the figures are only revealed one at a time through an Advent Calendar like mechanism is pretty great. I have no idea what I am fighting until I open the little door from the Figure Box!
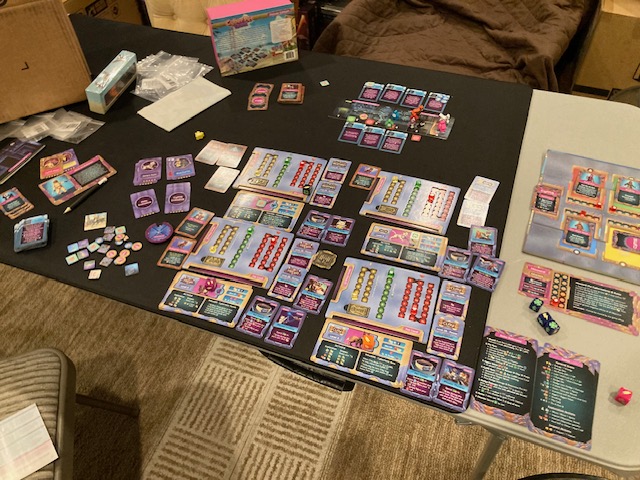
The Card System: The state of the world is handled in the three card boxes above. What adventures have you seen? What NPCs have you talked to? Where have your Travels taken you? This system seemed to work so well! Rather than getting caught up in a big book full of cross-references, this card system makes the adventure “bite-sized” so you never feel too overwhelmed by the text! There’s just enough adventure on the cards to keep the game interesting, but not enough text to be overwhelming! (I am looking at you, My Father’s Work as an exemplar game with too much text…).
Quick Start Guide: This guide works SO WELL for introducing the players to the world.
The Combat Guide: The fact that there is a combat guide tailored to each type of class (Path) in the game is tremendous! Each class (Path) has such a different play style, it’s great to see Arydia embrace all the different styles! It’s like having 6 different experts in Cleric, Rogue, Mage, etc! This just works so well!
The Adventure: I love that this game is all about adventure too! The cards present stories and interactions that make this feel like a Video Game! Ultima IV!
Levelling Up: As you explore this world, you get to level up and become better! You choose skills that get better and better, and you may even change direction in your skill tree! One of my major complaints about Sleeping Gods is that you never felt you you were getting better, but just barely getting by (and I had a similar complaint about Lands of Galzyr, but we never reviewed that). Here in Arydia, you absolutely get better, and you feel like you have a hand in choosing the direction! You feel involved as you become more powerful! I just feel like that’s so engaging!
Well-Thought Out: The production is amazing and well thought out. Everything in the game seems to be a well-thought out decision. How does this game go together? There’s even a guide on the side of the box.
Combat: The combat in Arydia is interesting and different, but it’s not the entire focus of the game (like Gloomhaven’s combat is). I like the combat, but I don’t feel like it takes over my life. I can explore when I want, and do combat too!
Resettable: You can reset the game back to its pristine state: this is not a legacy game.
What I Didn’t Like
Overwhelming: Sometimes I felt overwhelmed. When you explore a new Location, you have to find all these maps, then all these POI and NPC, and all these new minis, and set everything up. Sometimes it was just a little overwhelming. Some of this would probably go away in the cooperative game with more people to share the load, but there is a lot of maintenance by the solo player to keep this game going.
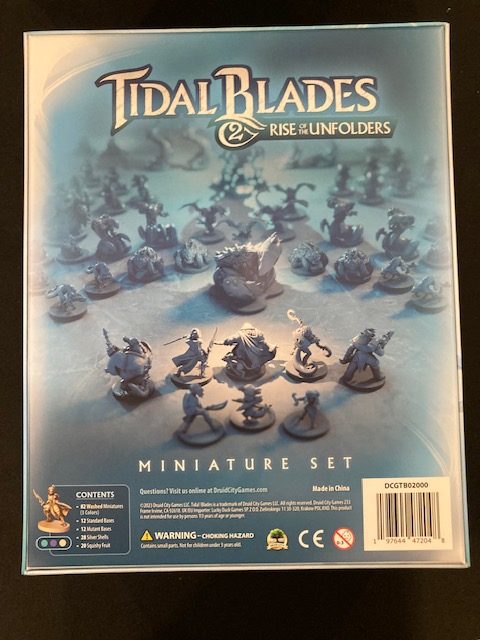
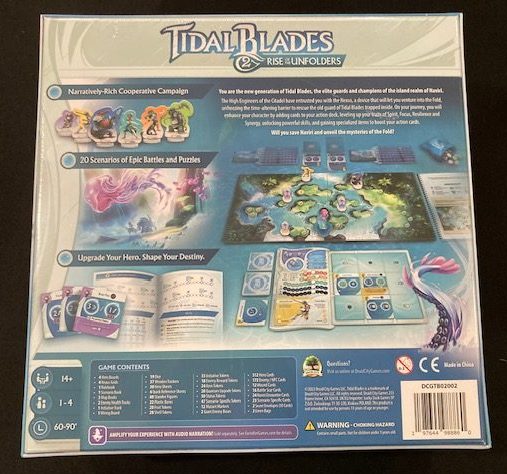
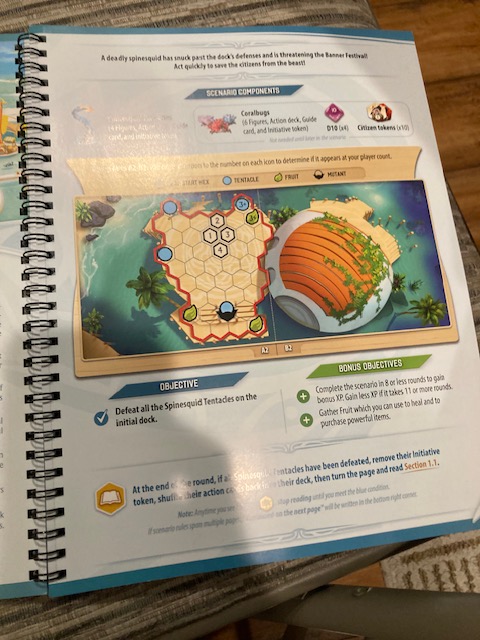
Only One Save Game: There is only game going ever. Period. The state of the card boxes represents the majority of the state of this game. You can’t have multiple games going on! We were able to have a solo game and a cooperative game simultaneously running in Tidal Blades 2 (see our review here), but only because most of the state was in the sheets and some cards. Here in Arydia, you can only have one game ongoing.
Conclusion
This solo game took over my life for about one week! I love Arydia: The Paths We Dare Dread! It was definitely worth waiting for (from the #6 on our Top 10 Anticipated Cooperative Games of 2022!) even though it took two extra years to arrive! This is a 8.5 or 9/10! This feels like an exploration Video Game that I kept coming back to!
Unfortunately, I can’t say anything about the cooperative game (from 2-4 Players) because I have only played the solo game! As great as this game is, I can’t have multiple games going on at once!
So, now that I have played the solo game and really enjoyed it … I are going to reset the game back to the pristine state (this campaign is resettable) so that me and my friends can try the Cooperative Game! This makes me very sad, as I will lose all progress in my 20+ hour campaign!
If you see a Part II review of this, you will know that I broke down and reset the game to be able to play cooperatively with my friends! If, on the other hand, you never see a Part II of this review ……… well, maybe I didn’t want to lose my progress … and I selfishly kept playing the solo game …
Let’s see what happens!
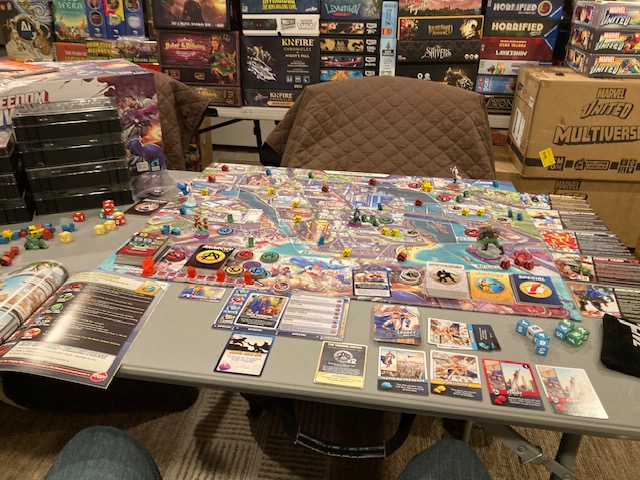


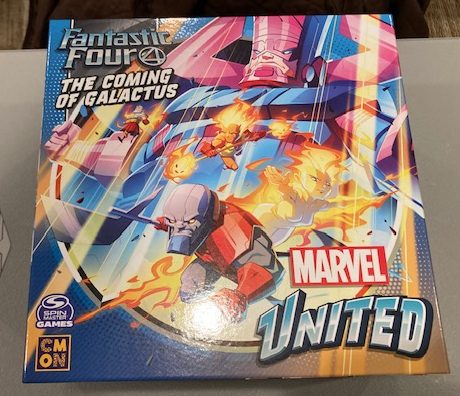
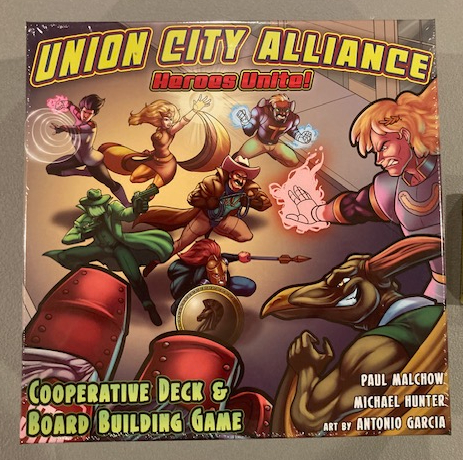
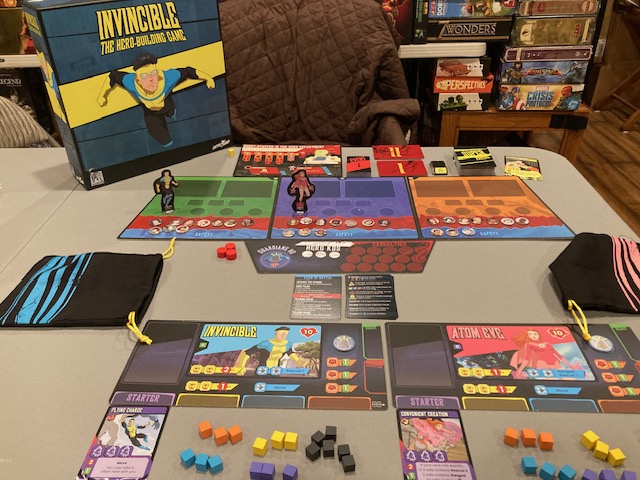
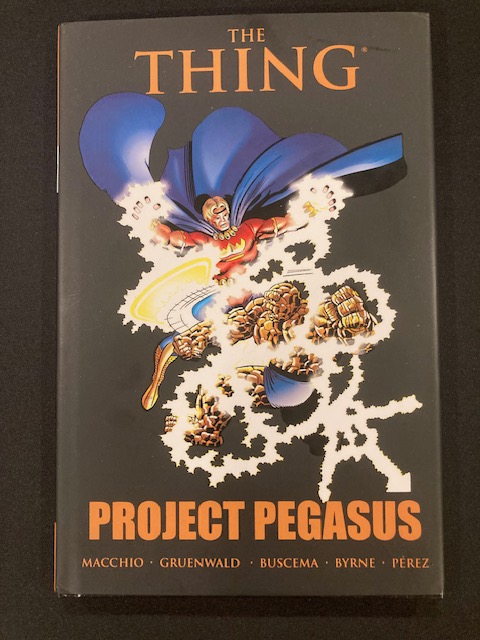
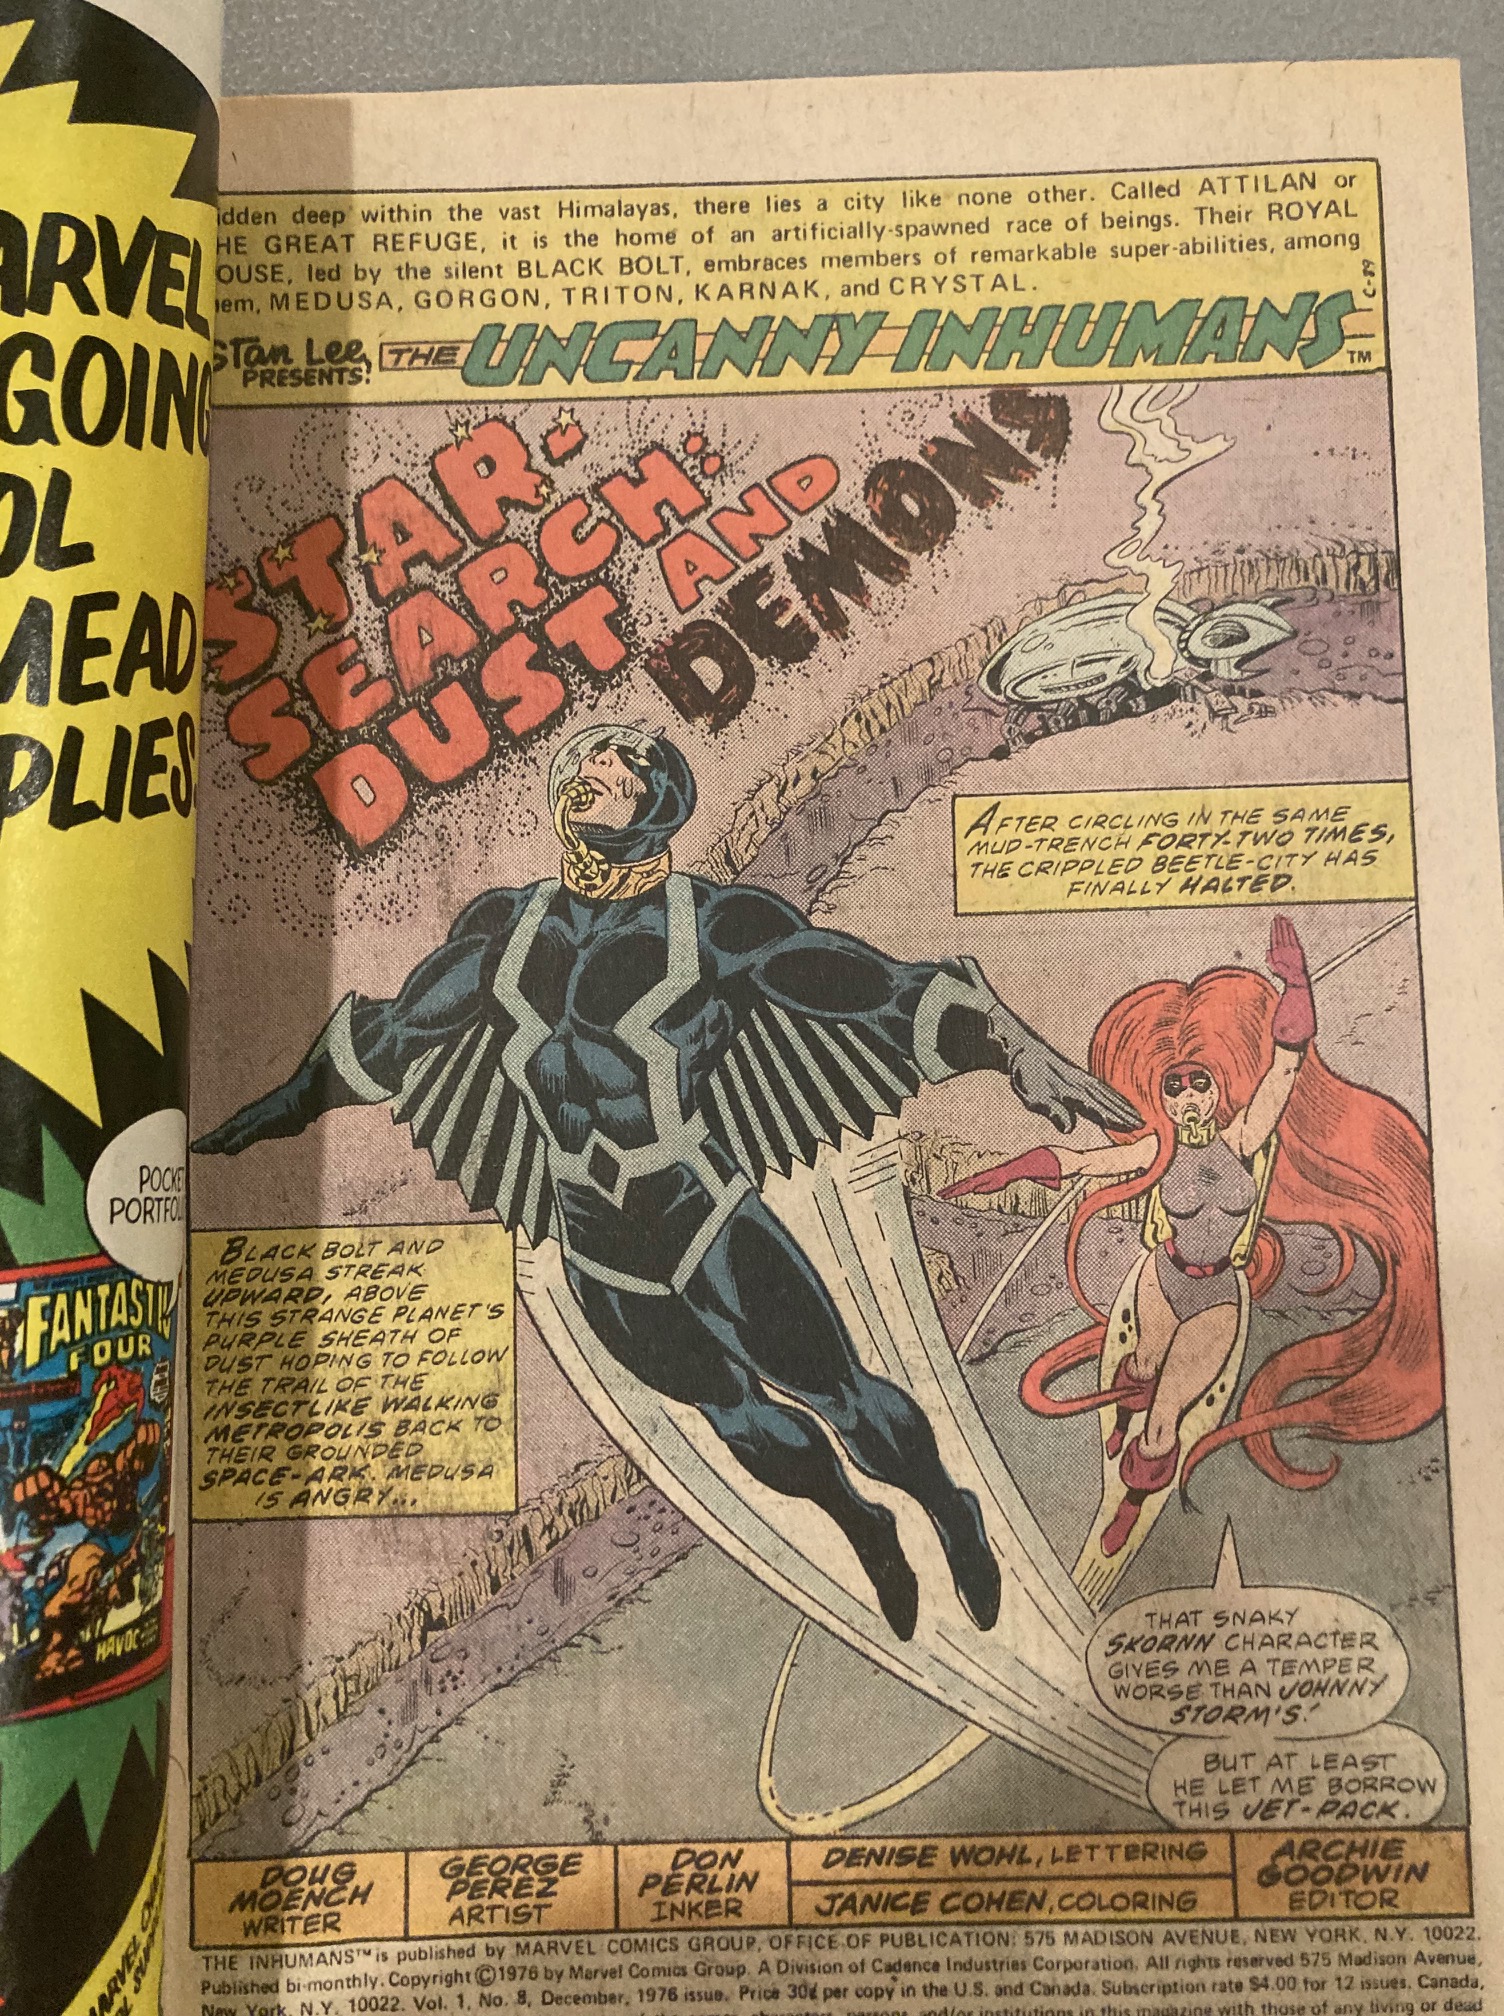 I freely admit that this expansion appealed to me because of my love of Comic Books, The Inhumans, George Perez, and John Byrne! However, even when I predisposed to like something, it still has to be good (